Tracking money: overview, expenses and revenue
See what you kept after costs and where your income came from (website, app or Turo), and log expenses with receipts, repeating costs and CSV import.
Overview
Management → Overview shows the business for a date range and the cars you pick: Net income, Revenue and where it came from, total expenses and the share of revenue you keep, Money flow month by month, and What's left with your top cost categories.
Booking income is tracked automatically from your reservations and split by source: your website, bookings your team added in the app, and Turo trips synced into RentHive. Use Revenue for anything else, like cash or other income.
Expenses use categories you create, can be tied to a vehicle, and can carry receipts photographed in the app or uploaded. Repeating expenses fill themselves in, and you can import a bank or card statement as a CSV.
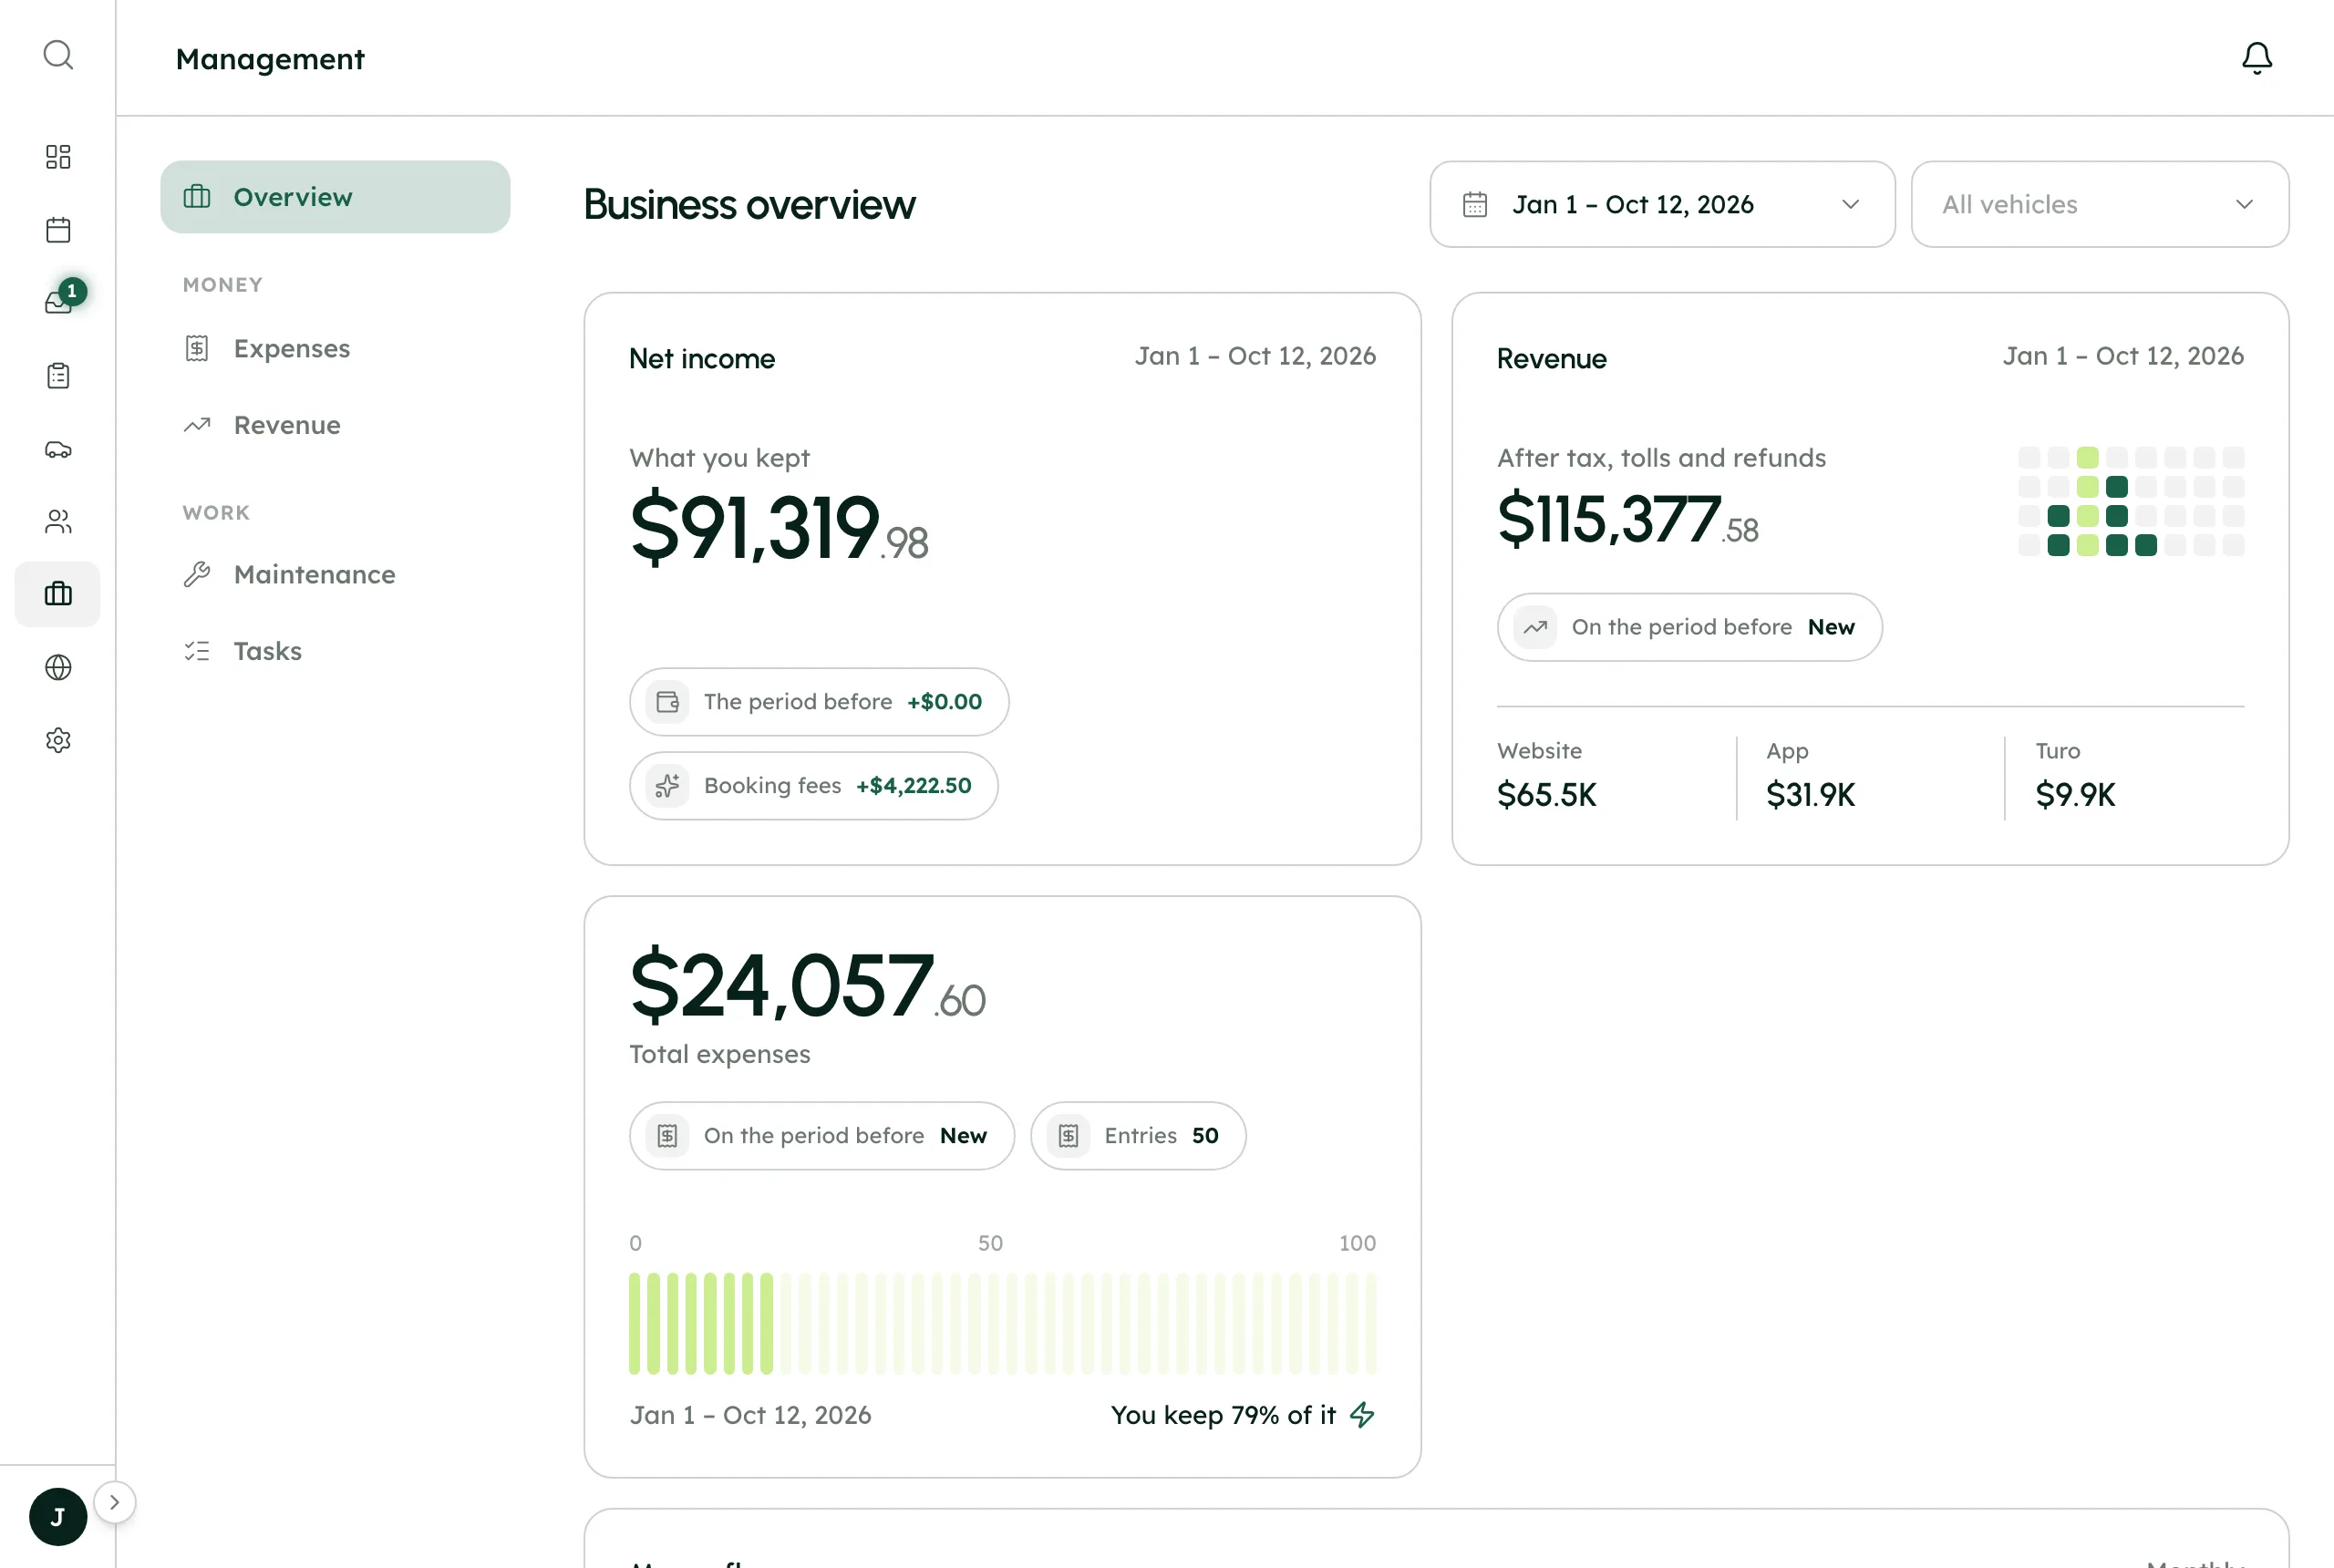
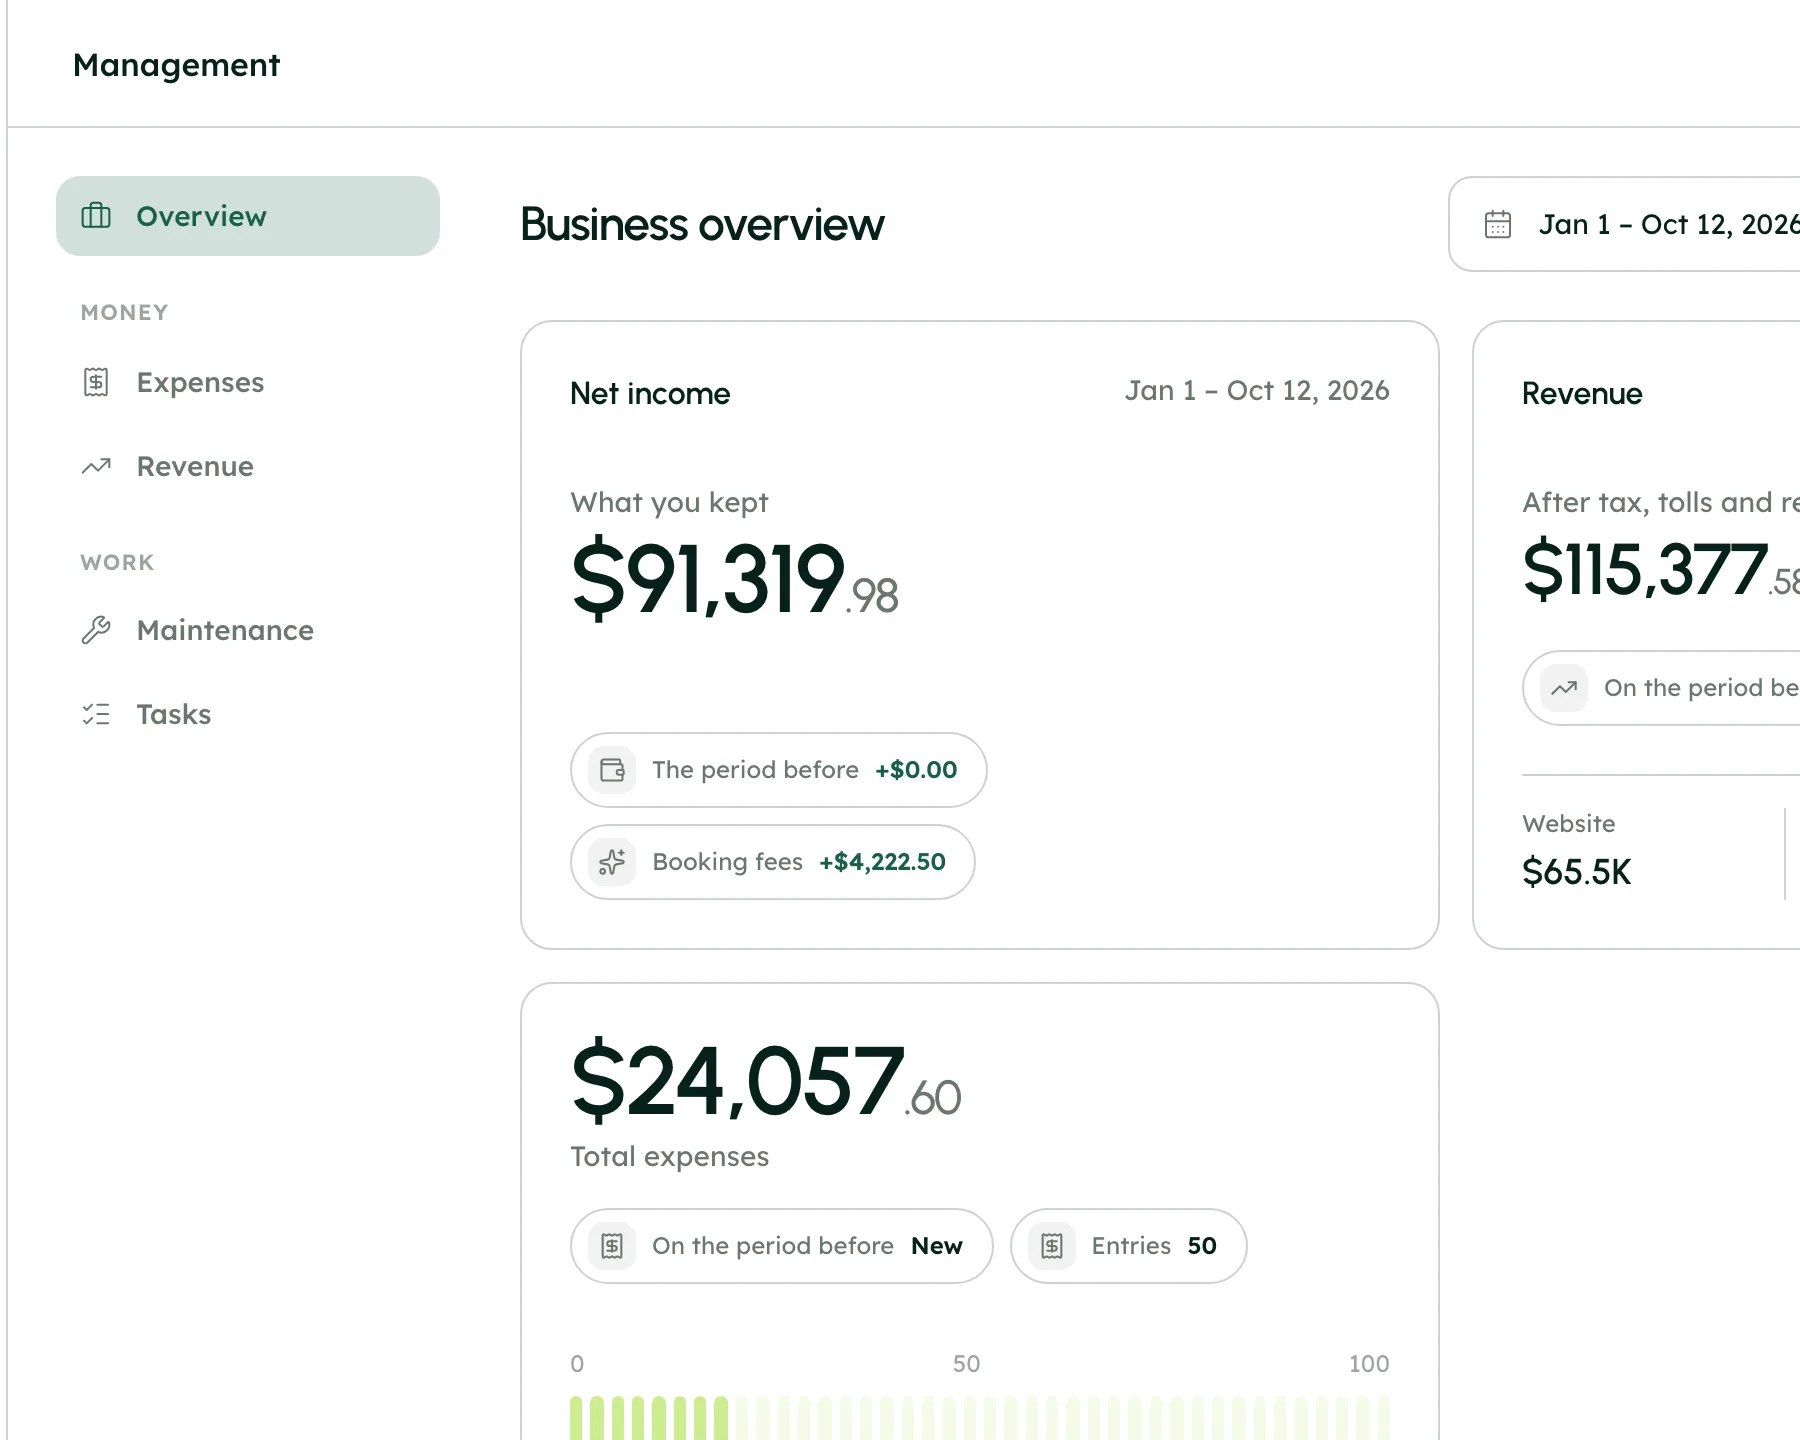
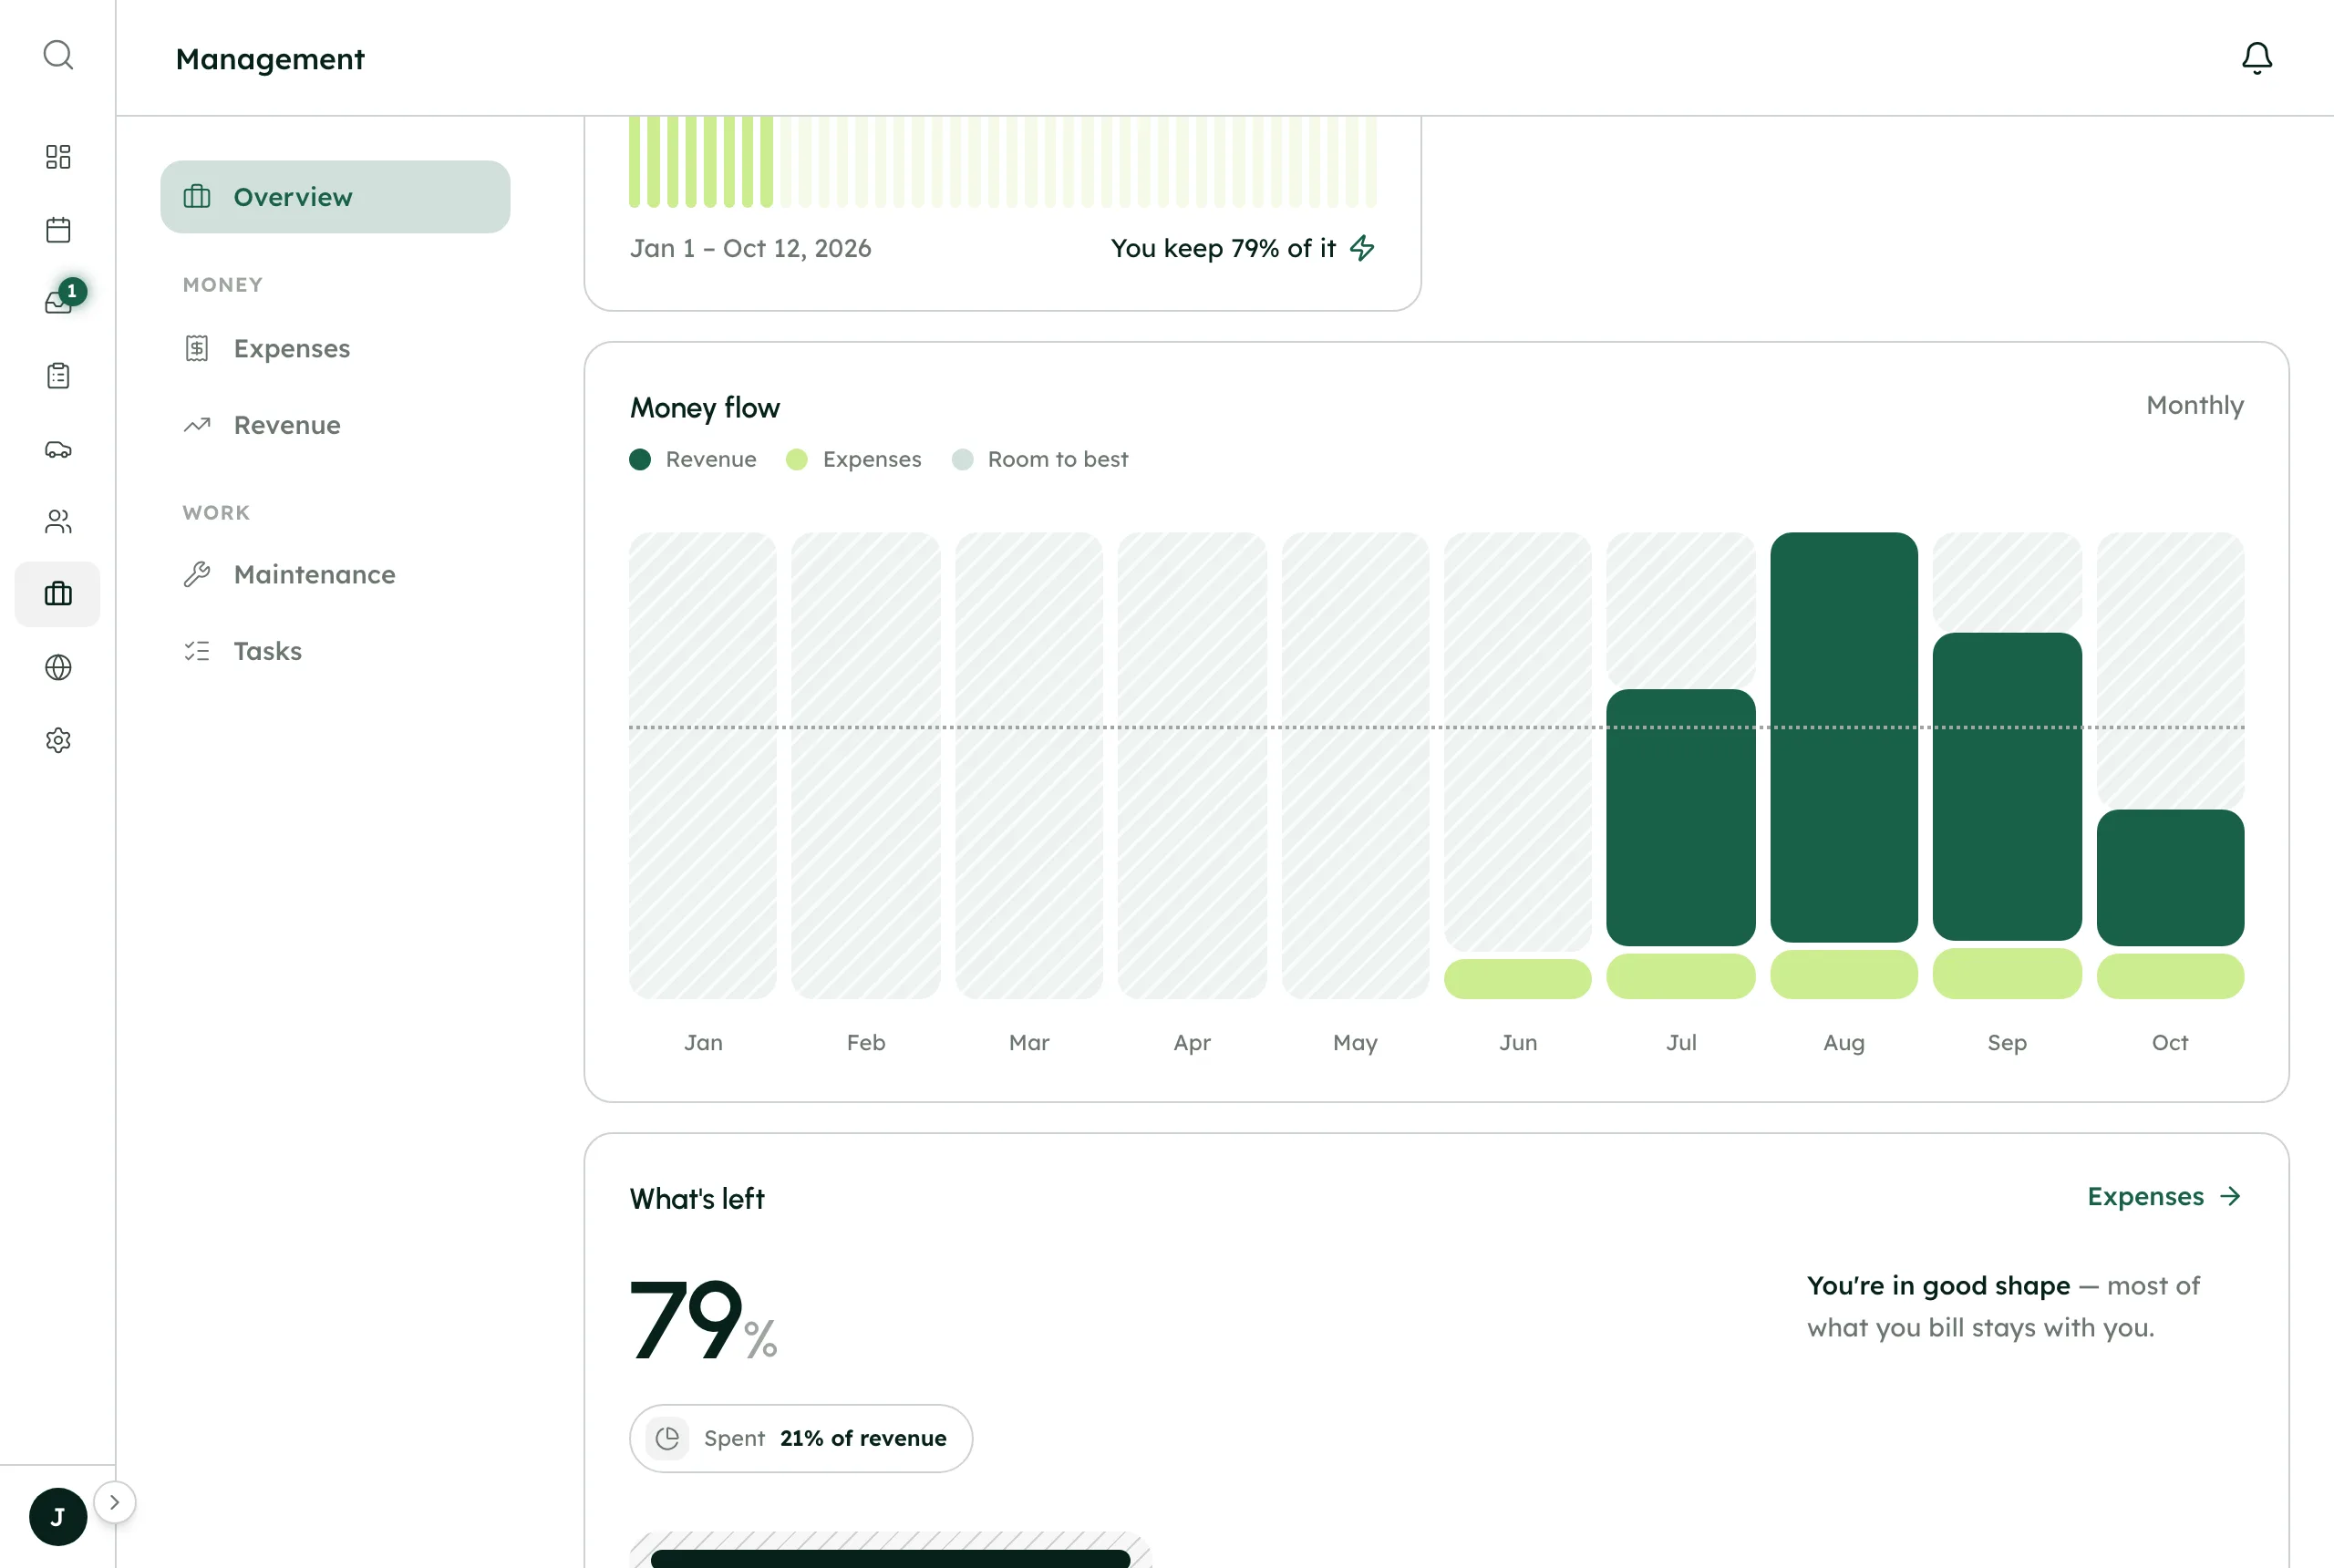
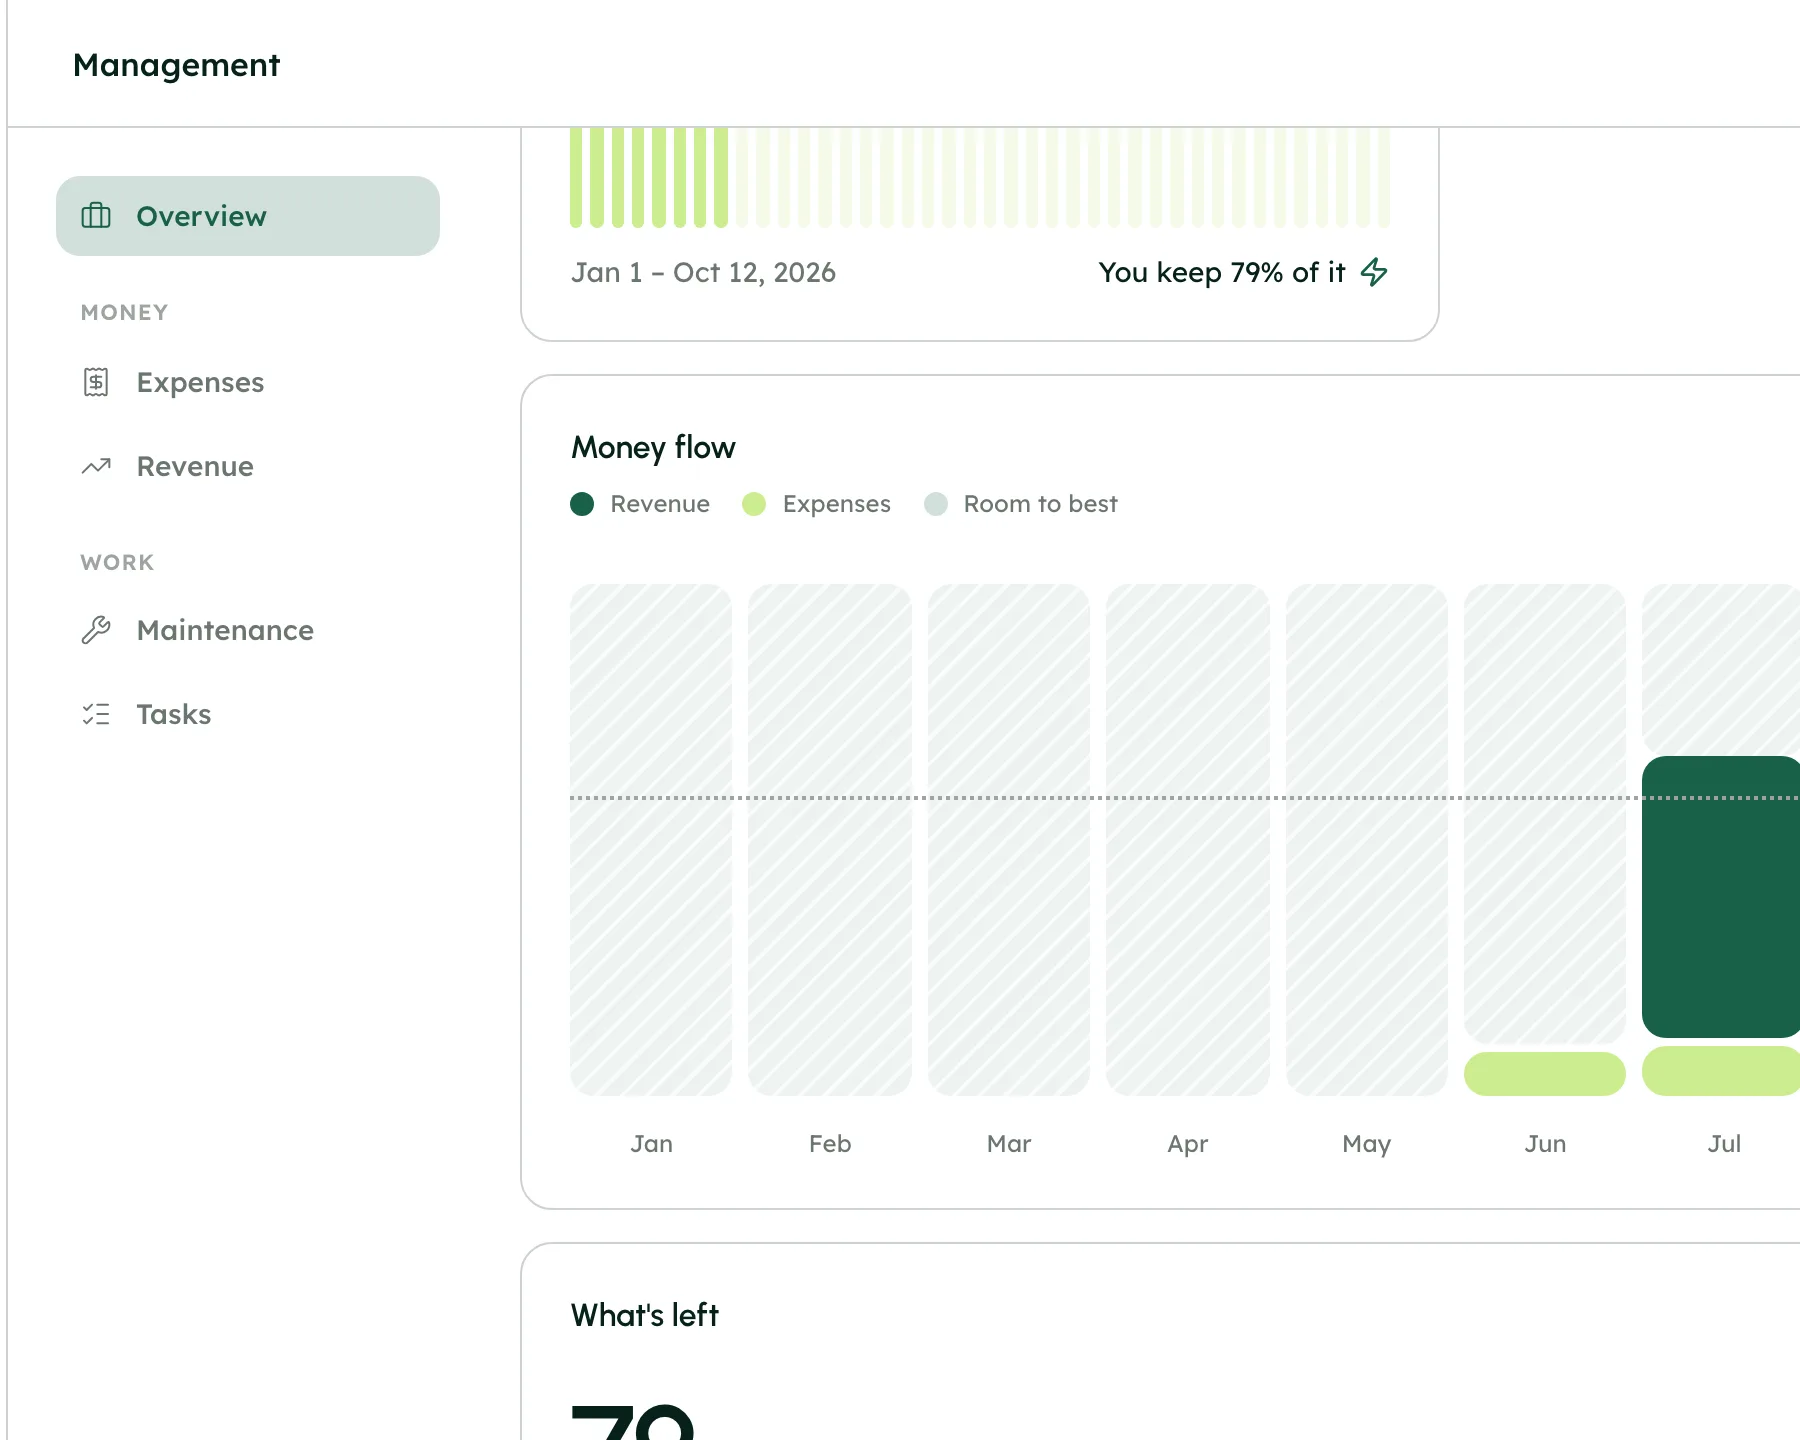
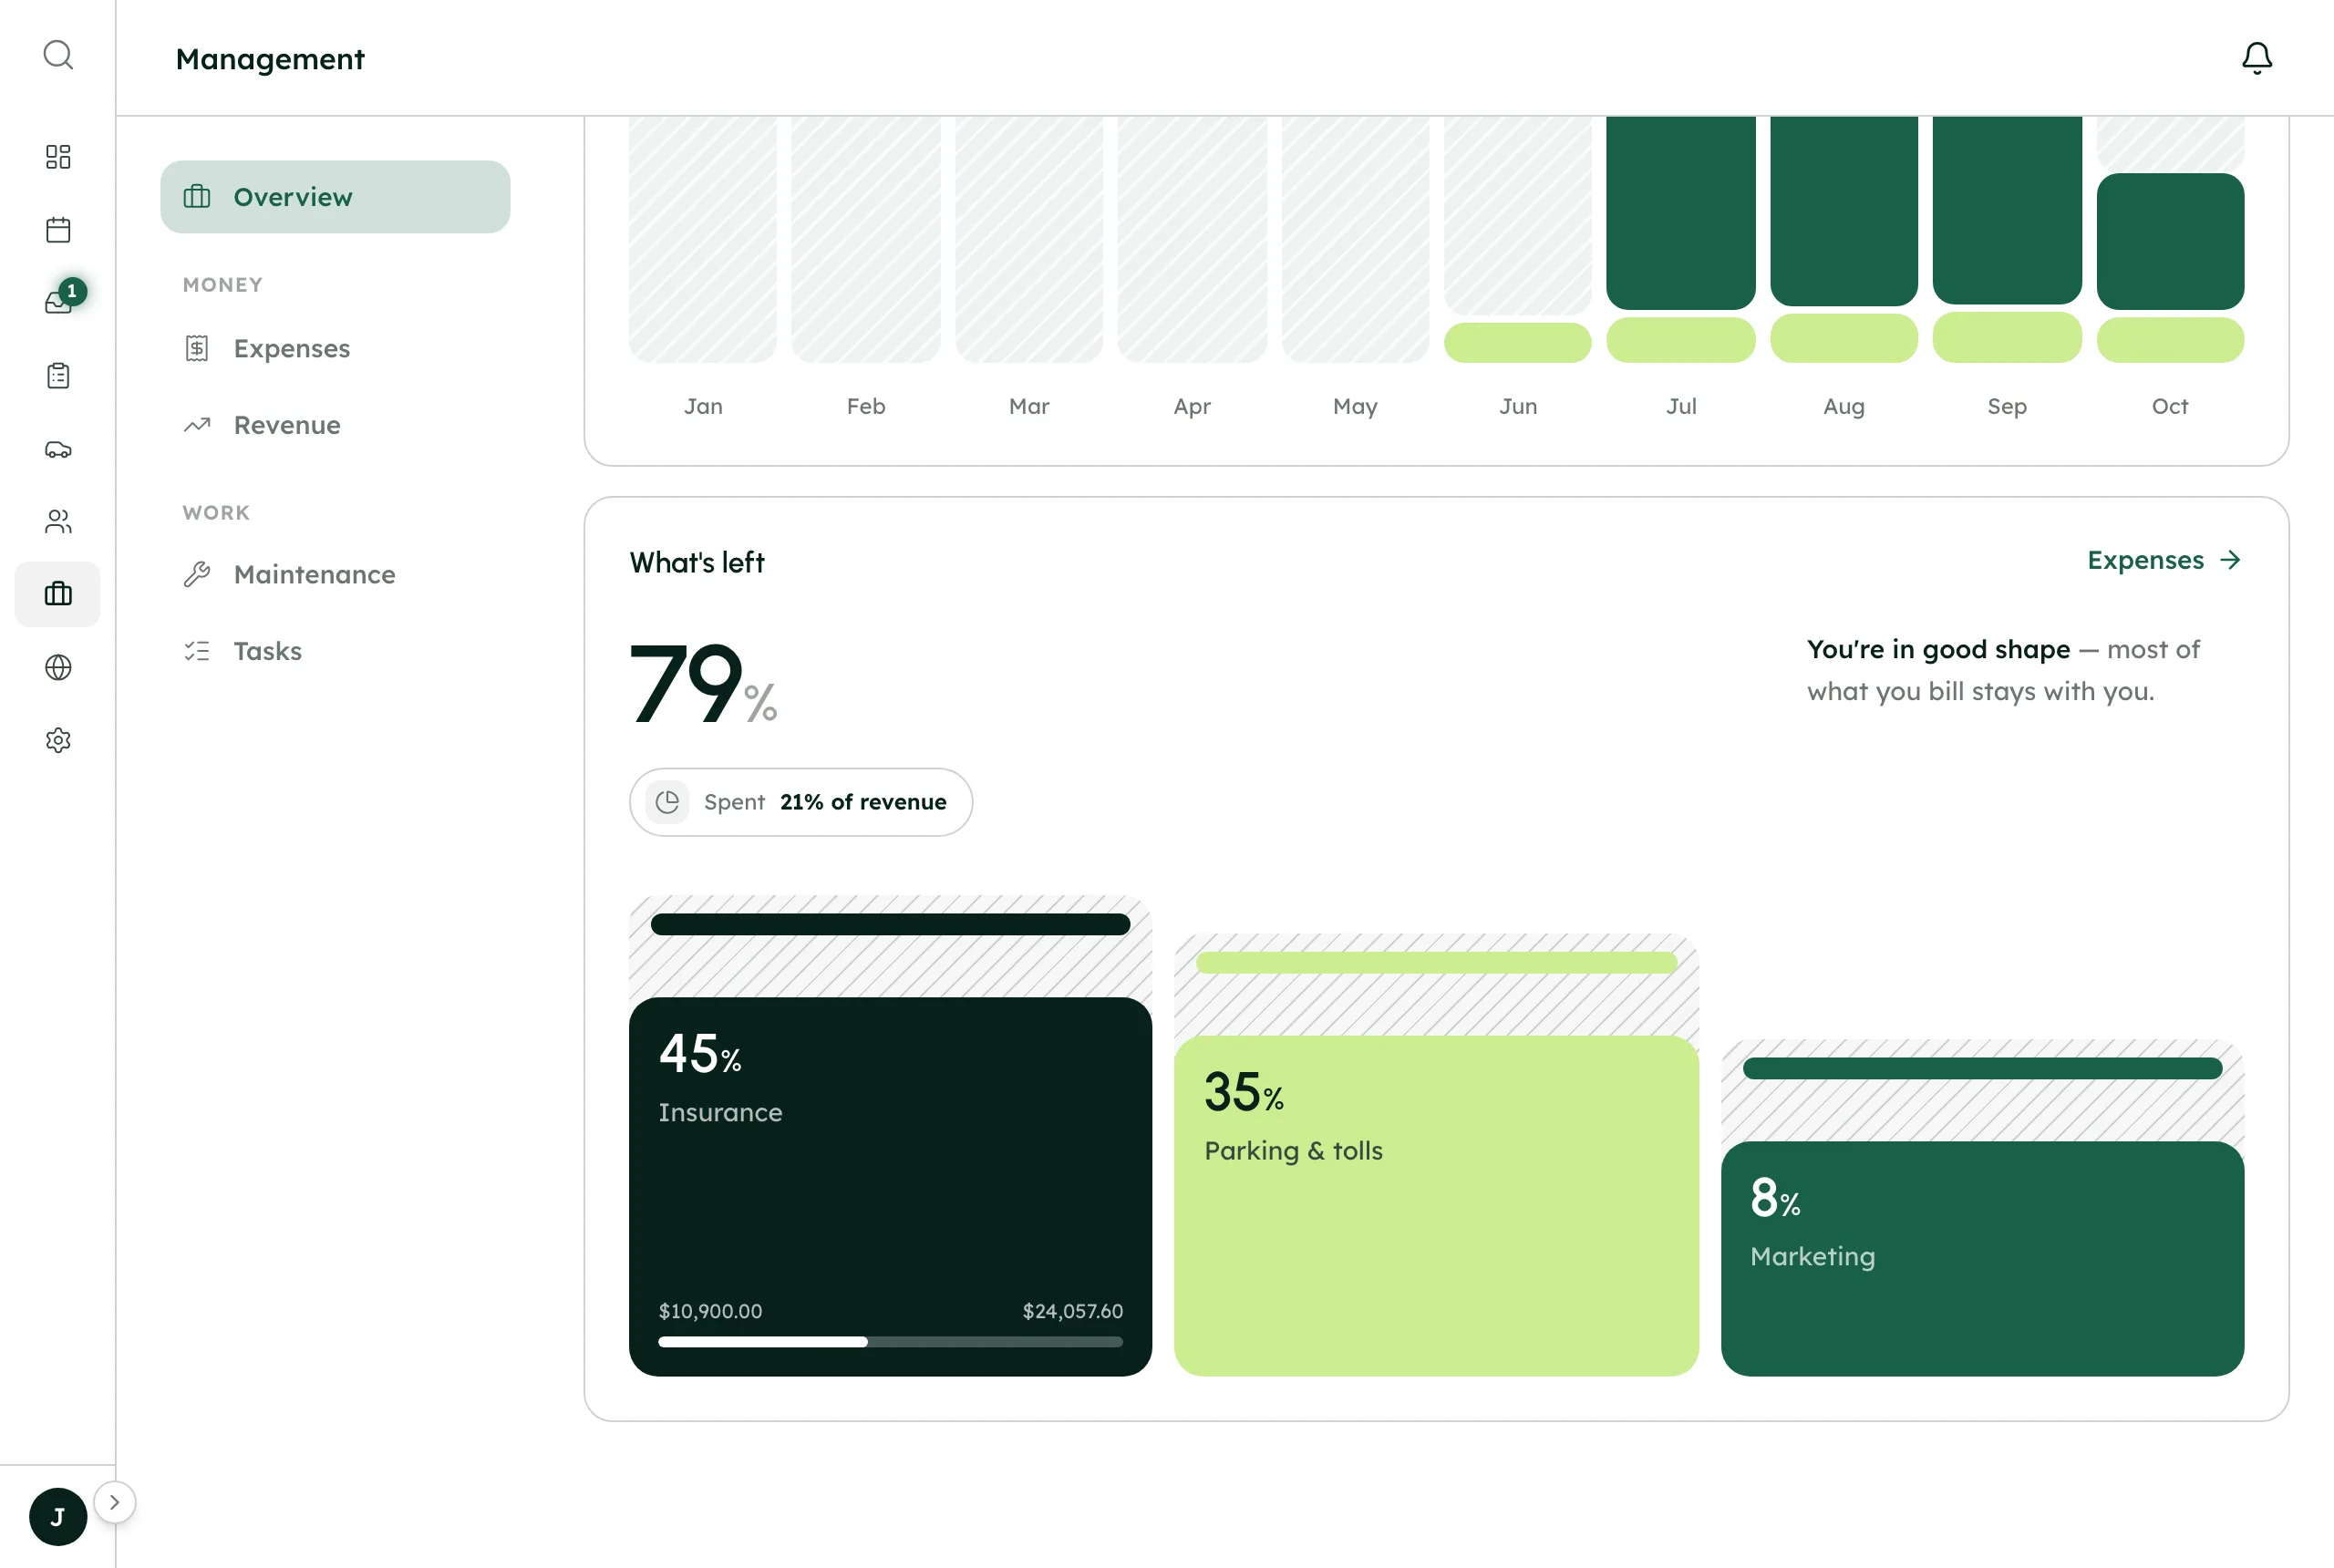
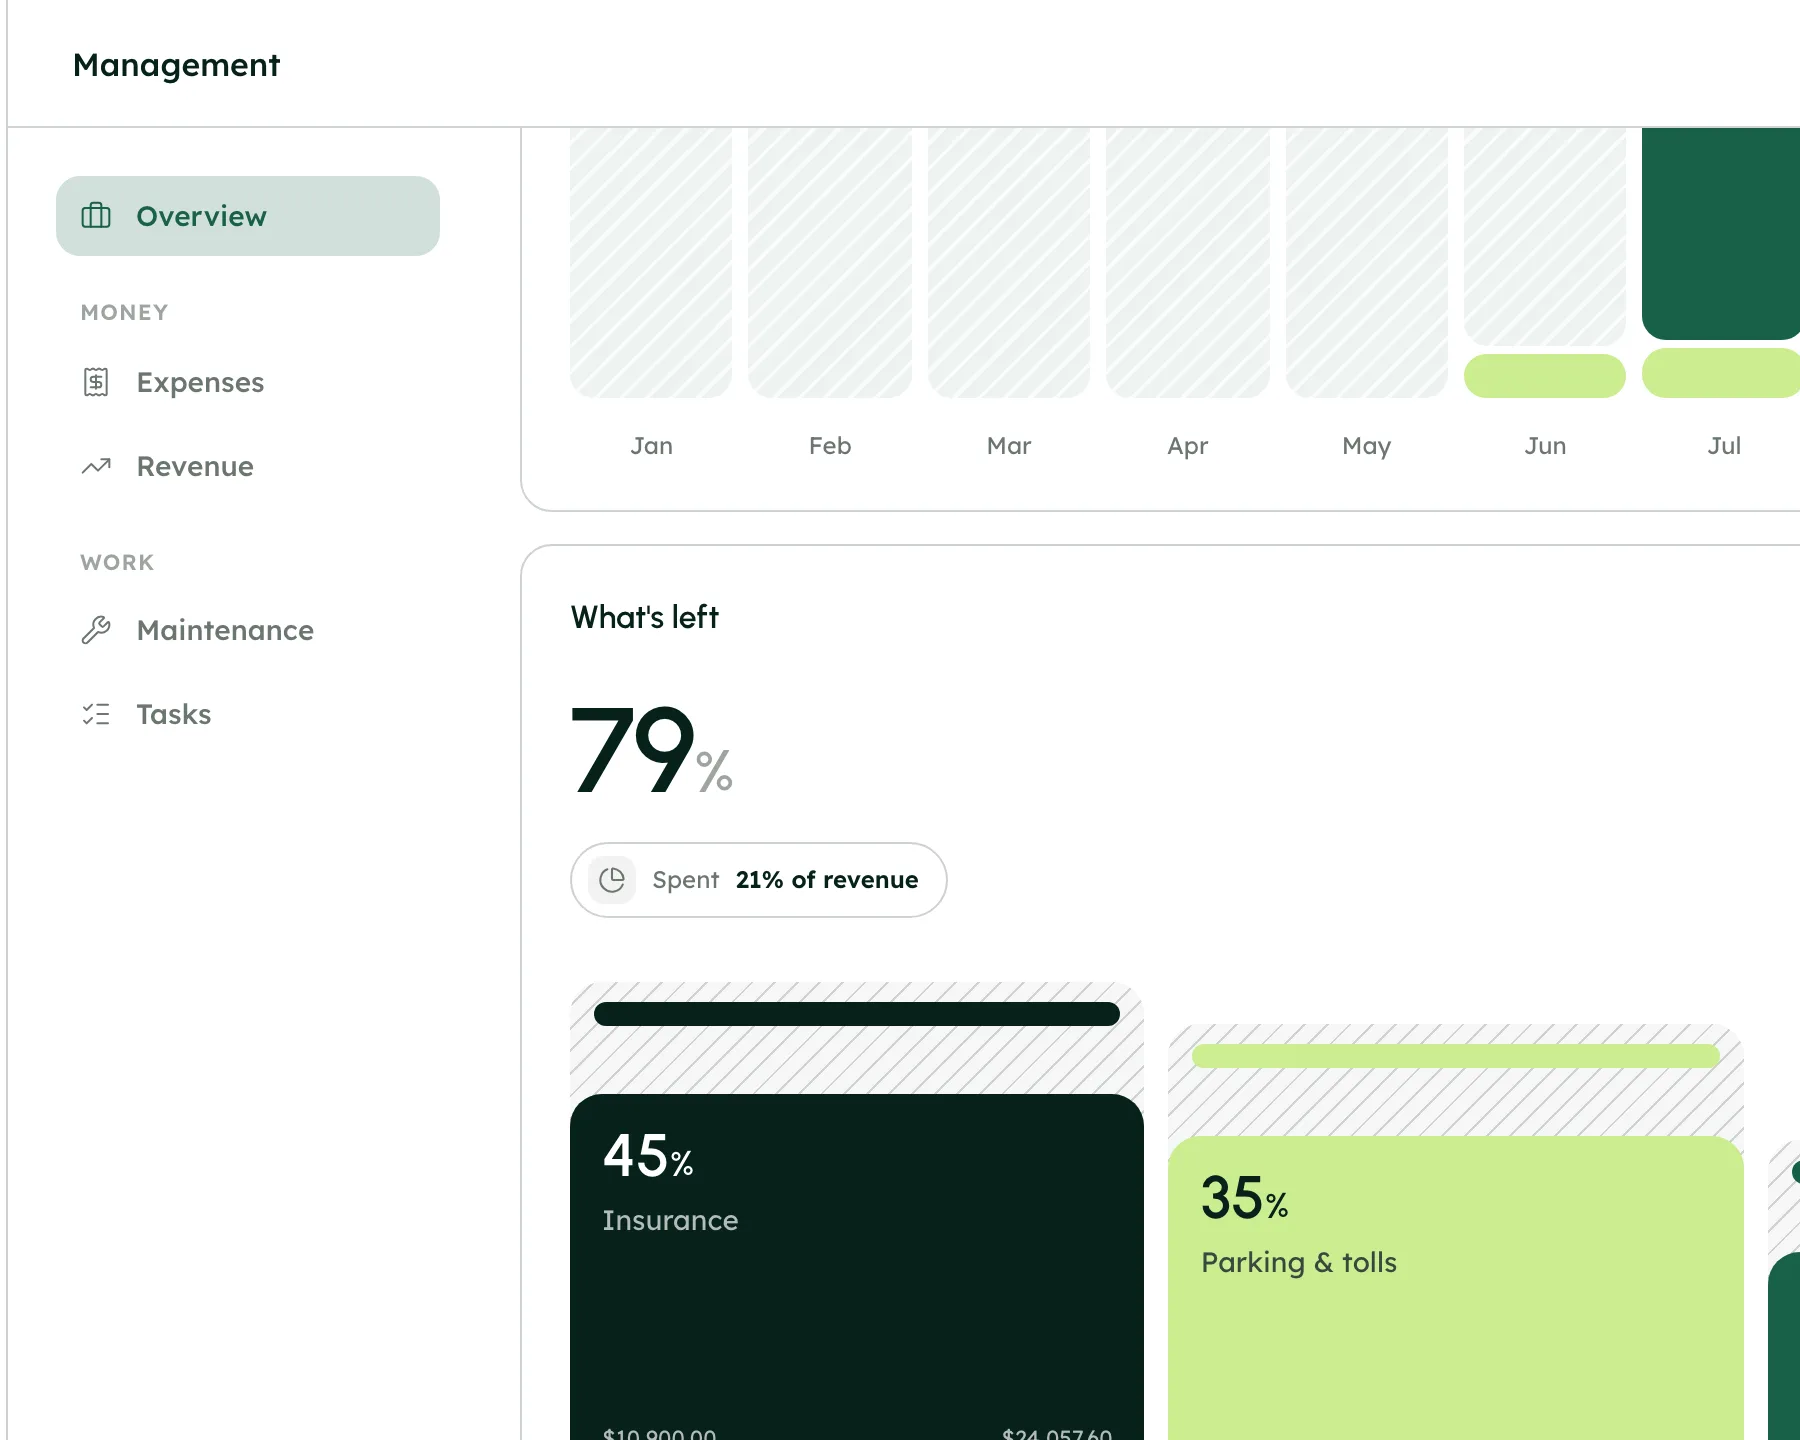
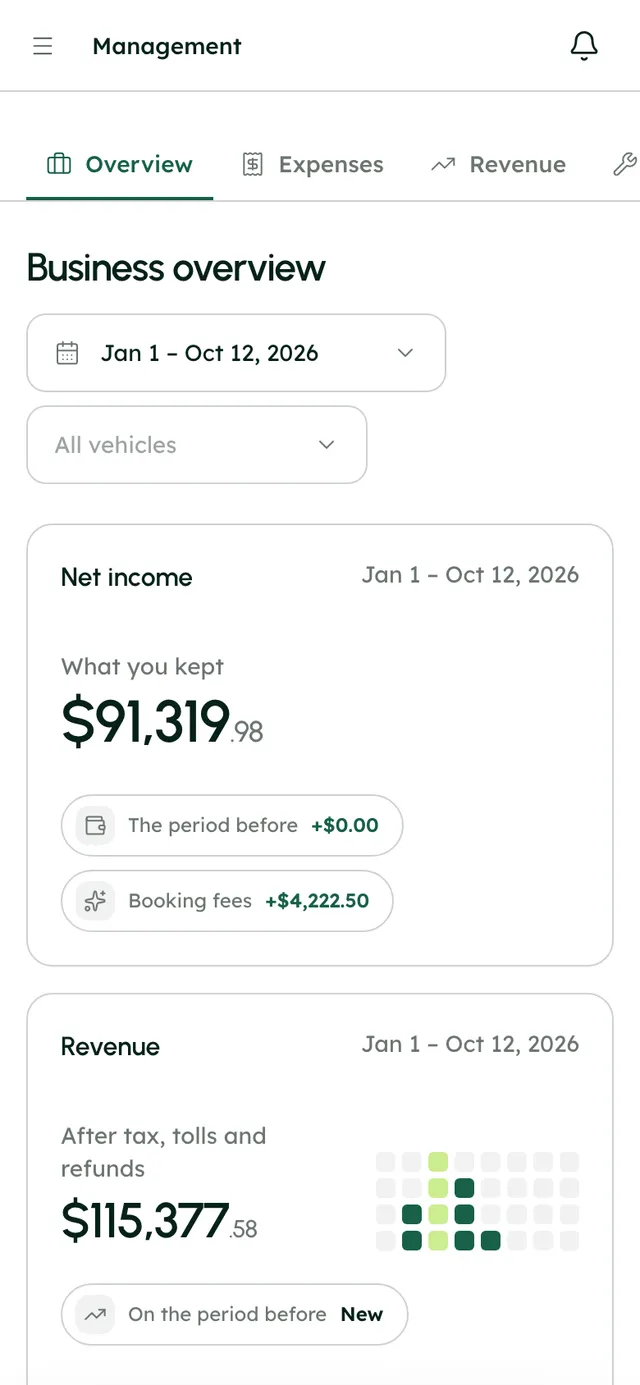
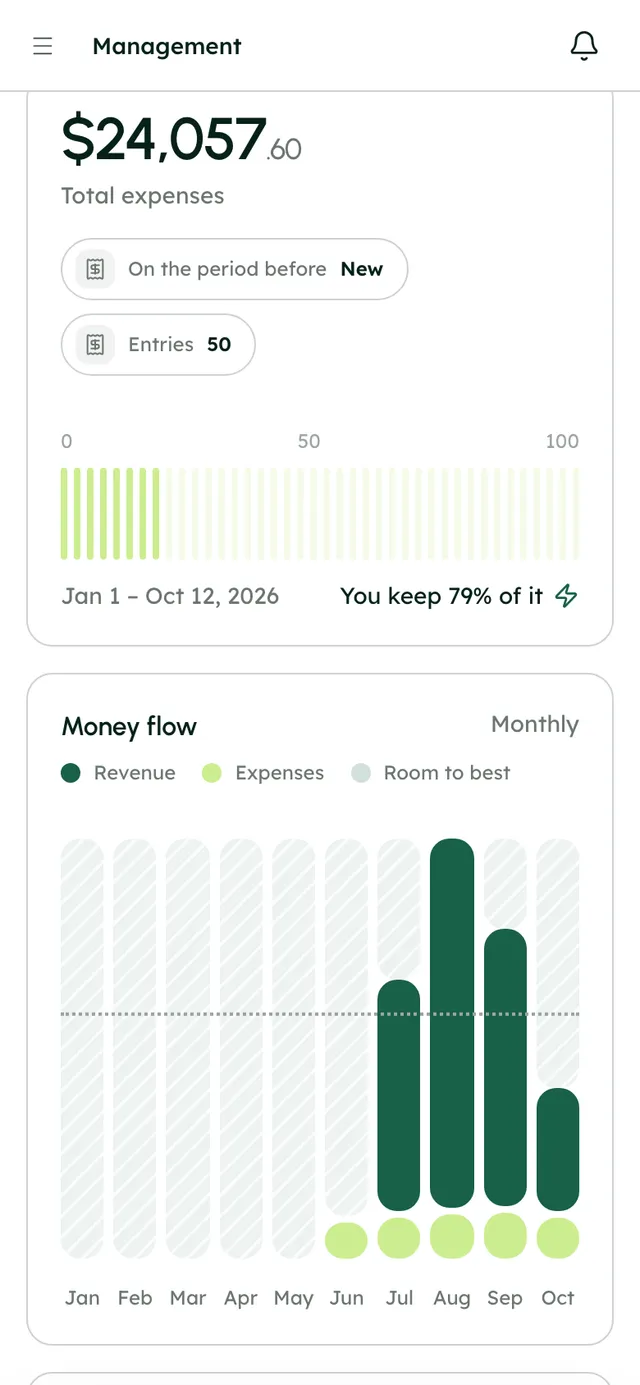
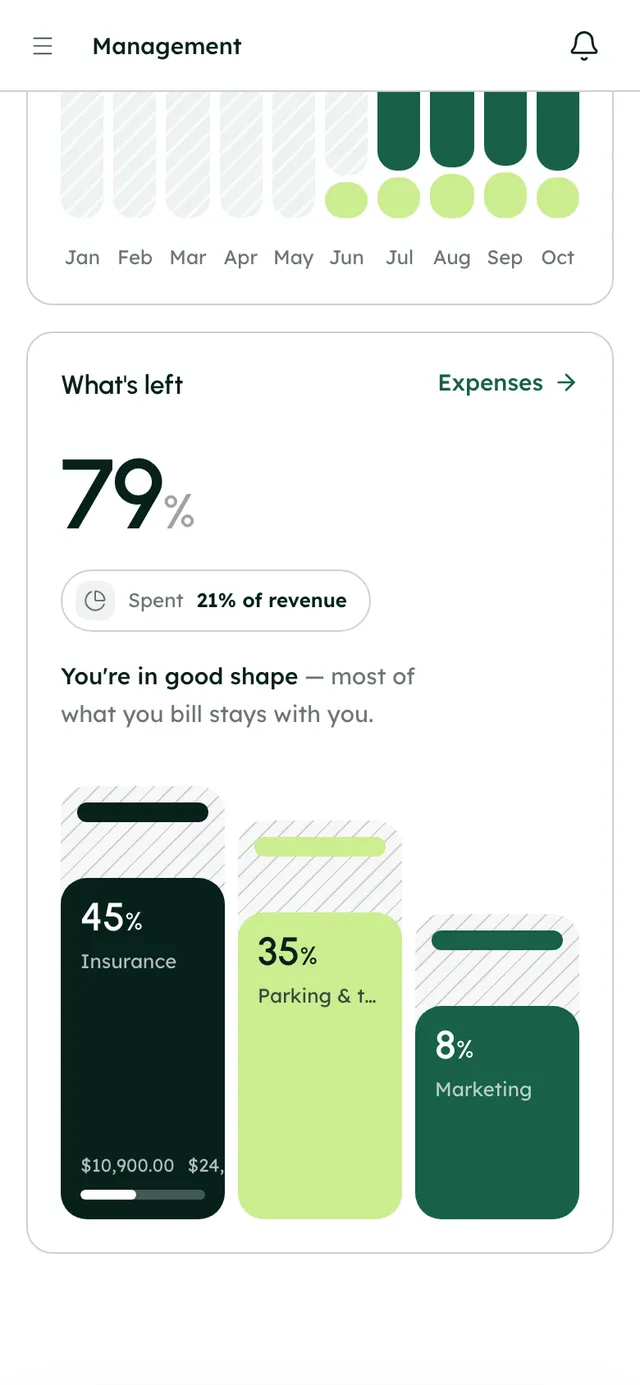
Management overview: net income, bookings and money flow.
How it works
- 1
Read the overview
Open Management → Overview. Pick a range (This month, Last month, Last 30 days, Year to date or Last year) and, if you like, specific vehicles.
- 2
Create categories
In Expenses, press + next to Categories, name the category, add sub-categories and press Create category.
- 3
Add an expense
Press Add expense. Fill in what it was, the category, amount and date, and the vehicle if it's for one car. Under Receipts, press Take a photo or Upload. Press Save Expense.
- 4
Set up repeating costs
Create a repeating expense for regular bills: how often (weekly, monthly, quarterly or yearly), when the first one lands and, optionally, when it stops. Press Set it up. You can pause or resume it.
- 5
Import a CSV
From the More menu, choose Import CSV. Upload the file, map its columns to Amount, Date, Description, Category and Sub-category, review the rows and import.
- 6
Record other income
In Revenue, press Add revenue for income that doesn't come from a booking.
- 7
Export
Use Export CSV in Expenses or Revenue to hand figures to your accountant.
Best practices
- Set up categories that match the ones your accountant uses.
- Photograph receipts when you pay. The in-app camera records the time and place.
- Tie costs to a vehicle so you can filter the overview by car and see which ones pay their way.
- Use repeating expenses for loan, insurance and parking payments.
Things to keep in mind
- There are no PDF reports and no QuickBooks or Xero connection. Export CSV for your accountant.
- Export CSV saves the rows on the page you're viewing.
- Revenue has no CSV import. Only expenses do.
- Turo income comes from the Turo trips synced into RentHive.
- All amounts are in US dollars.
What's automated
- Booking income is recorded for you, by source.
- Maintenance costs are booked as expenses.
- Repeating expenses and income create their entries ahead of time.
- A weekly summary is emailed on Mondays and a monthly statement on the 1st. You can switch them off in Settings → Messaging → Email notifications.
Common questions
Do I need to enter booking income by hand?
No. Income from your bookings is tracked automatically. Use Revenue only for other income.
Can I import my bank statement?
Yes, as a CSV in Expenses. You map the columns and review the rows before anything is saved.
Can I see how one car is doing?
Yes. Filter the overview by vehicle, and tie its expenses to it when you log them.