Rental agreements and e-signature
Build your rental agreement from the template or upload your own PDF, choose how renters sign, and get a signed copy with a certificate of completion for every booking.
Overview
Agreements live in Settings → Legal → Rental agreements. Build one from the built-in A4 template, which has a details page filled from the booking and your terms in a text editor with field chips. Or upload your own PDF and place fields on it.
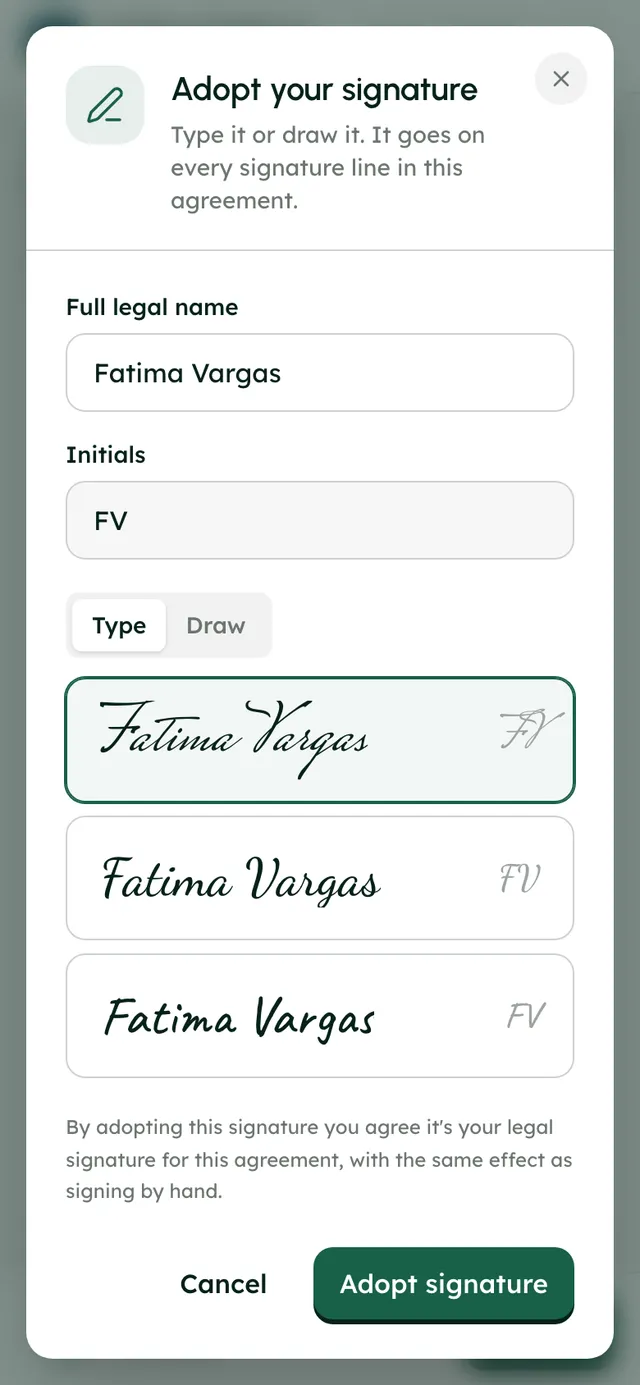
Renters sign on their phone or computer. You choose how: they draw or type a signature, their Stripe ID check counts as the signature, or both. Renters fill in their own fields before they sign.
Each signed agreement ends with a certificate of completion: the agreement ID, the signer, when it was signed, the method and its history. You and the renter can both download the signed PDF.
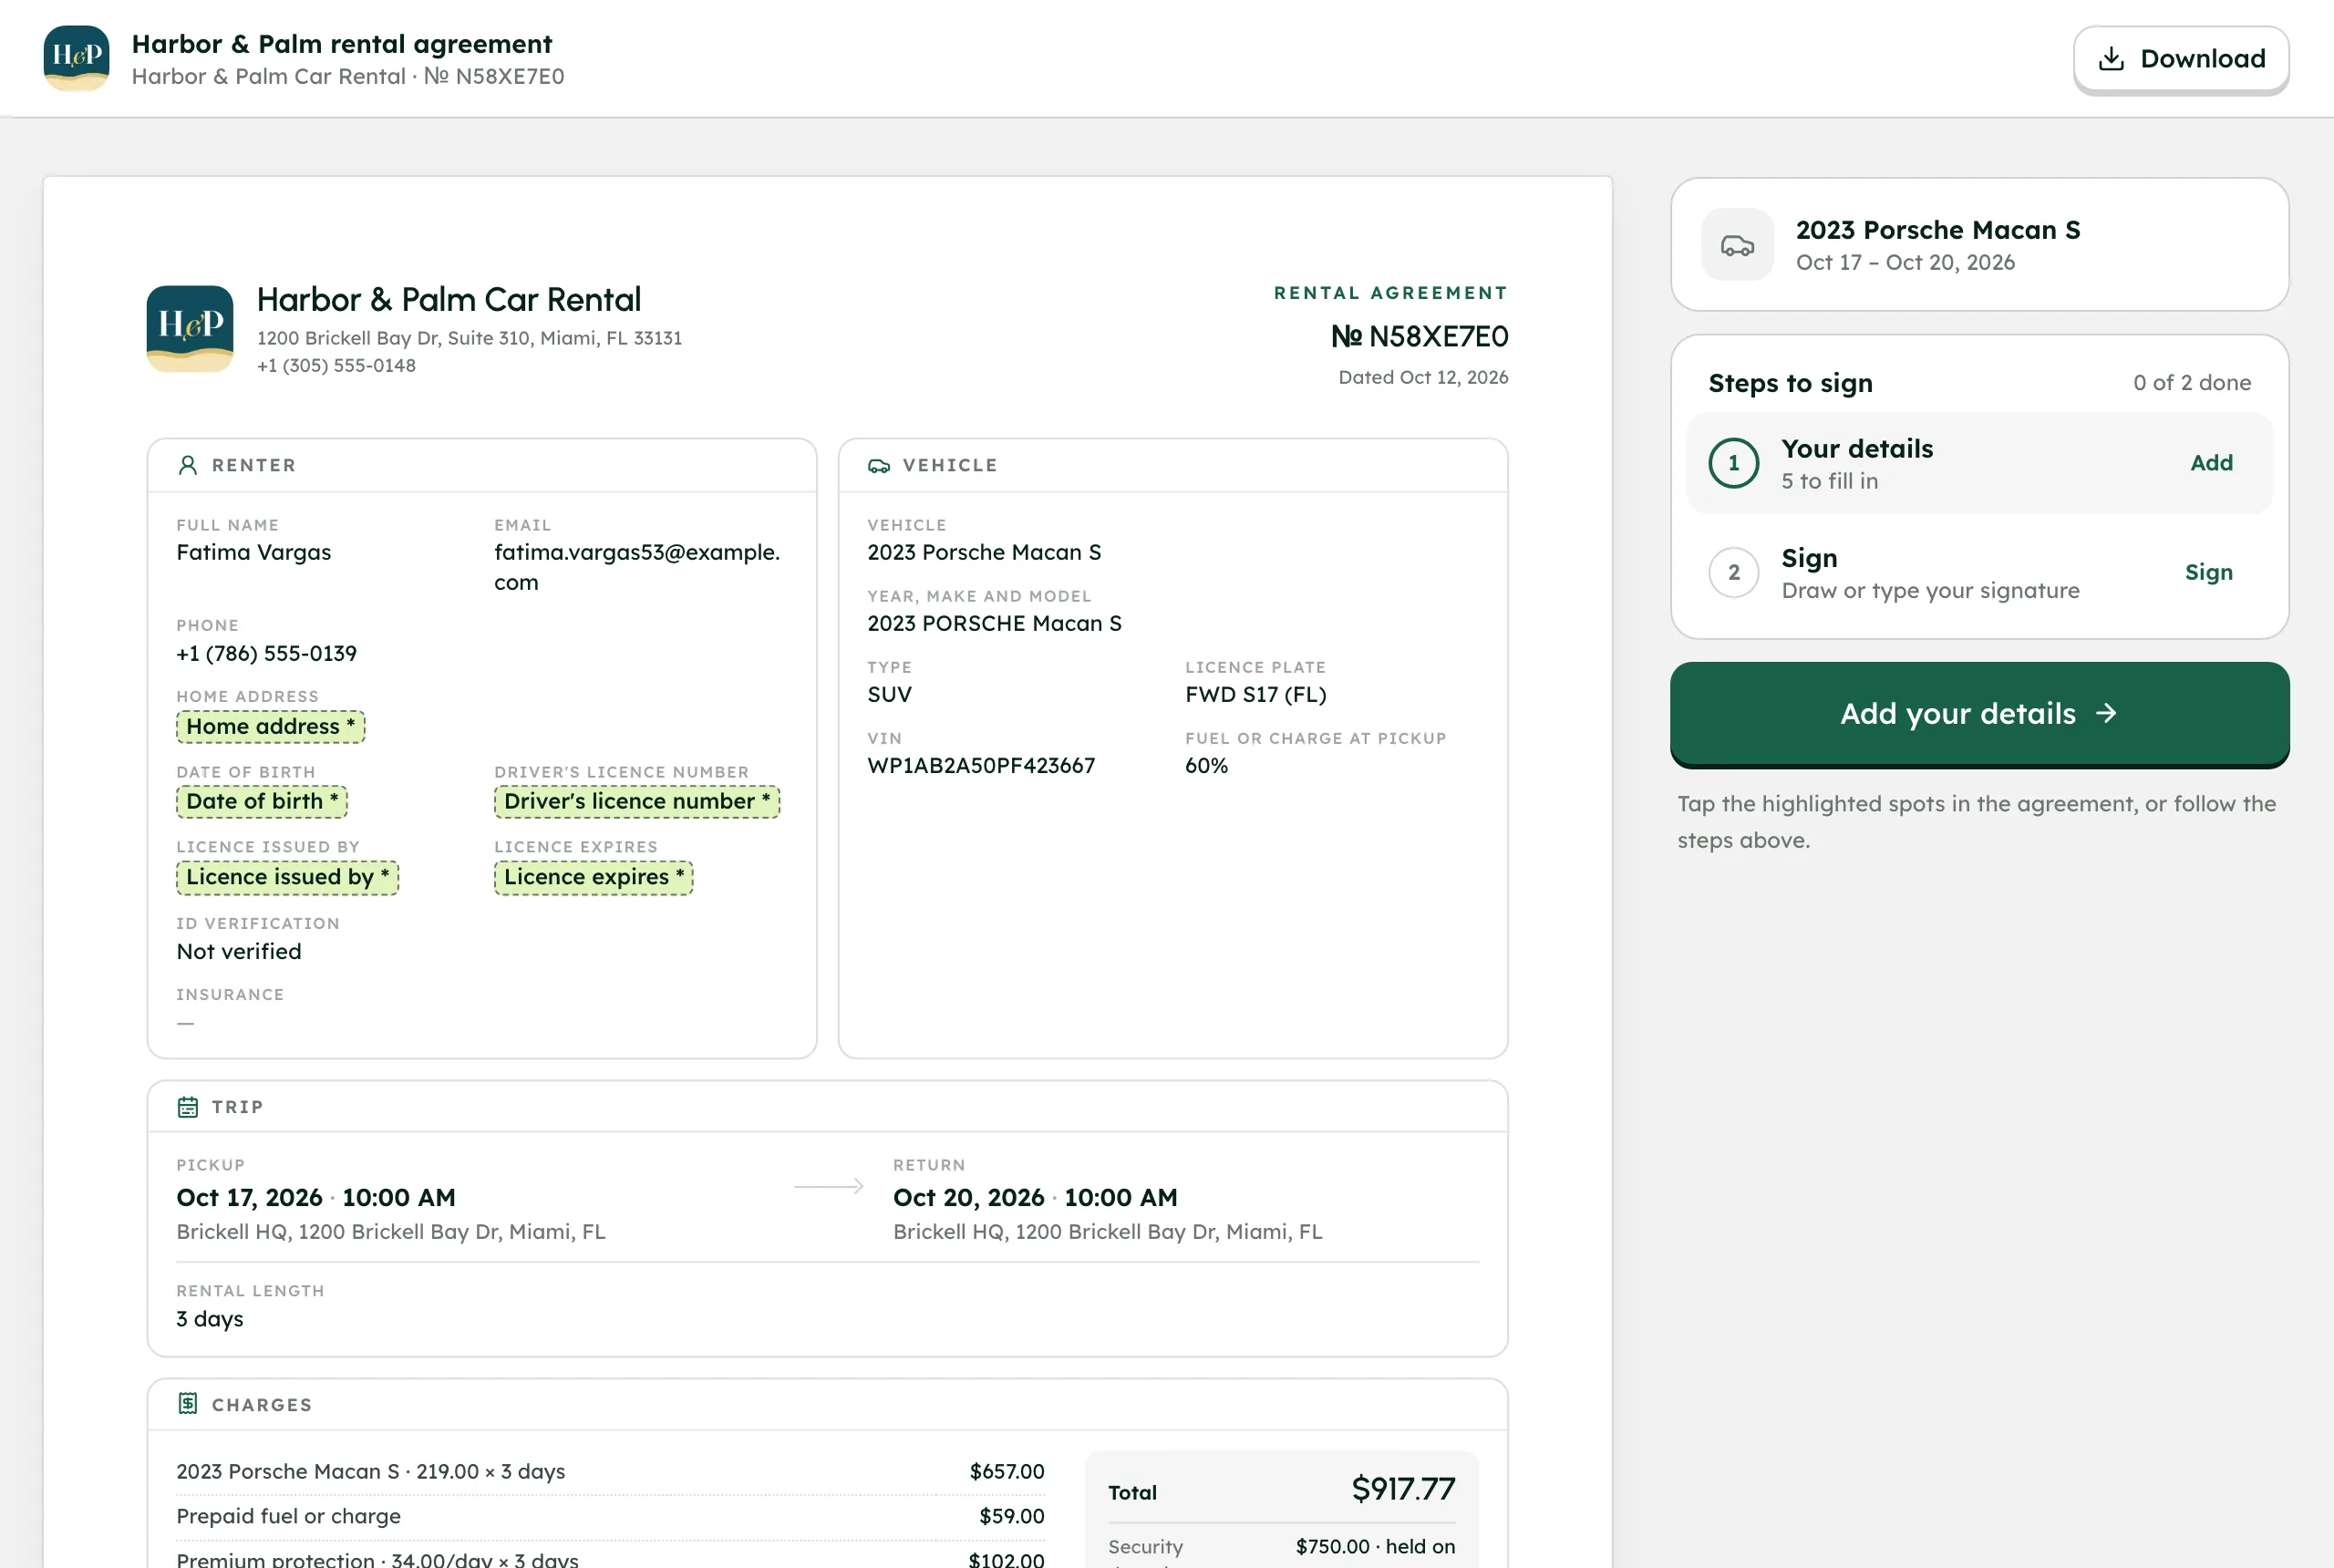
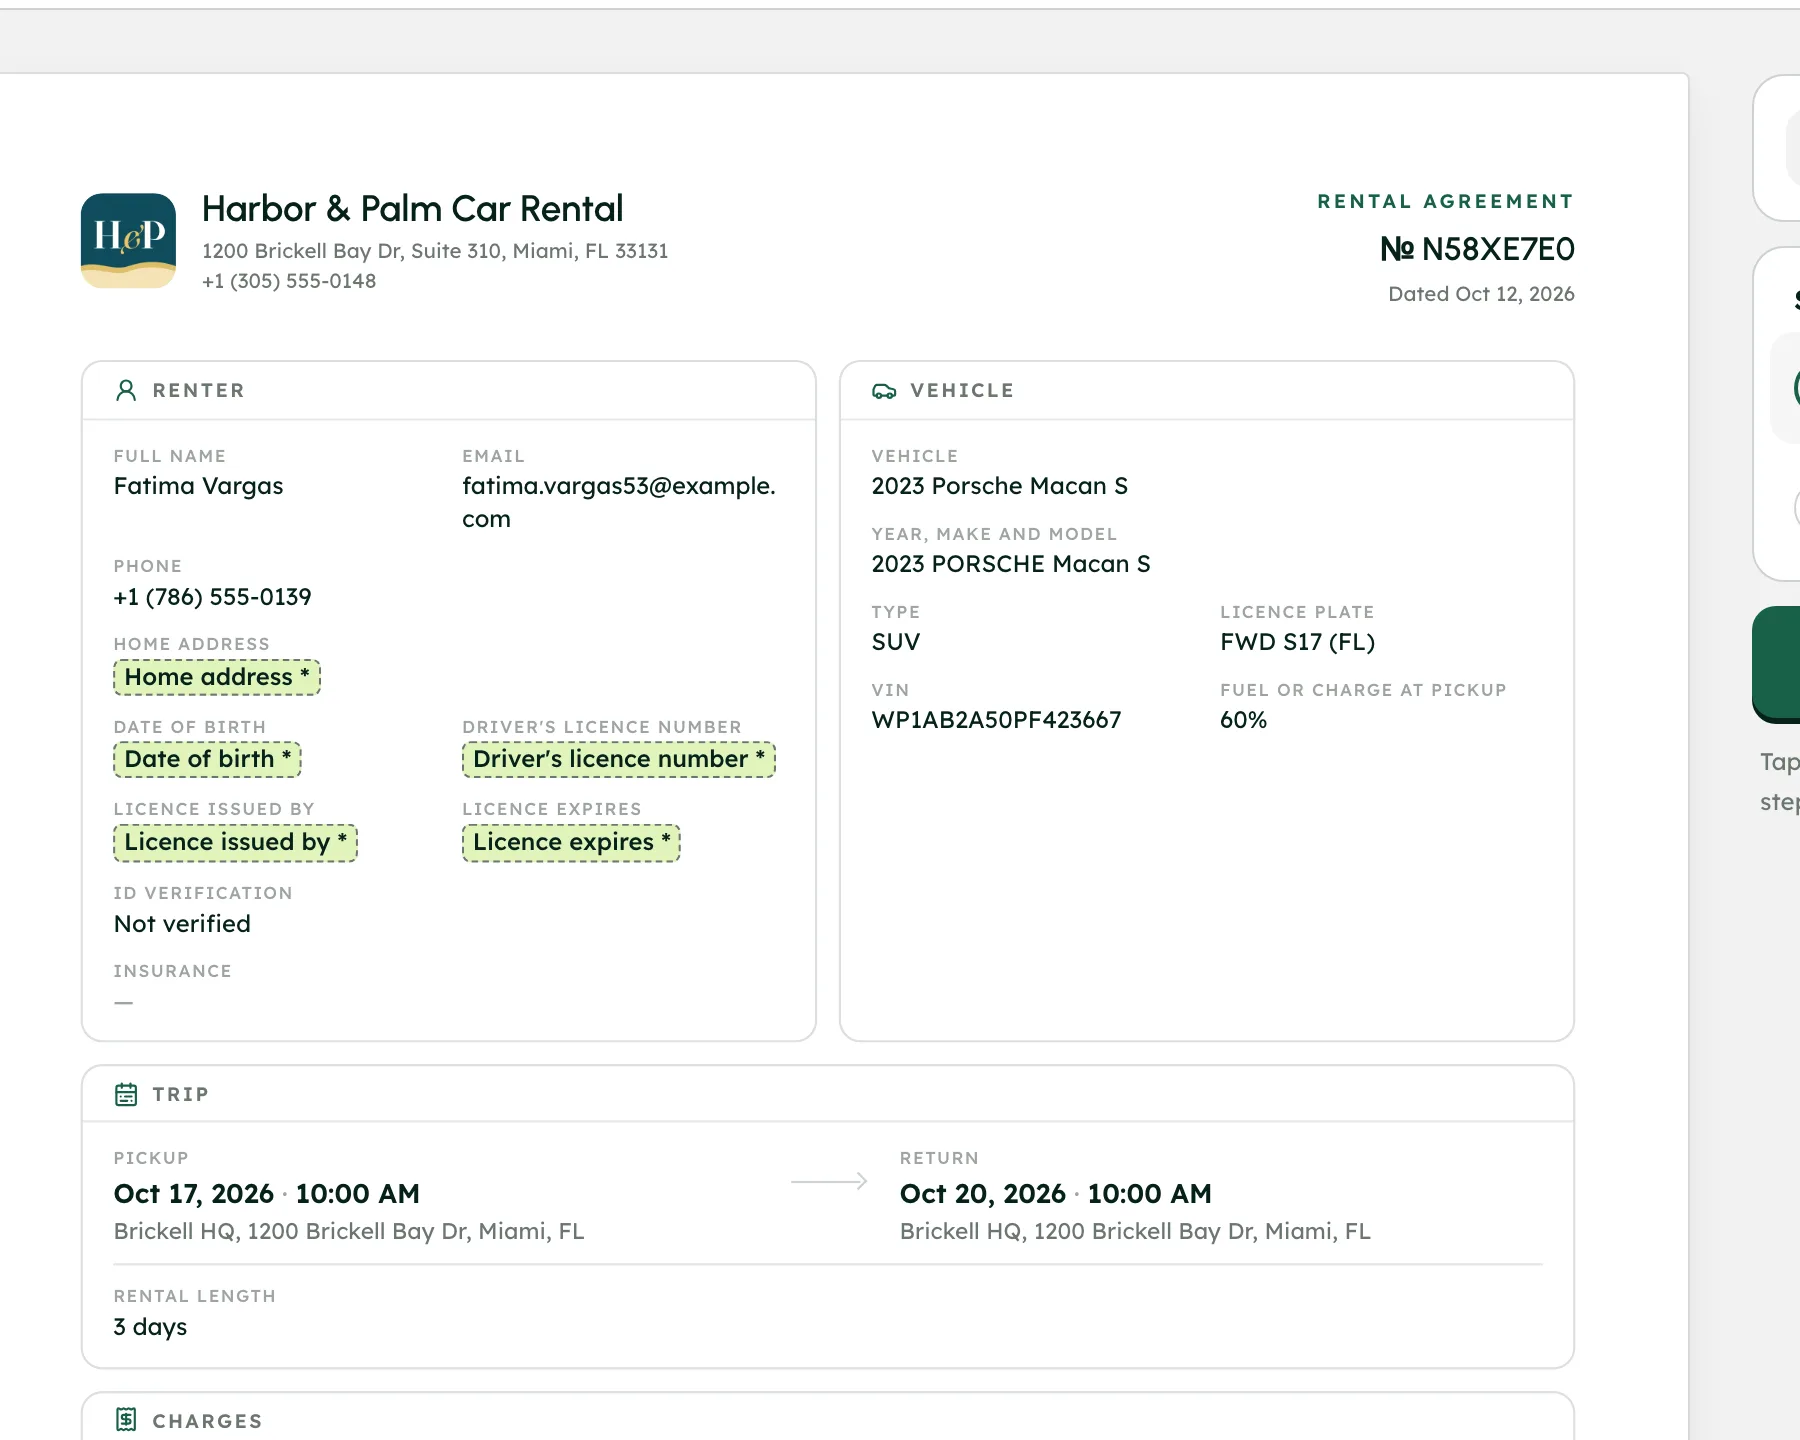
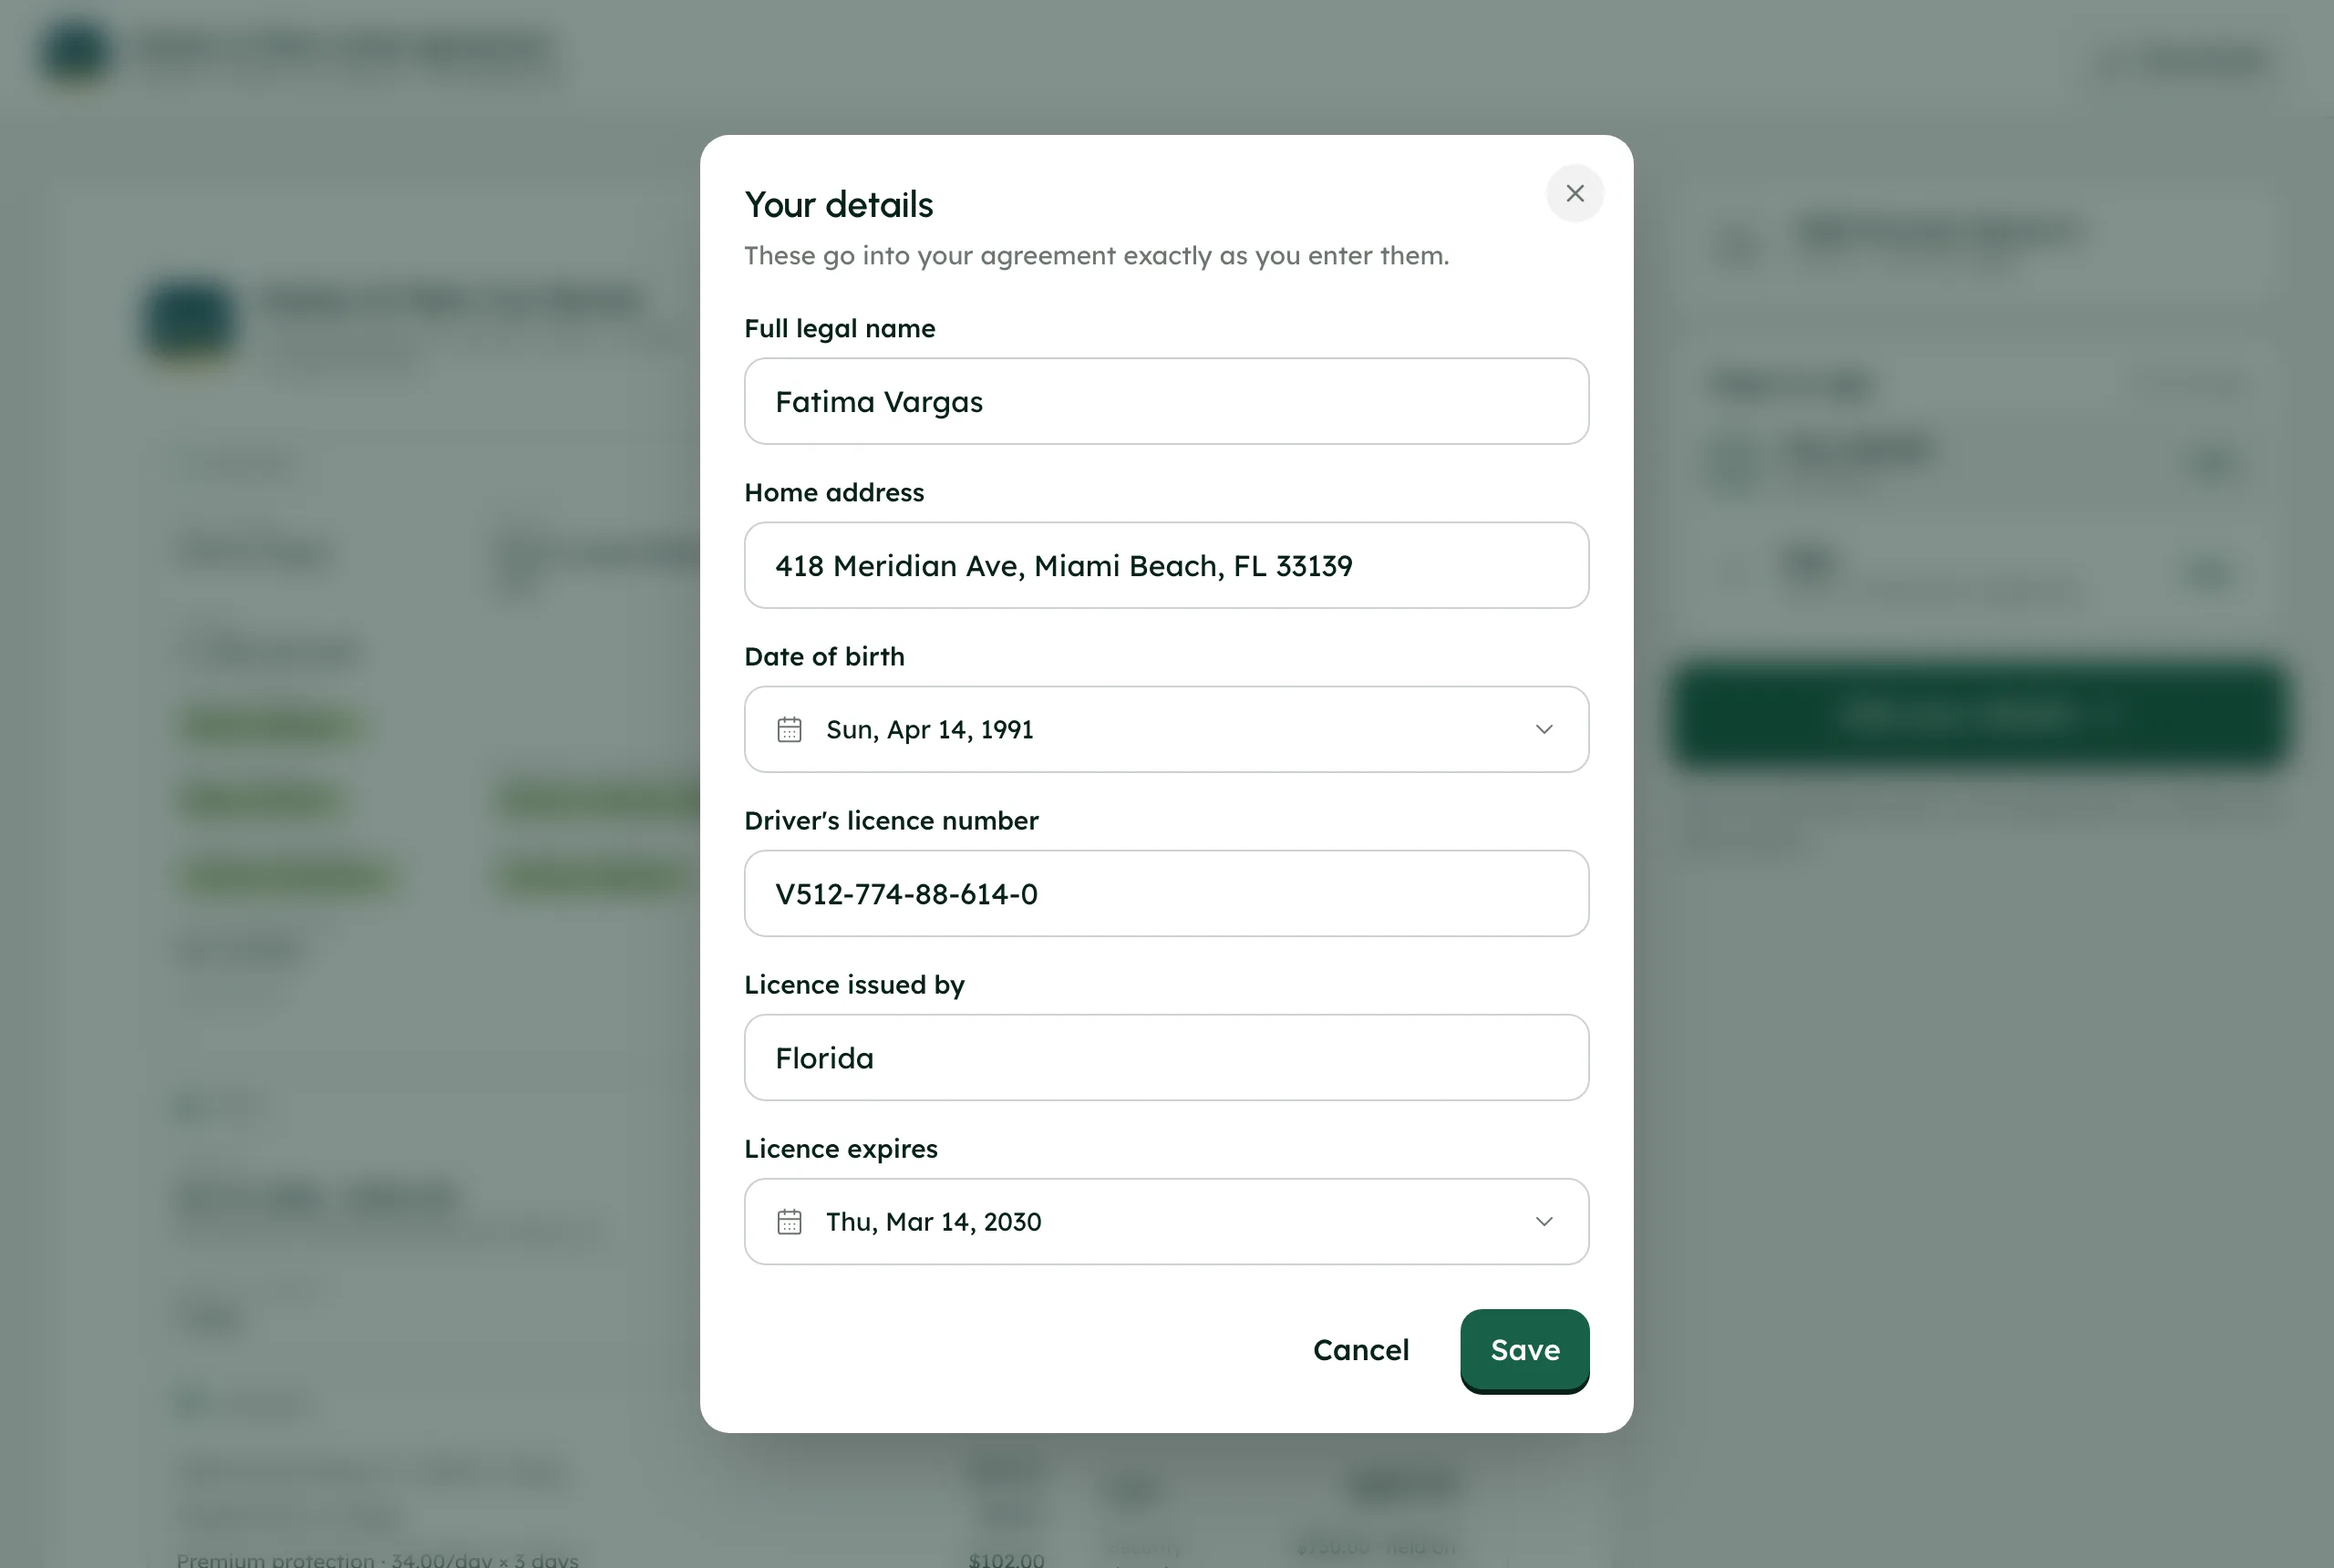
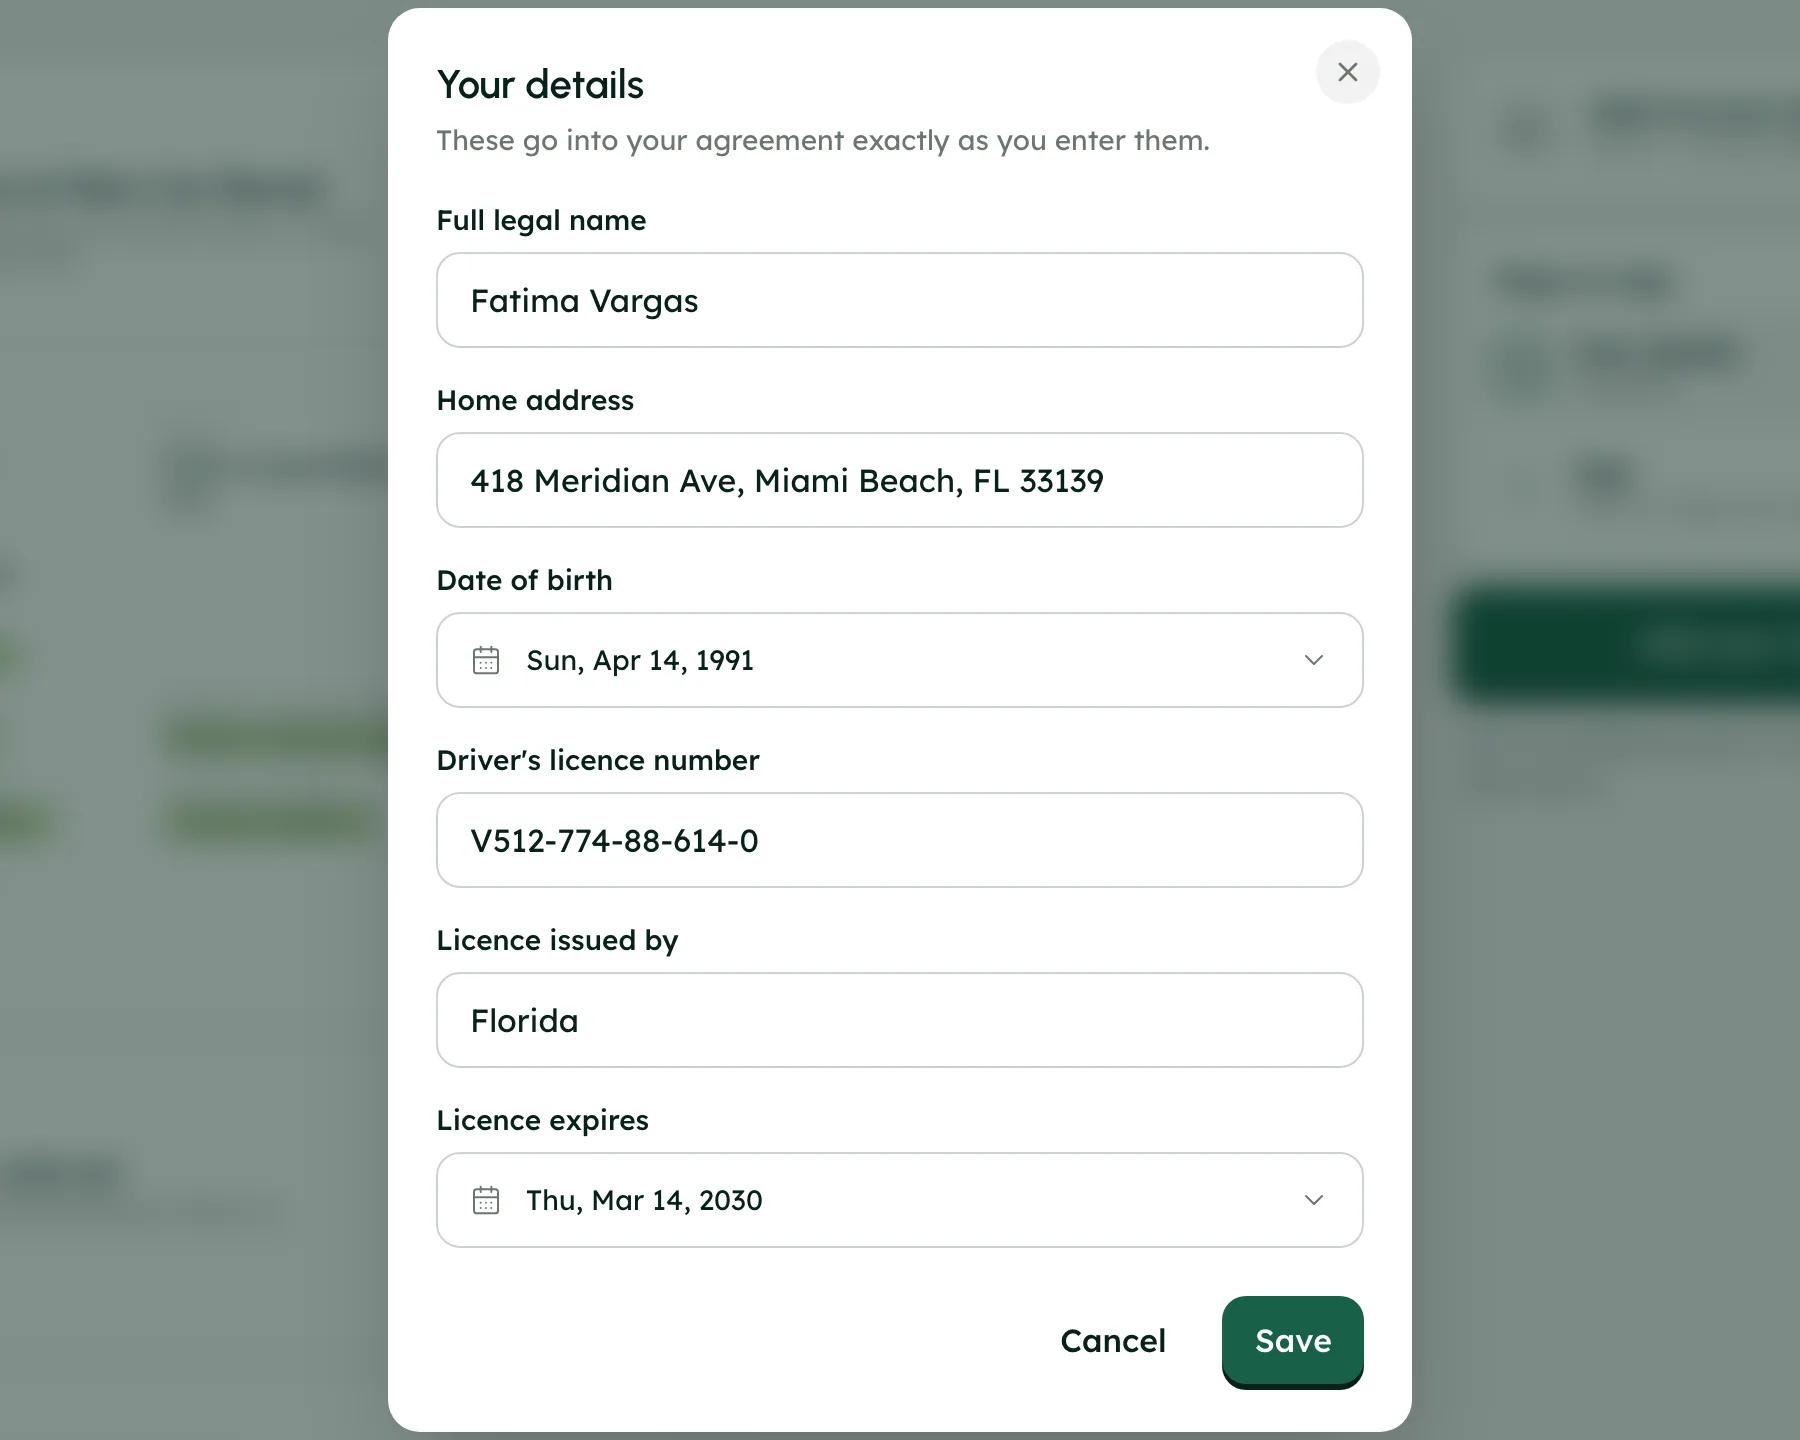
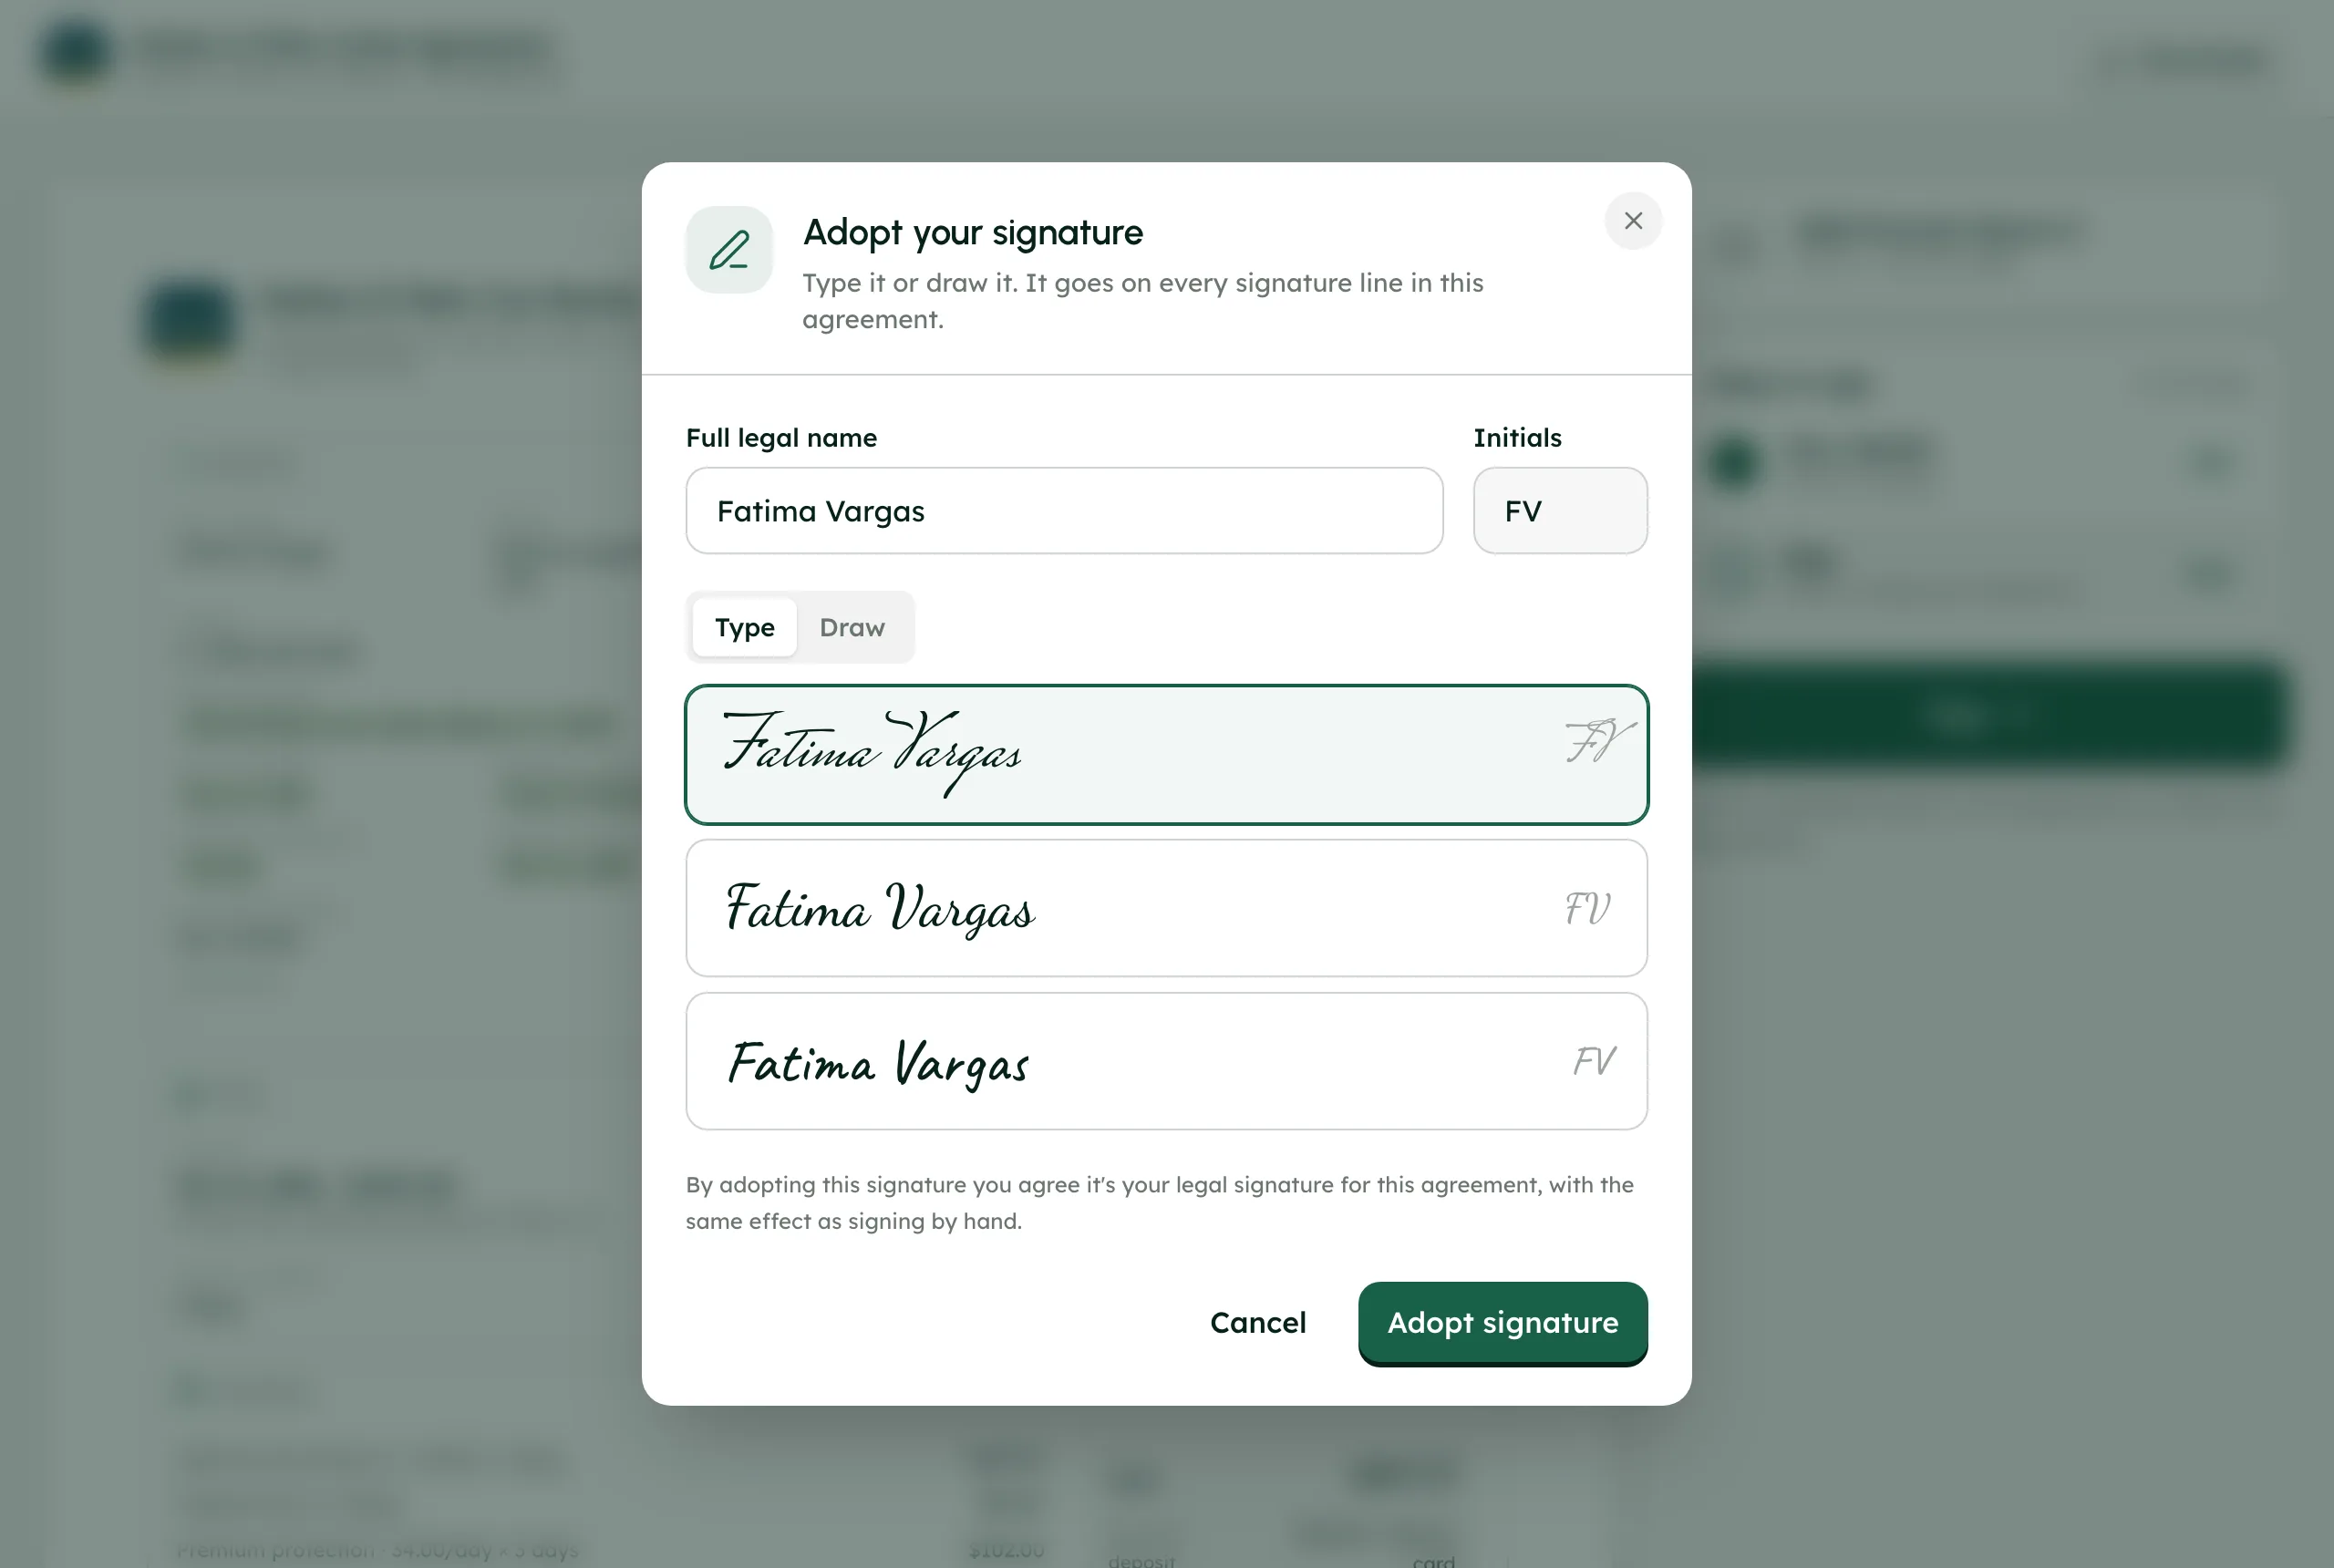
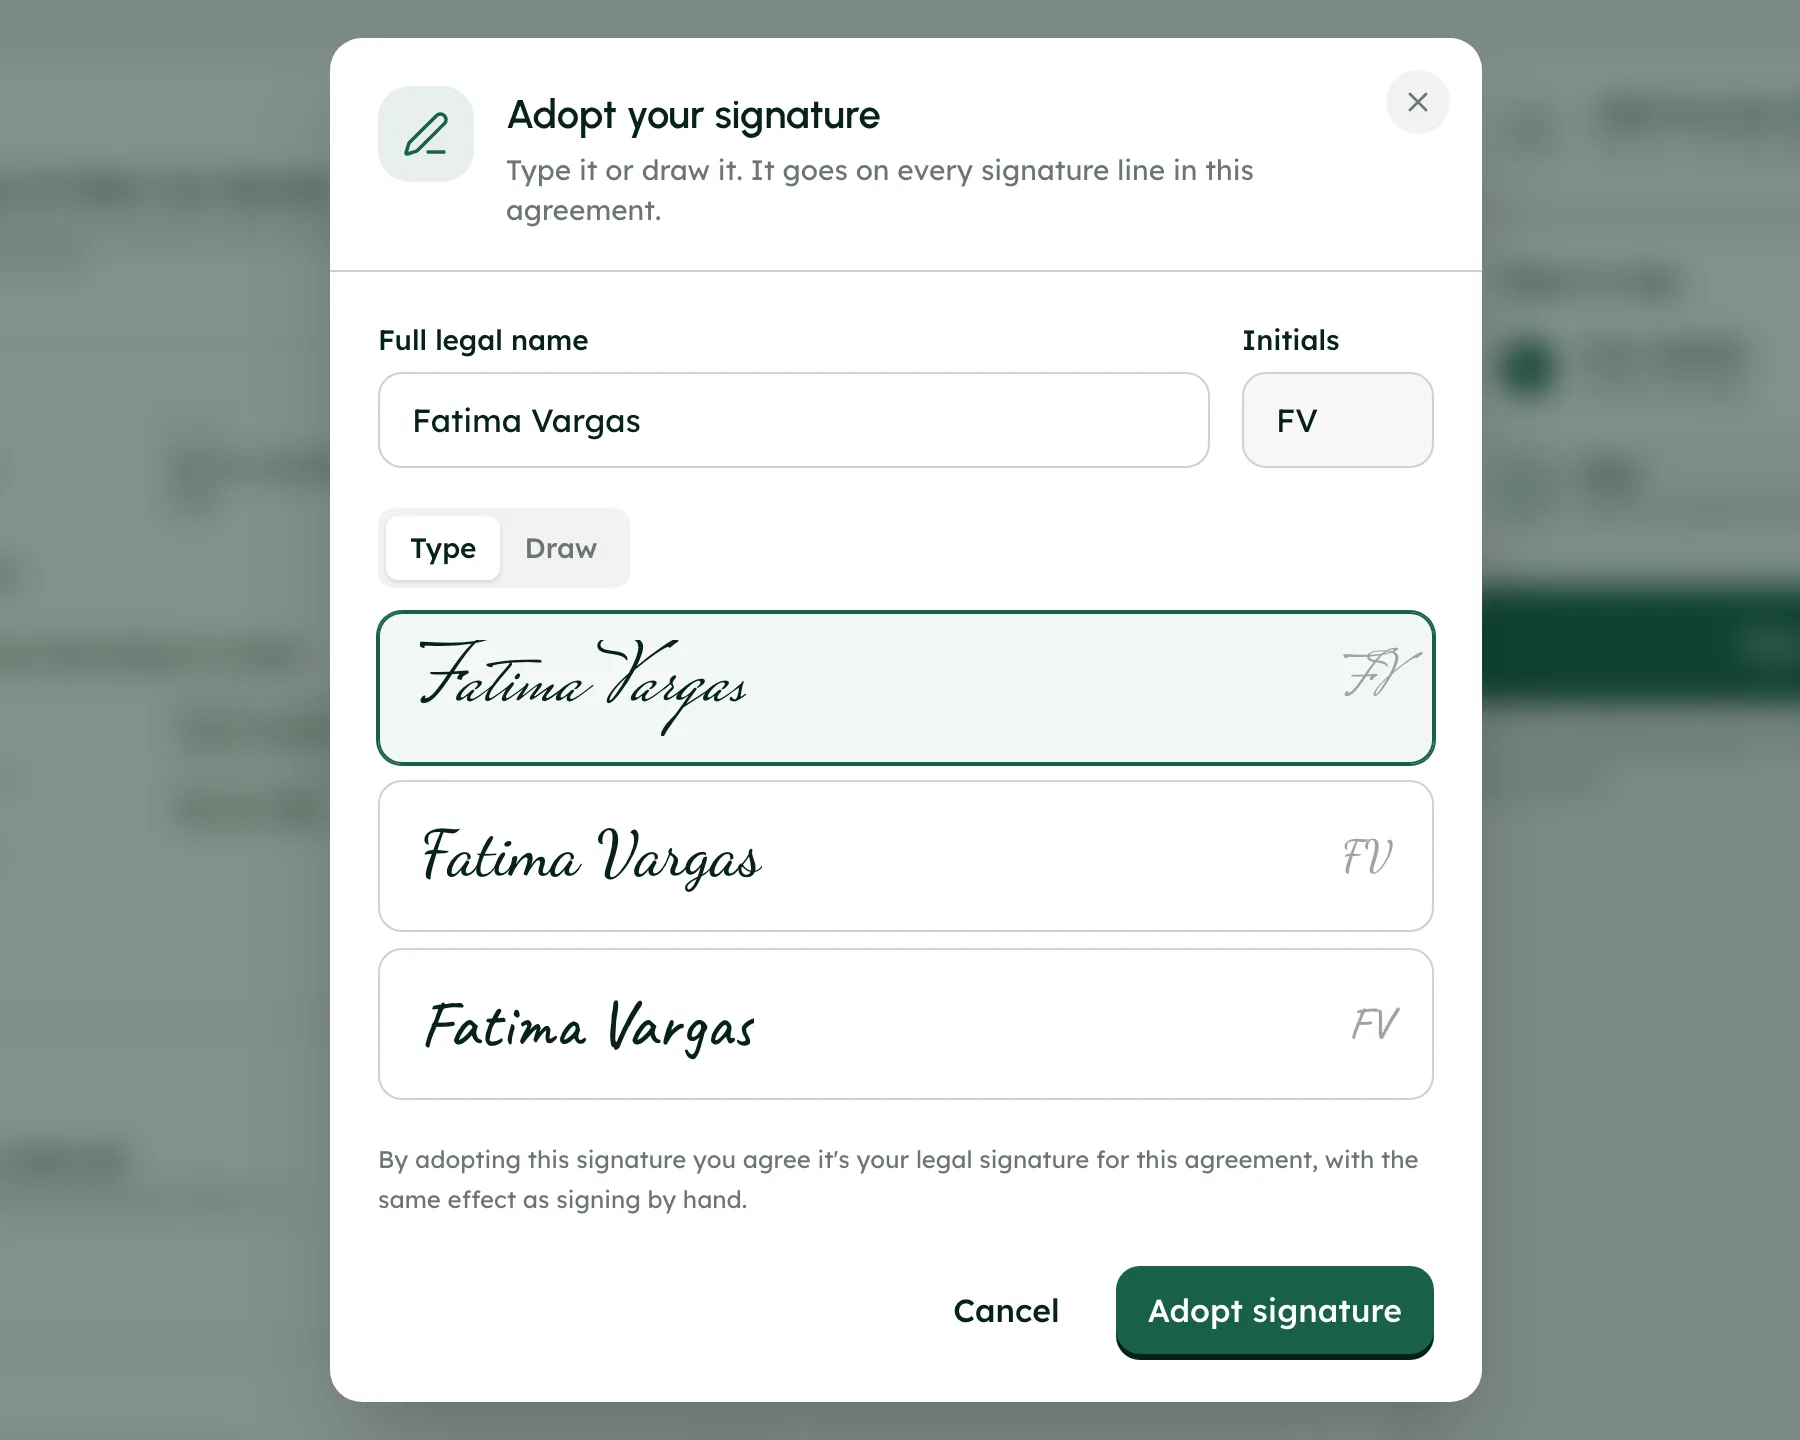
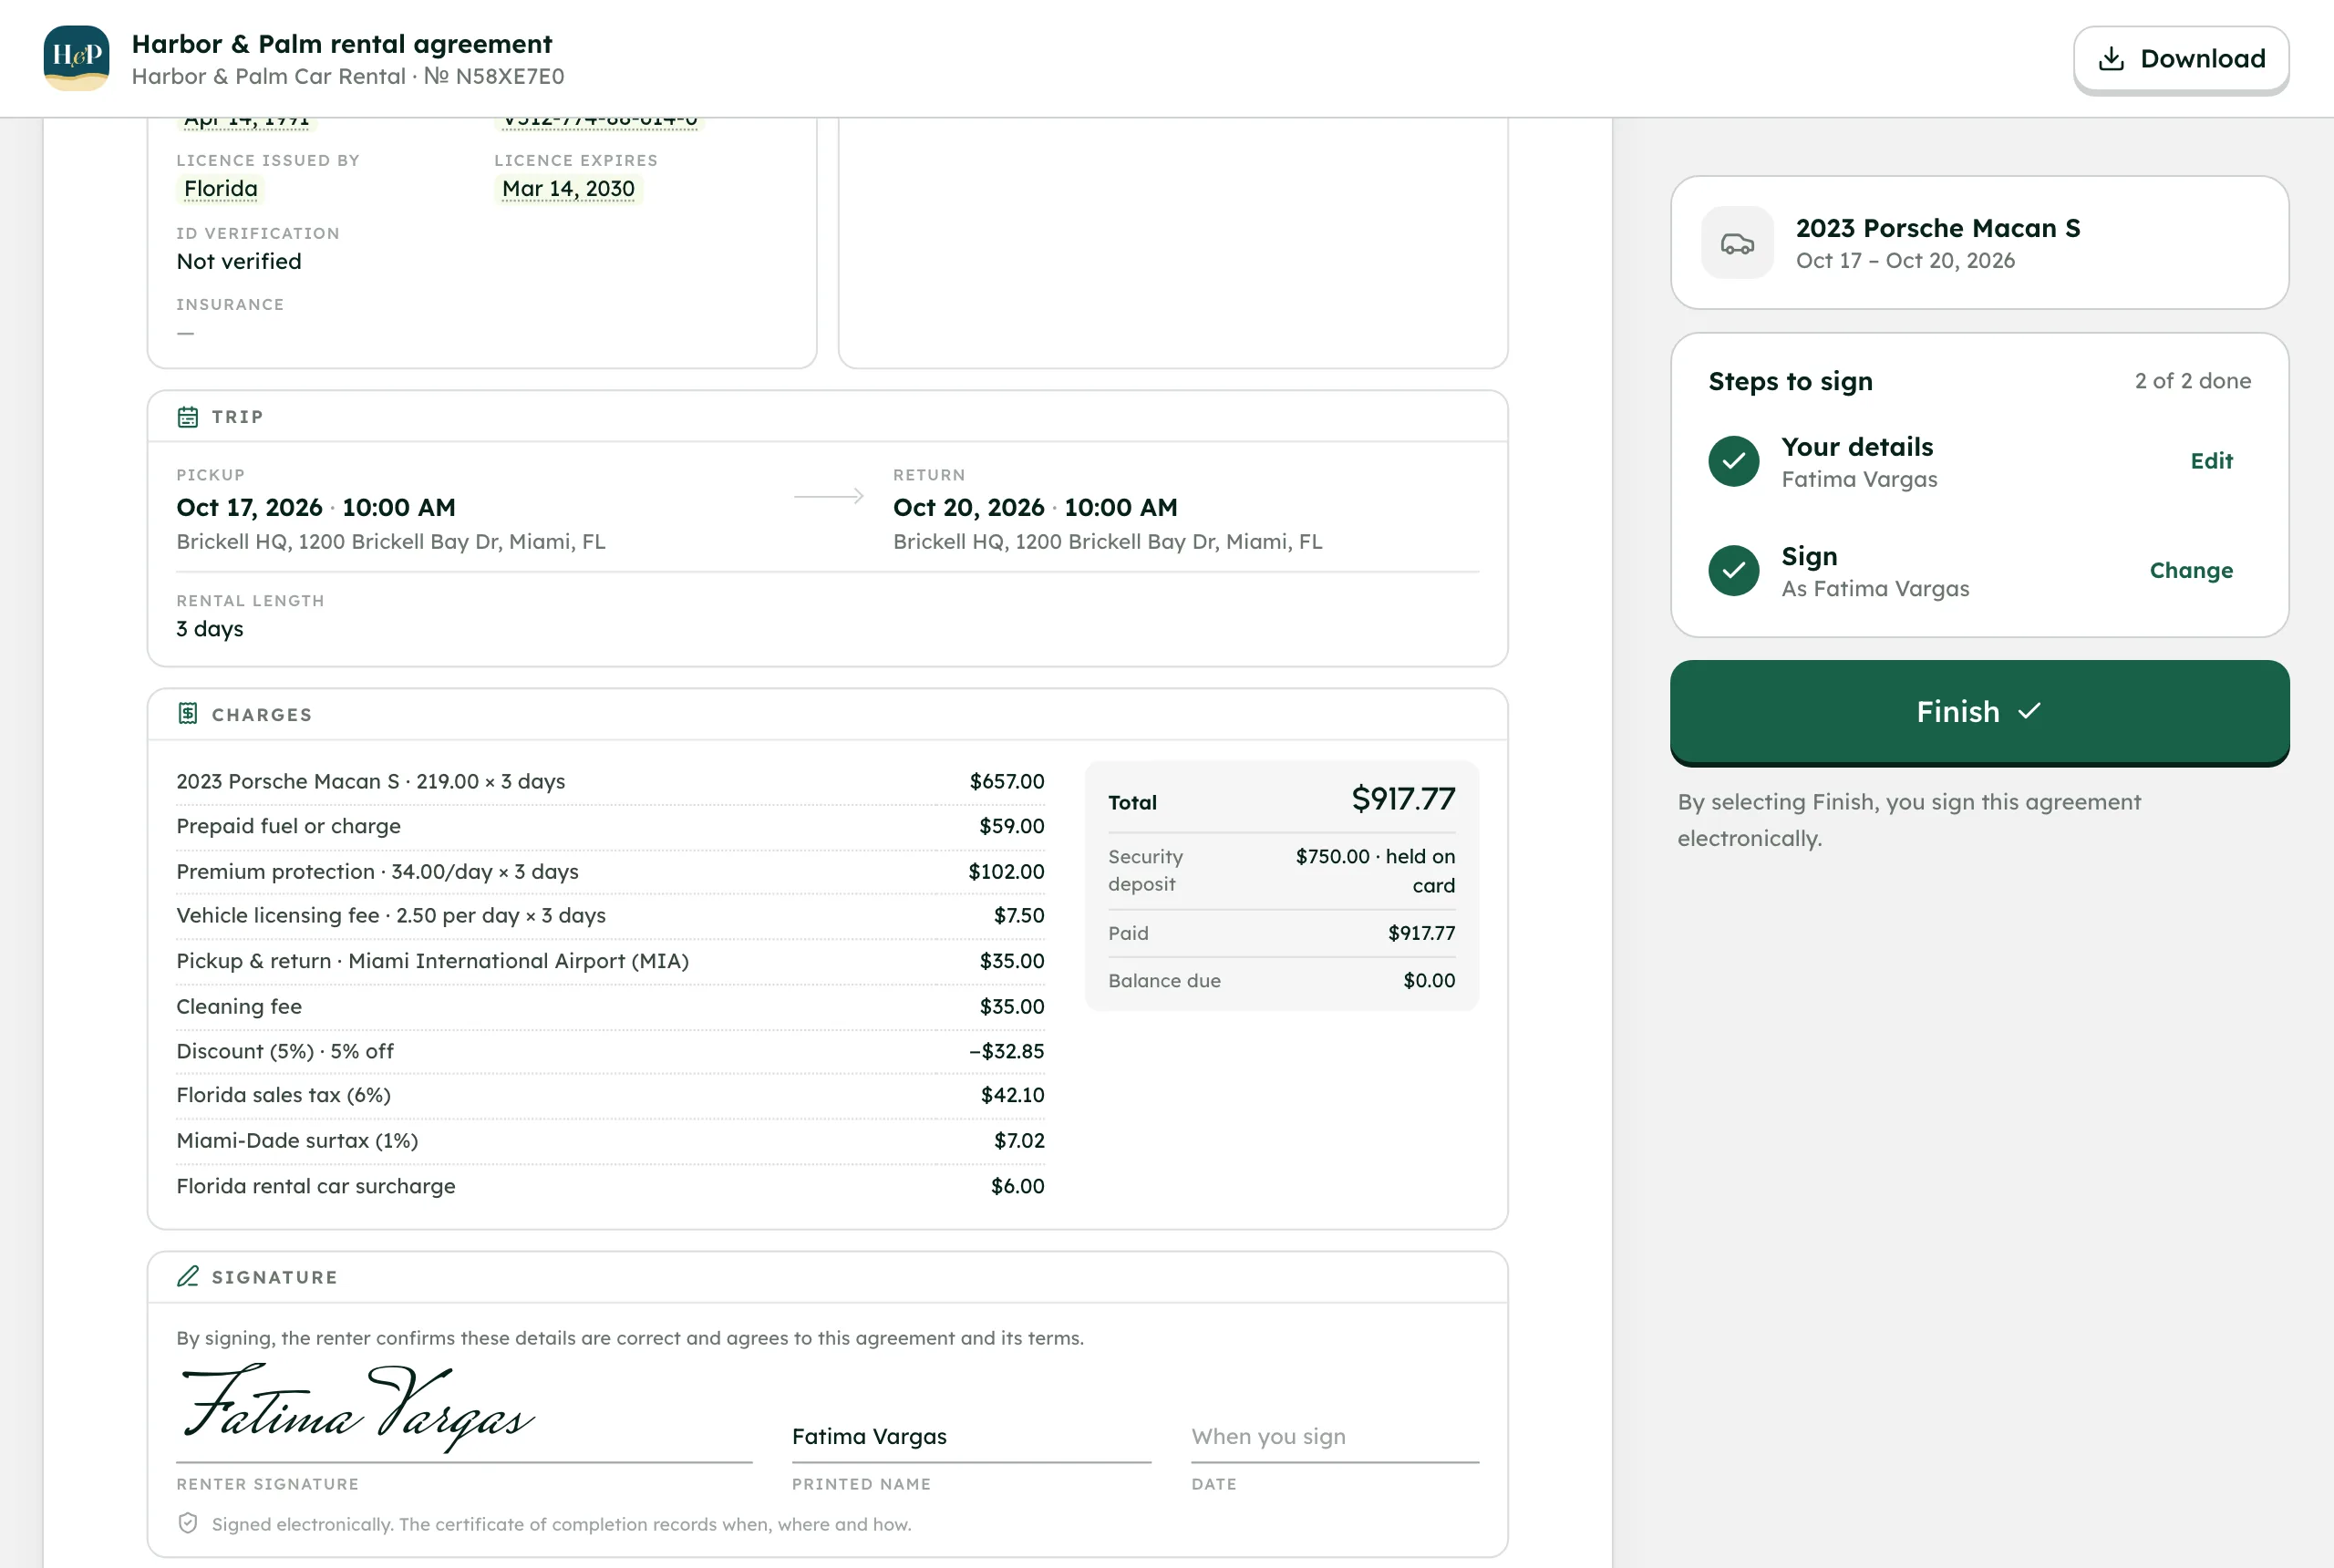
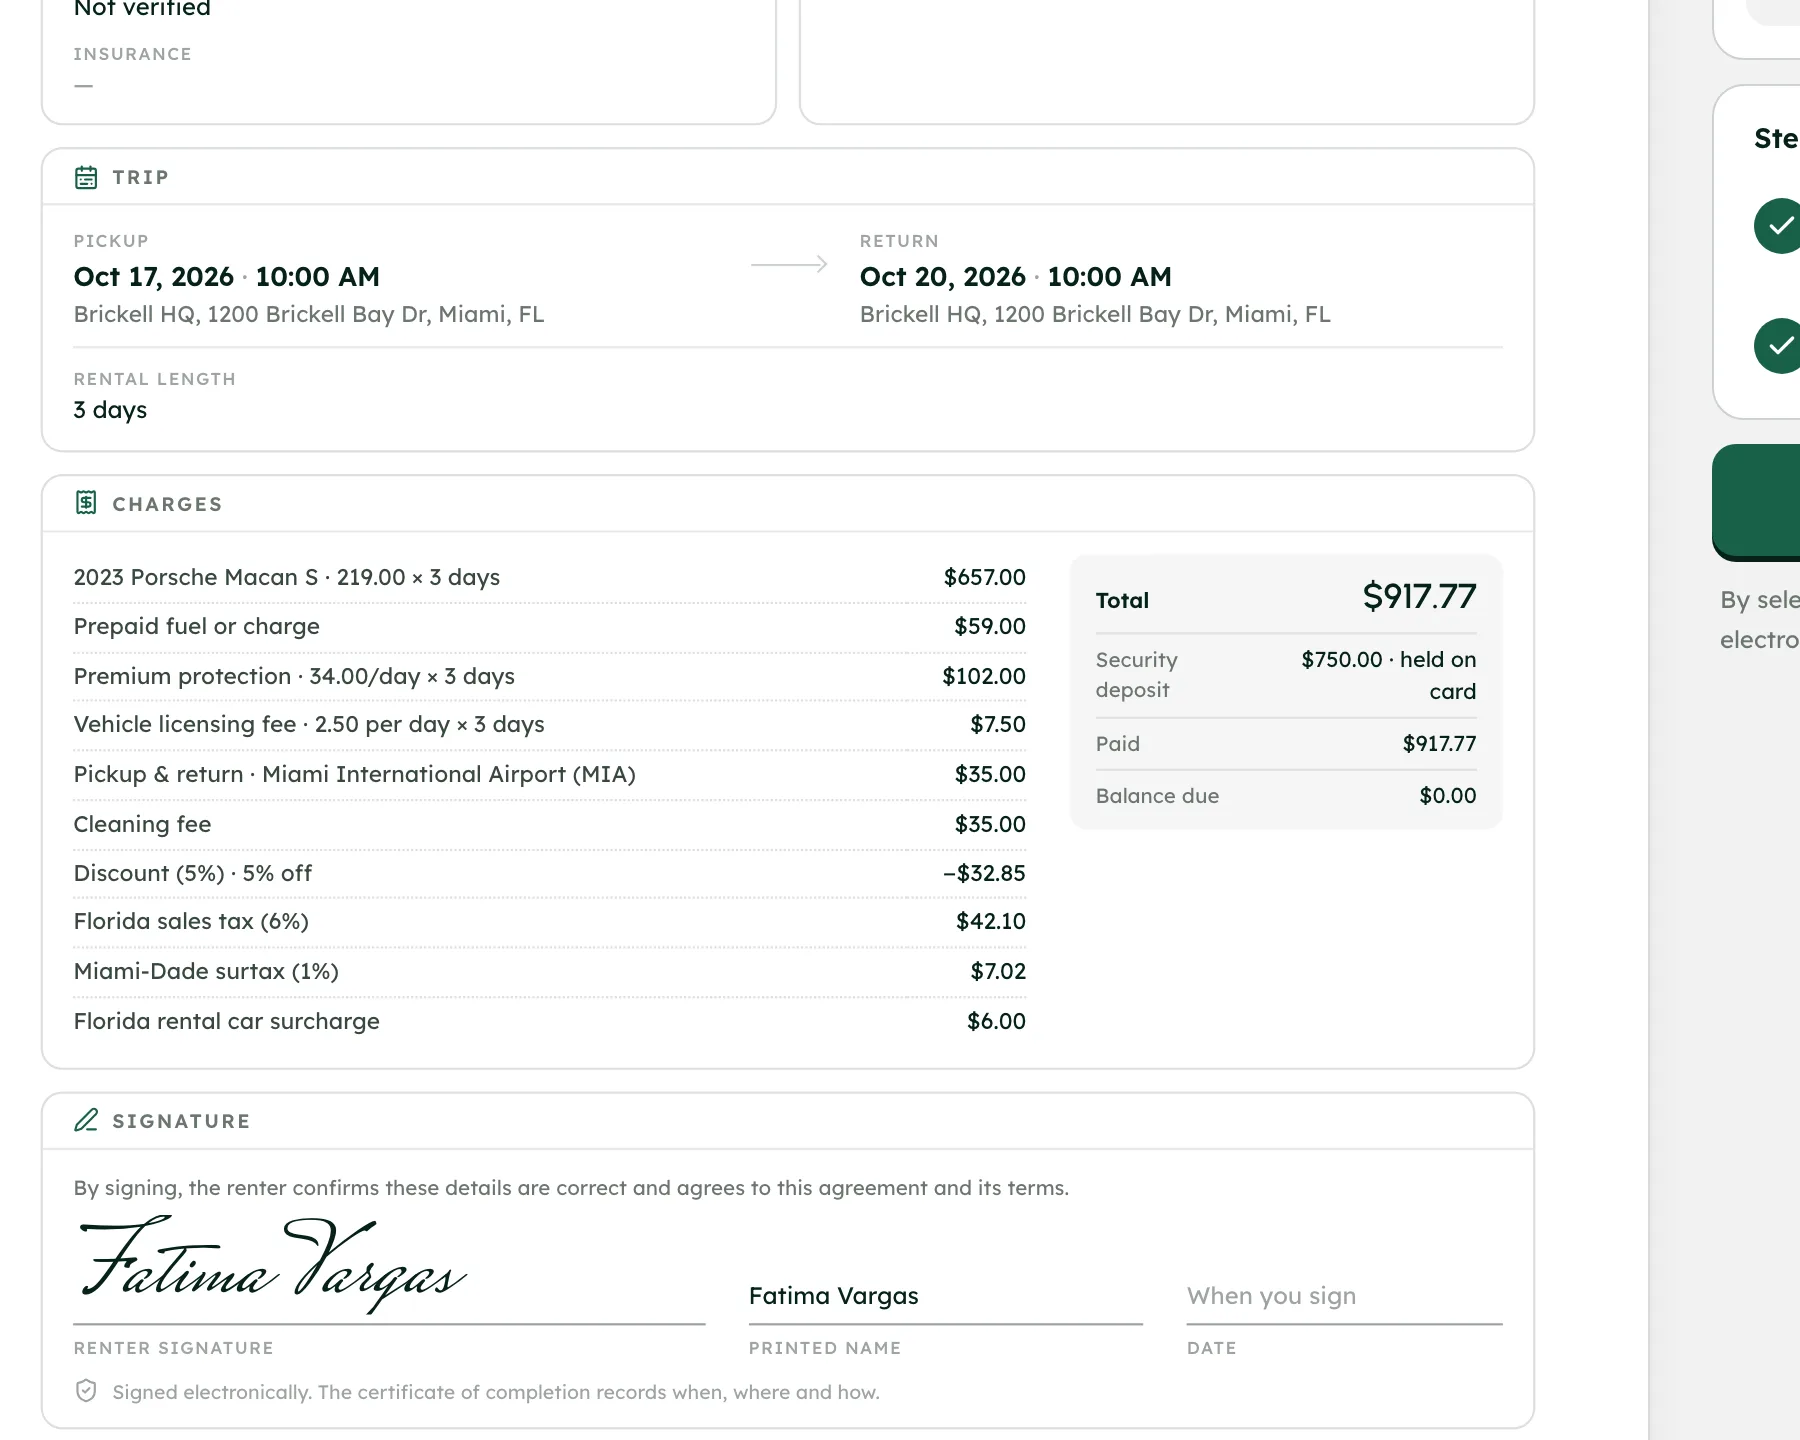
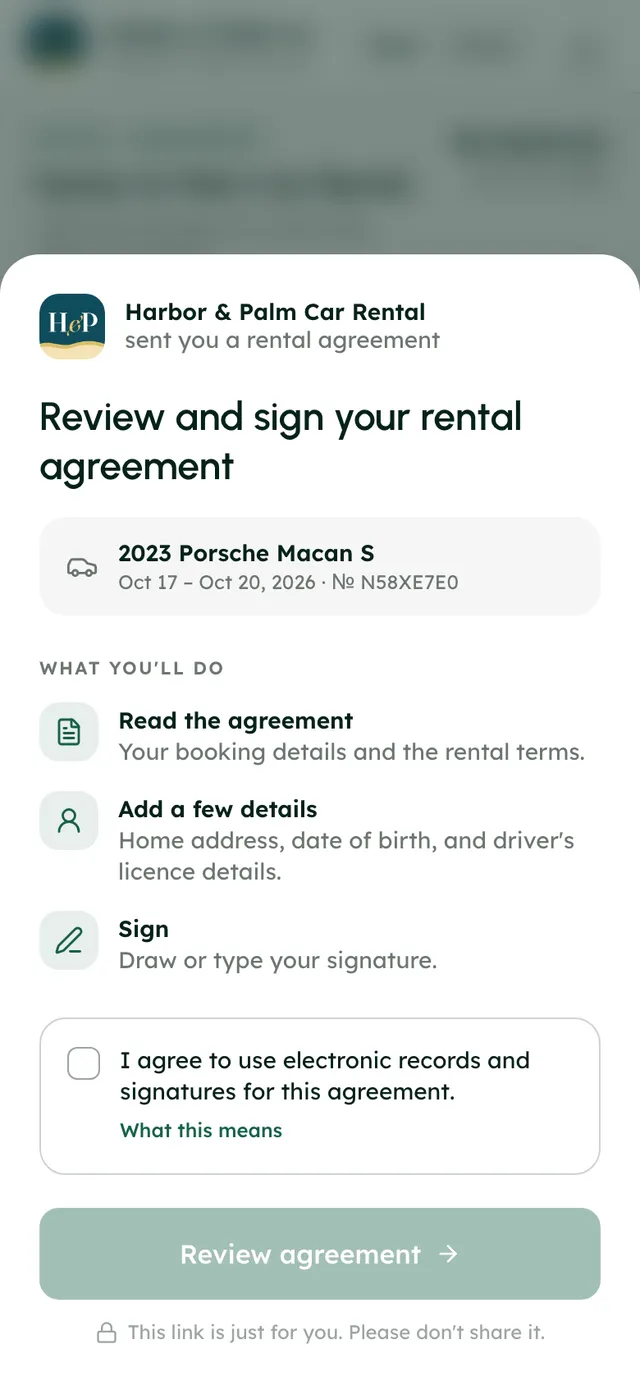
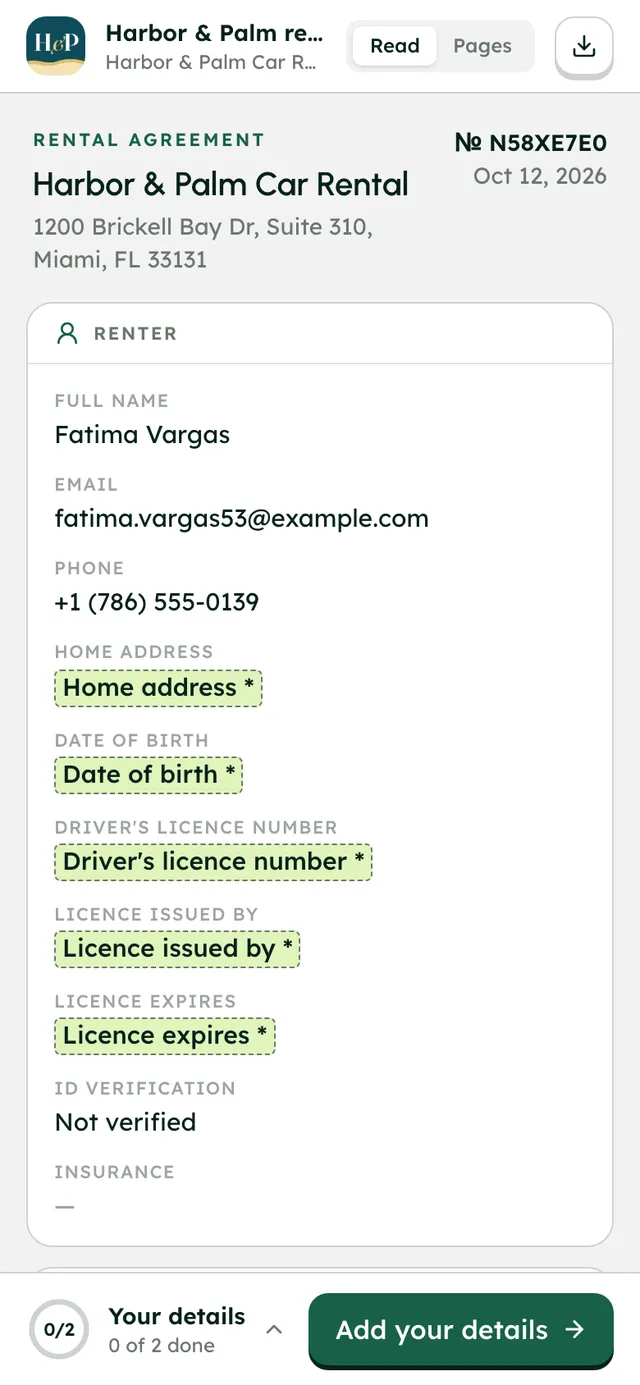
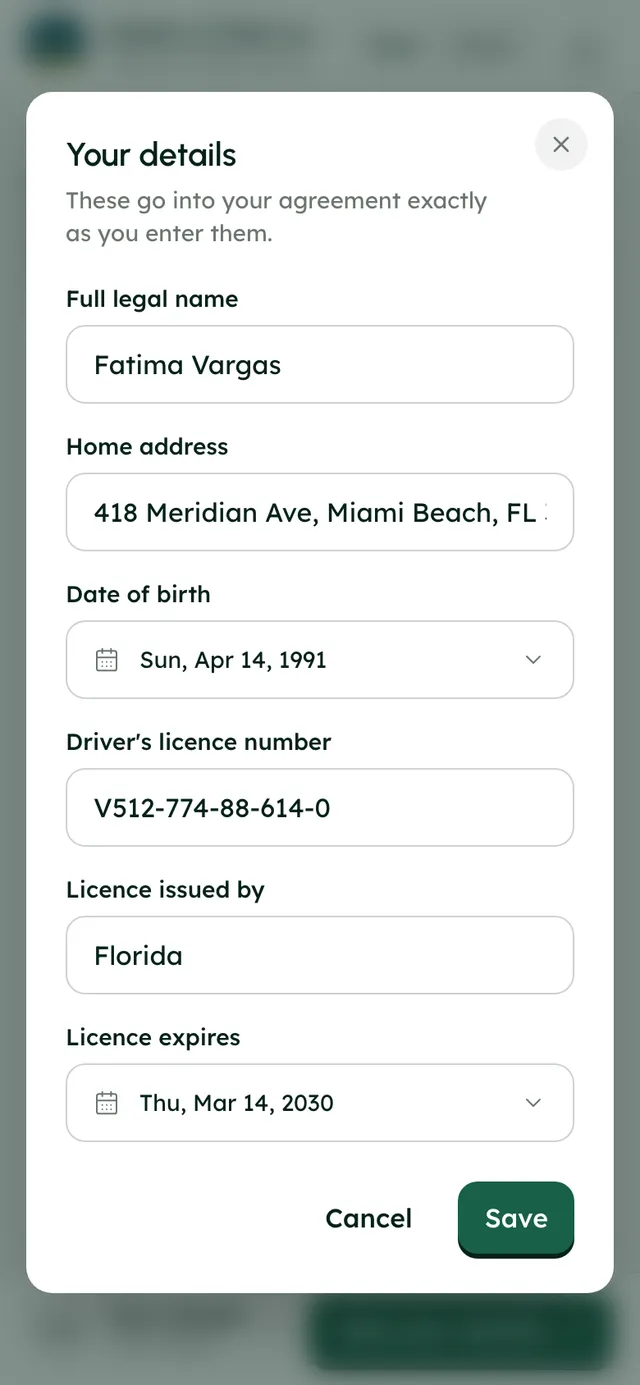
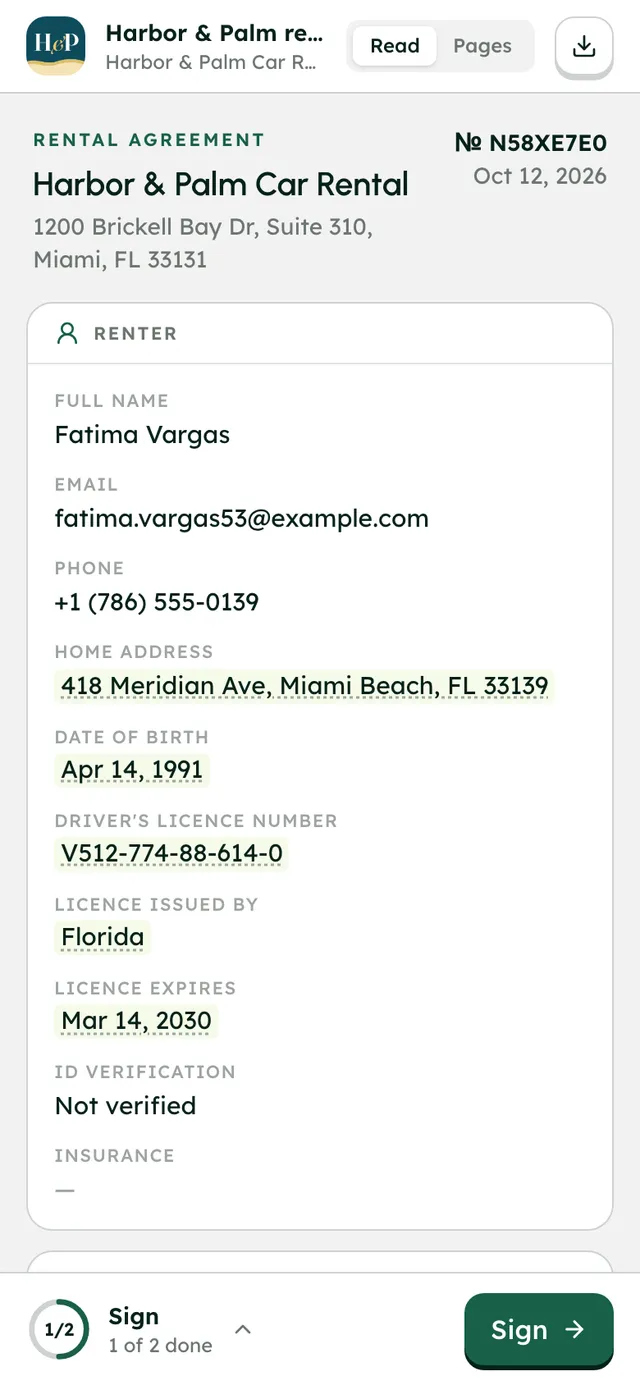
An agreement's booking details page, filled in from the booking and signed.
How it works
- 1
Add an agreement
Go to Settings → Legal → Rental agreements and press Add Agreement.
- 2
Build from the template
Choose Build from our template and press Open the editor. Write your terms and drop in fields from the Fields and Clauses panels, so each booking fills in its own names, dates, car and prices.
- 3
Or upload your PDF
Choose Upload your own PDF, press Continue to upload and pick a PDF of up to 15 MB. Drag fields onto the pages. Add a Renter signature field.
- 4
Choose how renters sign
Pick Signature (draw or type), ID verification (passing the Stripe ID check signs it) or ID and signature.
- 5
Send it automatically
Leave Send automatically on to email the link when a booking is confirmed. It's on by default.
- 6
Choose which agreement each car uses
Cars use the default agreement. To change one, open the vehicle's Settings tab and pick another under Legal policies → Rental agreement.
- 7
Send, follow and download
On a booking, use Send to renter or Preview under Rental Agreement, or Send the agreement in the Inbox. Once it's signed, open View signed copy and press Download.
Best practices
- Use field chips rather than typing booking details, so every agreement fills itself in correctly.
- Preview the agreement on a real booking before you rely on automatic sending.
- Write your privacy policy, terms and cancellation policy in Settings → Legal too. Renters see them at checkout and on your website.
Things to keep in mind
- Changing a booking issues a new version of its agreement and keeps the old one. If it was already signed, it goes back to unsigned and isn't re-sent by itself. Press Send again.
- With ID verification or ID and signature, renters must pass the Stripe ID check to sign. That needs Stripe Identity set up, and a document sent by hand doesn't count.
- An uploaded PDF needs a Renter signature field.
- RentHive gives you the tools to send and sign agreements, not legal advice. Have your terms checked for your state.
What's automated
- With Send automatically on, the agreement goes out when a booking is confirmed.
- Renters with an unsigned agreement get reminders 2 days and 1 day before pickup.
- Every signed agreement gets a certificate of completion with its audit trail.
- Agreement signed ticks off on the booking's readiness checklist.
Common questions
Can I use the agreement I already have?
Yes. Upload it as a PDF and place the fields where they belong.
Do renters need to print anything?
No. They sign on their phone or computer, and can download a signed copy.
What happens if the dates change after the renter has signed?
A new version is issued with the new details, and the renter needs to sign it again. The earlier version stays on record.