Launching your booking website
Pick a template, claim a free .sites.renthive.co address and go live. Then shape the site in the drag-and-drop editor, add pages, and set how each page shows up on Google.
Overview
Every RentHive account can run its own booking website. You start from one of three templates (Coastal, Midnight or Urban) and a free address like yourfleet.sites.renthive.co. The site goes live with a home page, your fleet, a page for every car, about and contact pages, booking and manage-booking pages, and your legal pages.
Cars, prices and availability come straight from RentHive, so the site stays current. Renters search by date, open a car's page with its availability calendar, and book through the full checkout.
Design changes are made in the editor and saved as a draft. Visitors don't see them until you press Publish, and every publish is kept as a version you can go back to.
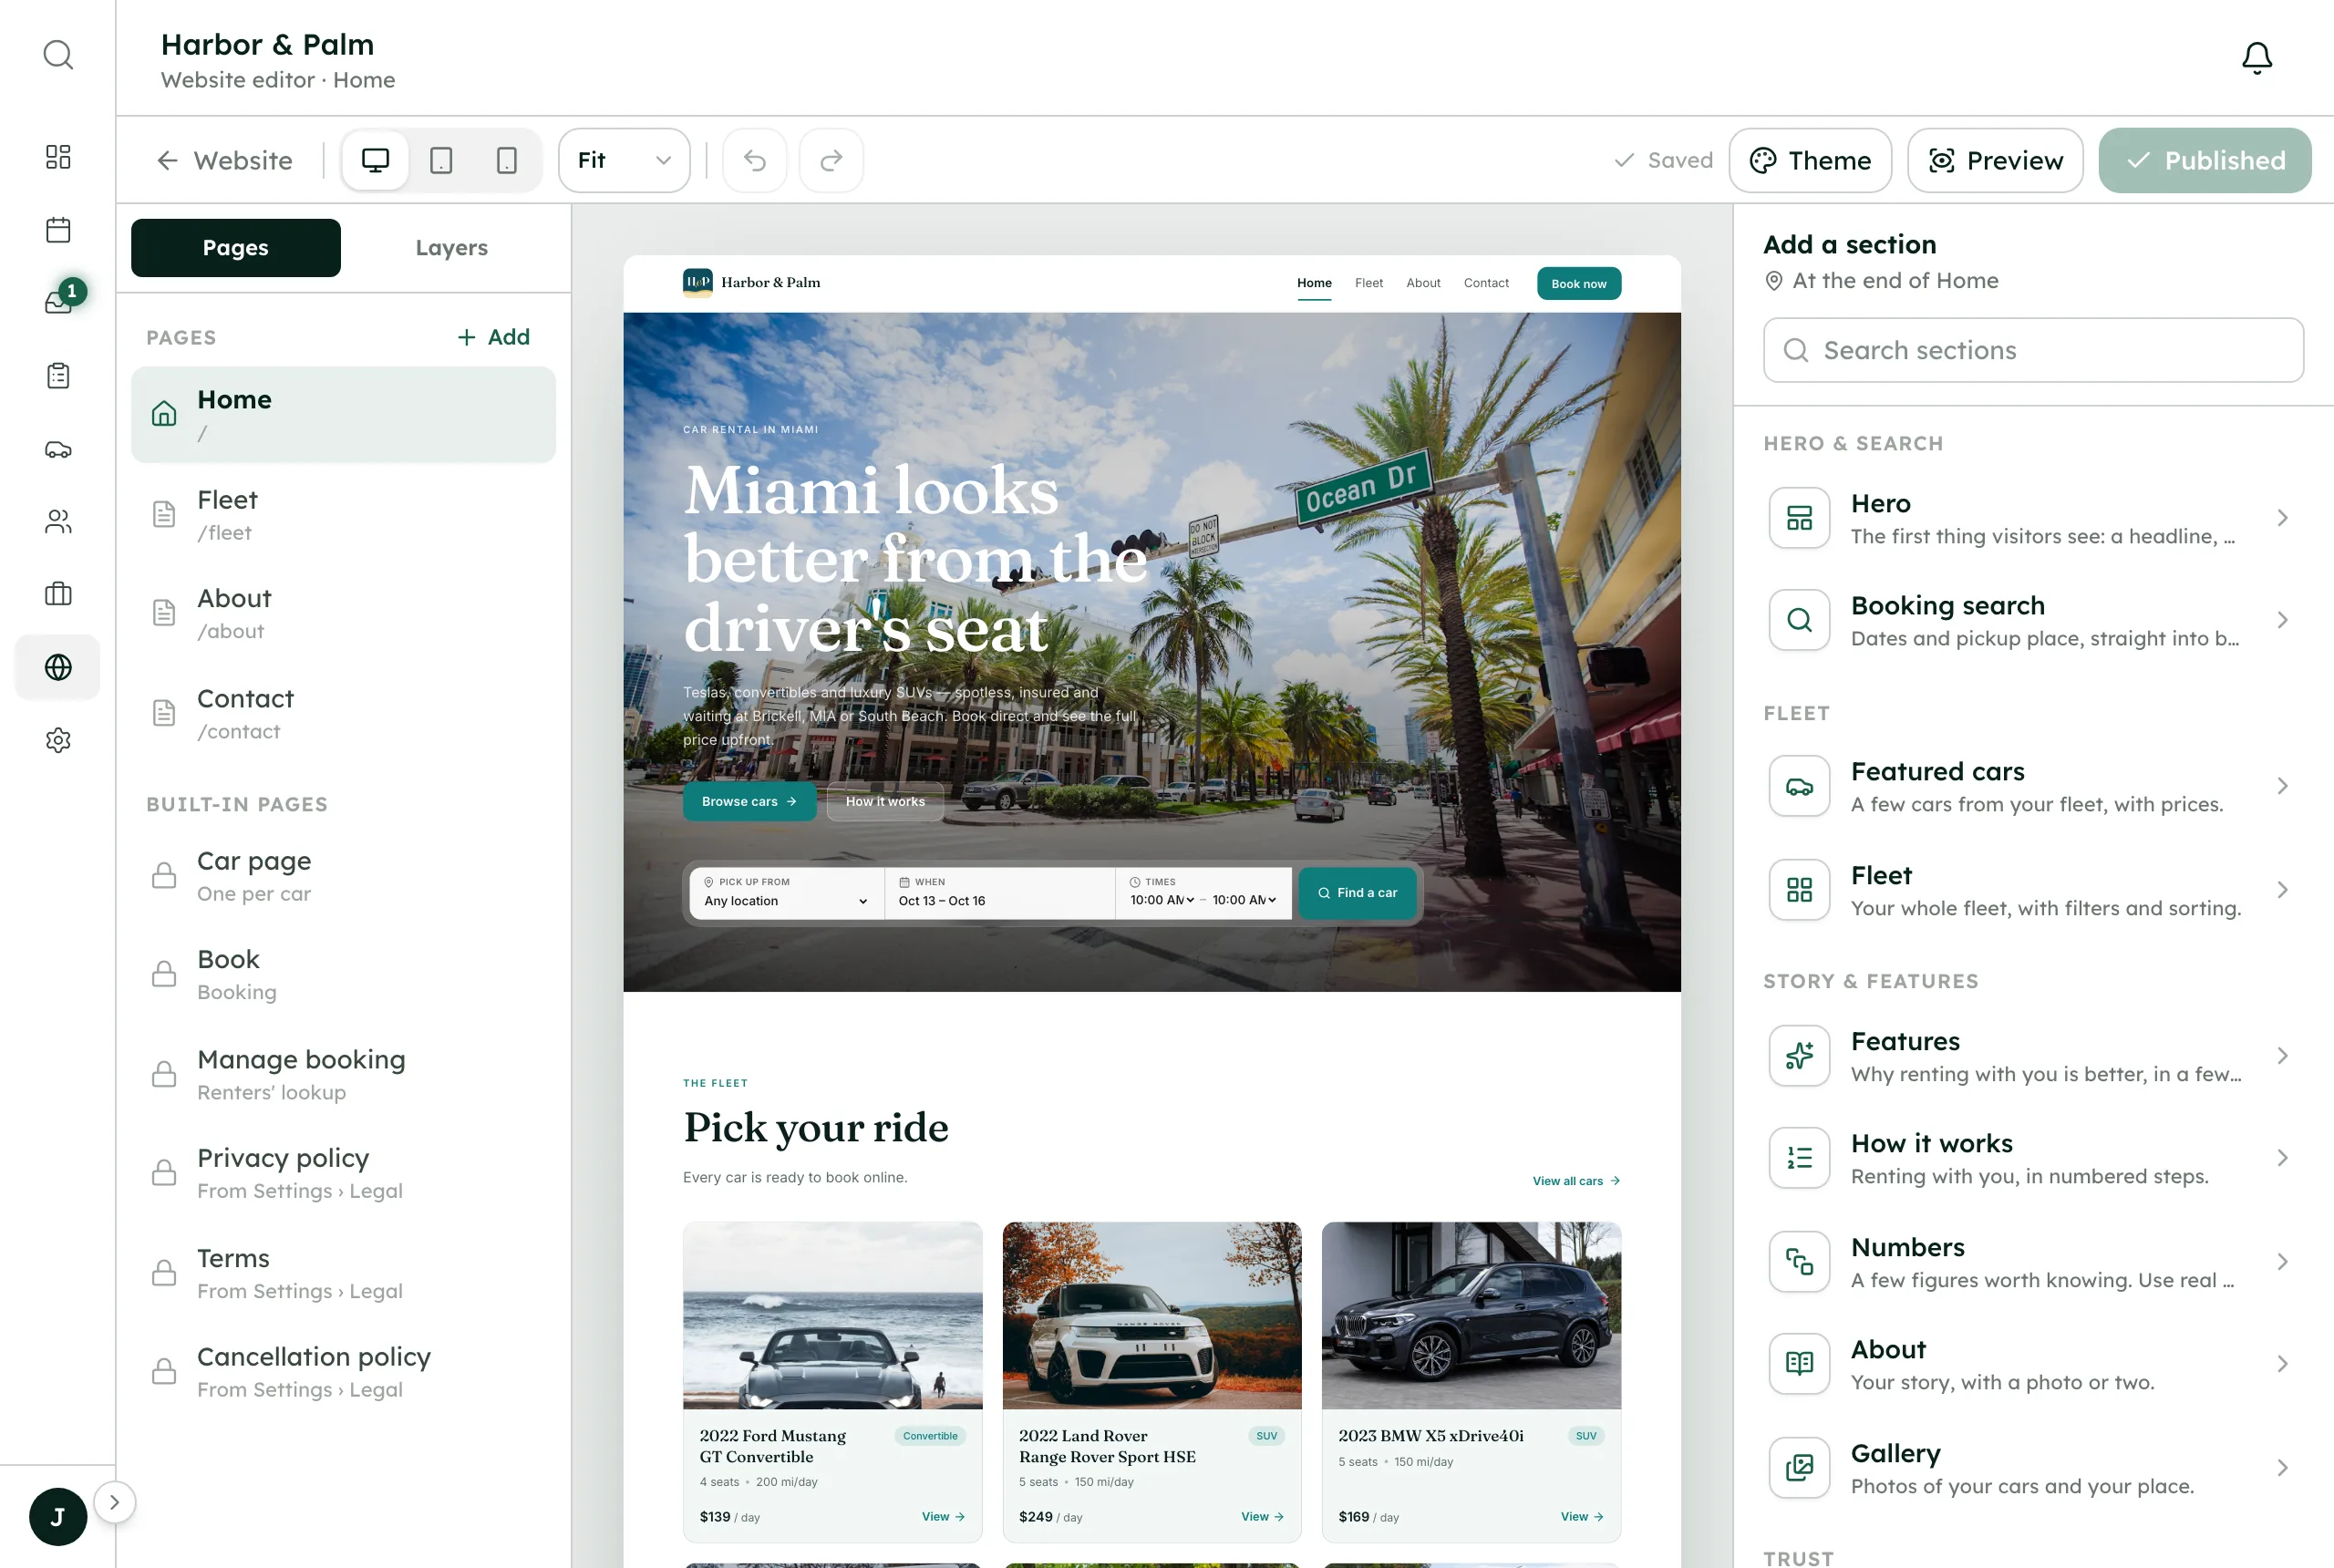
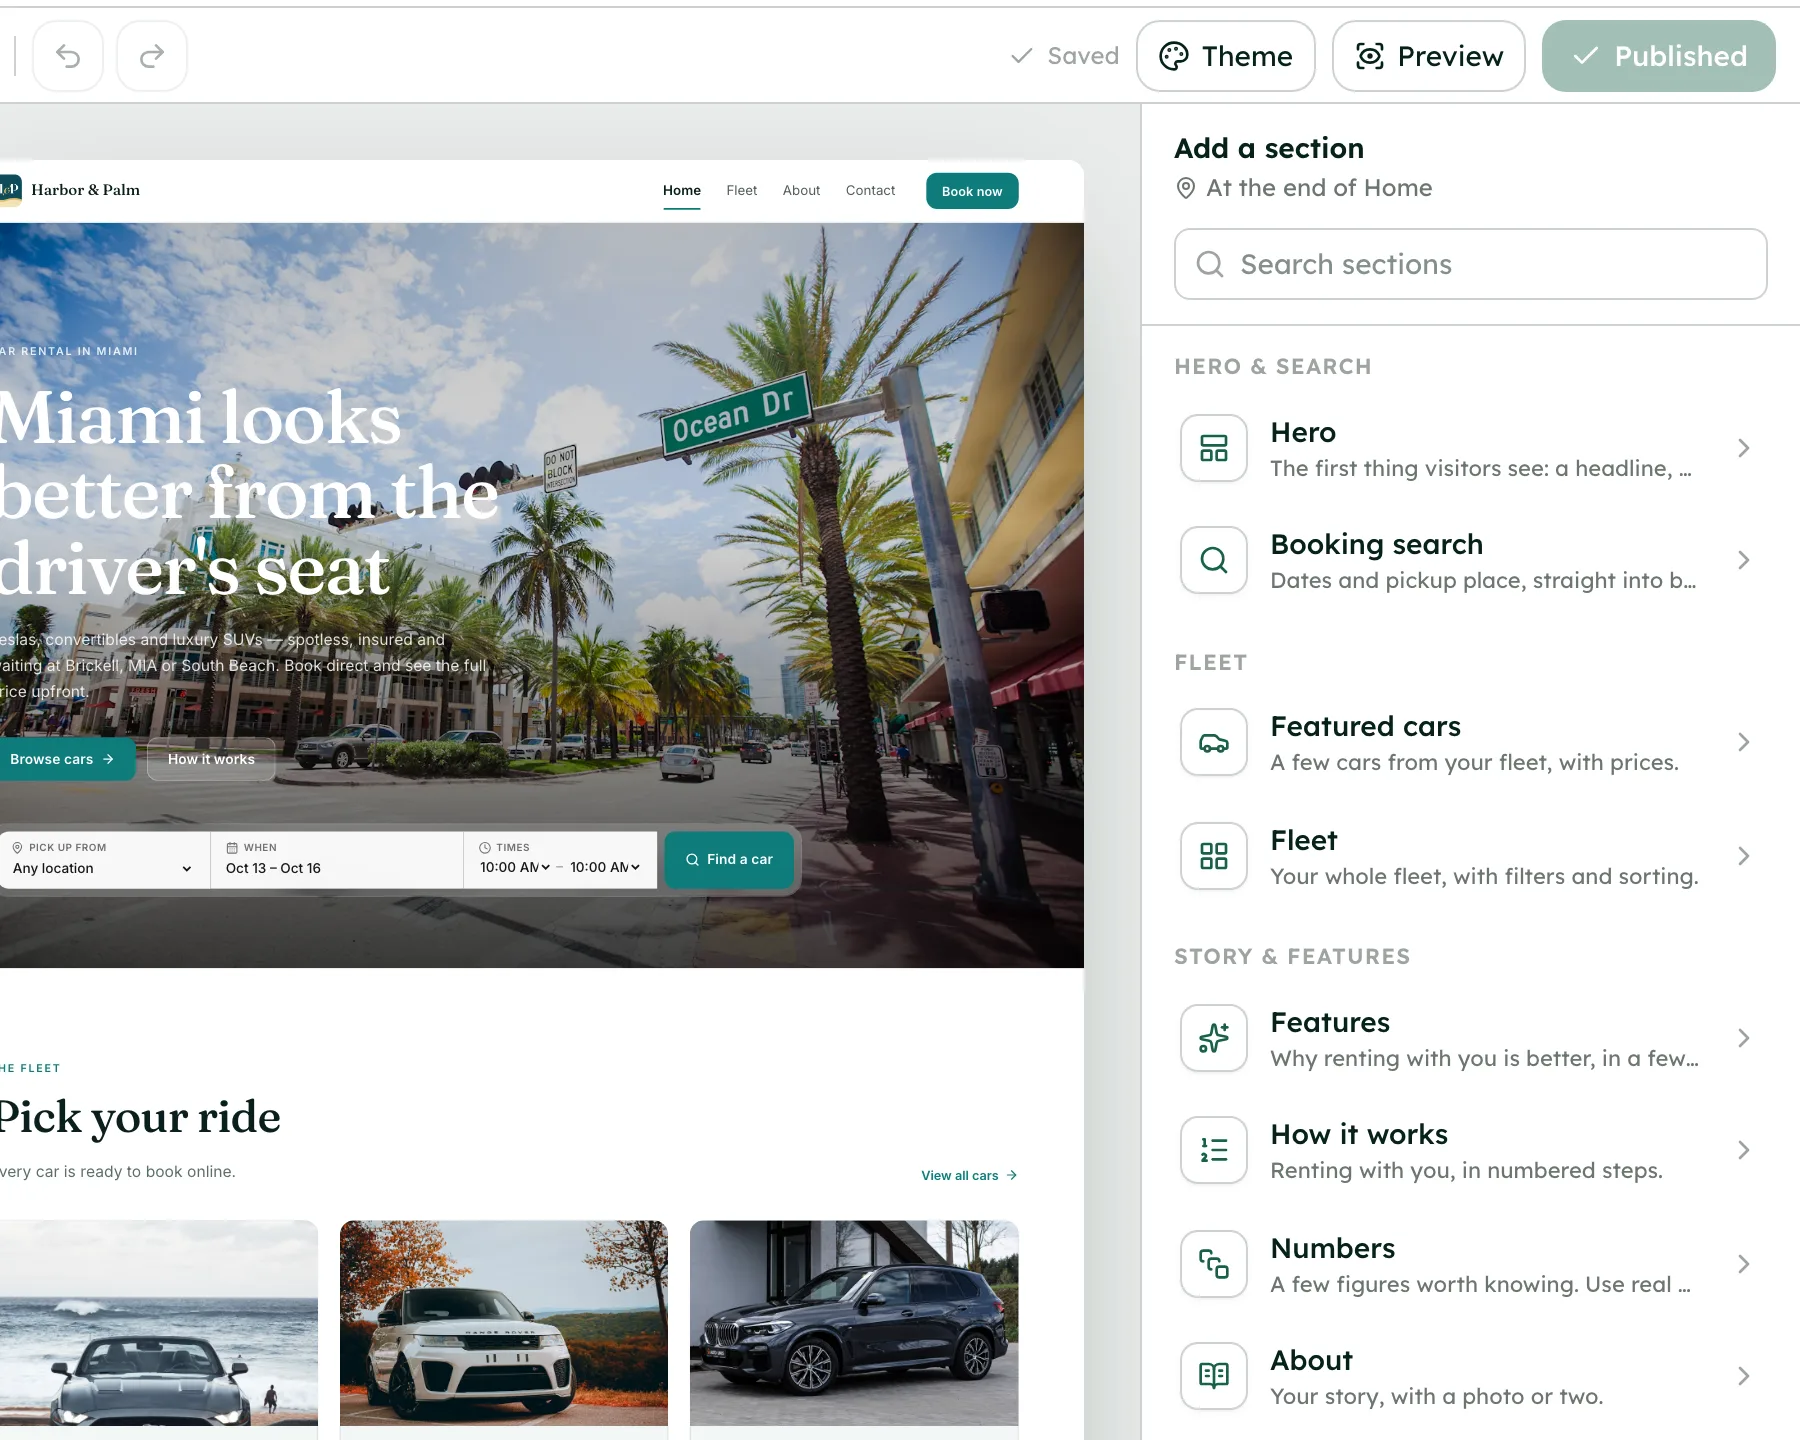
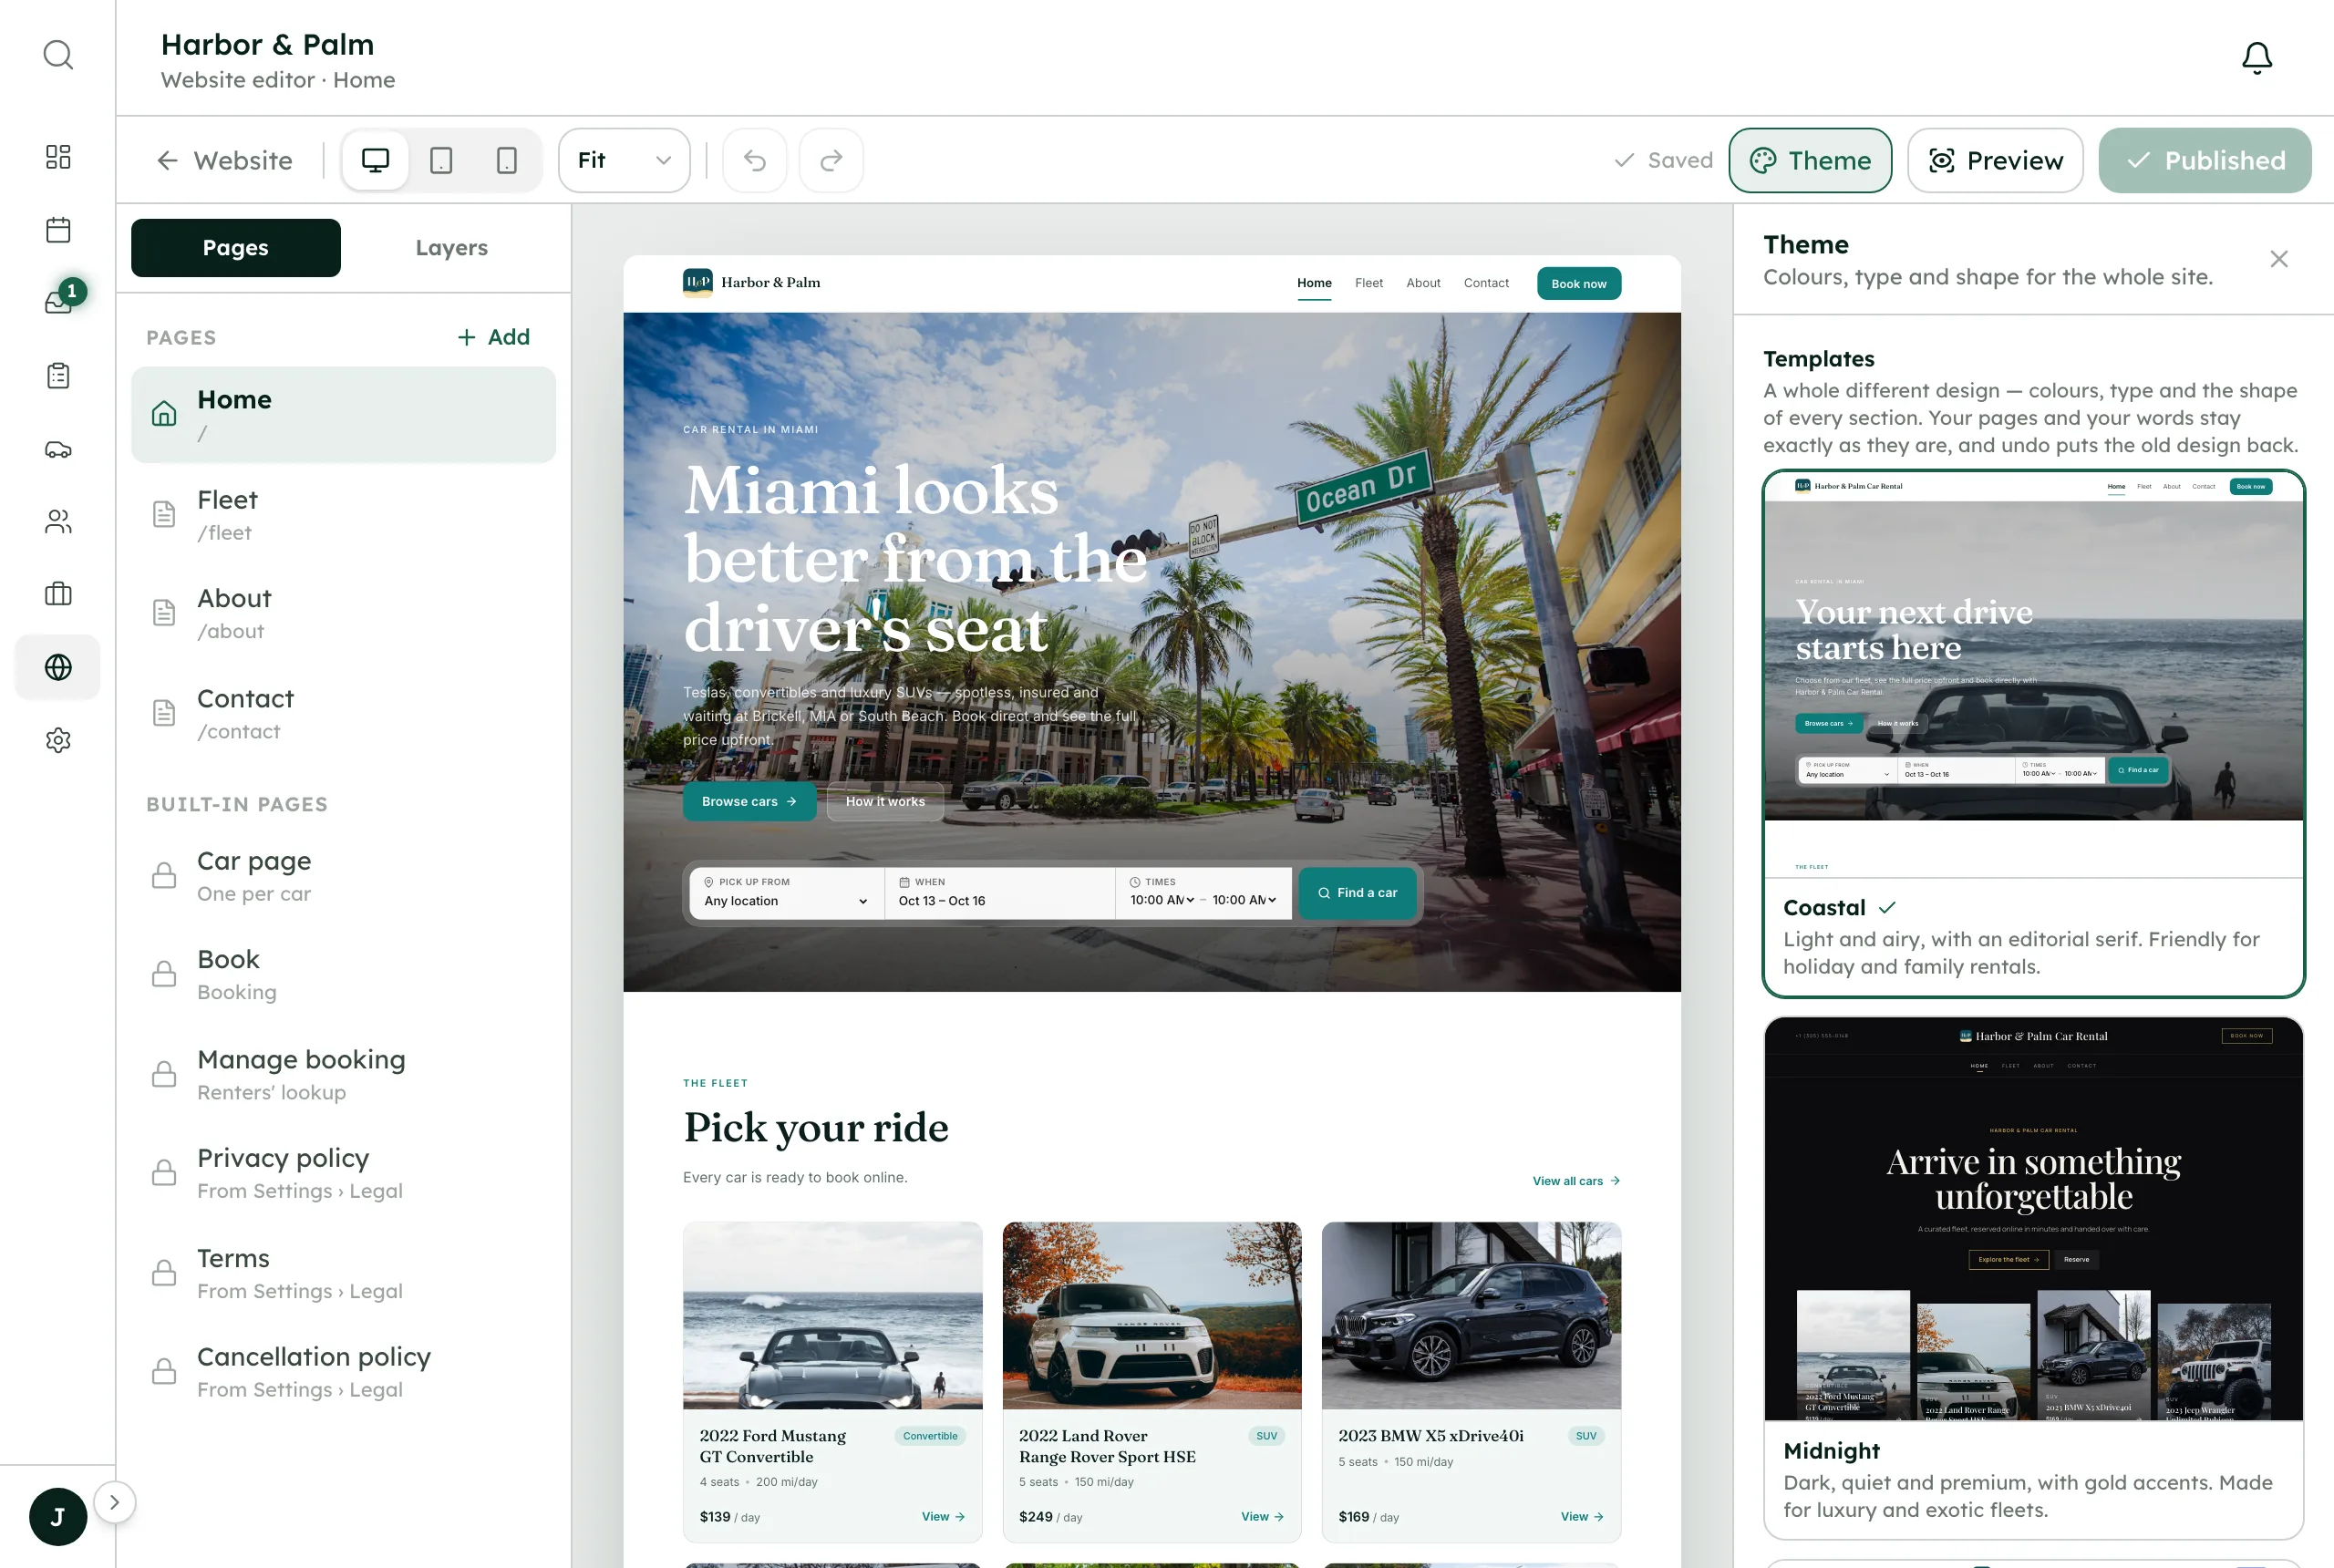
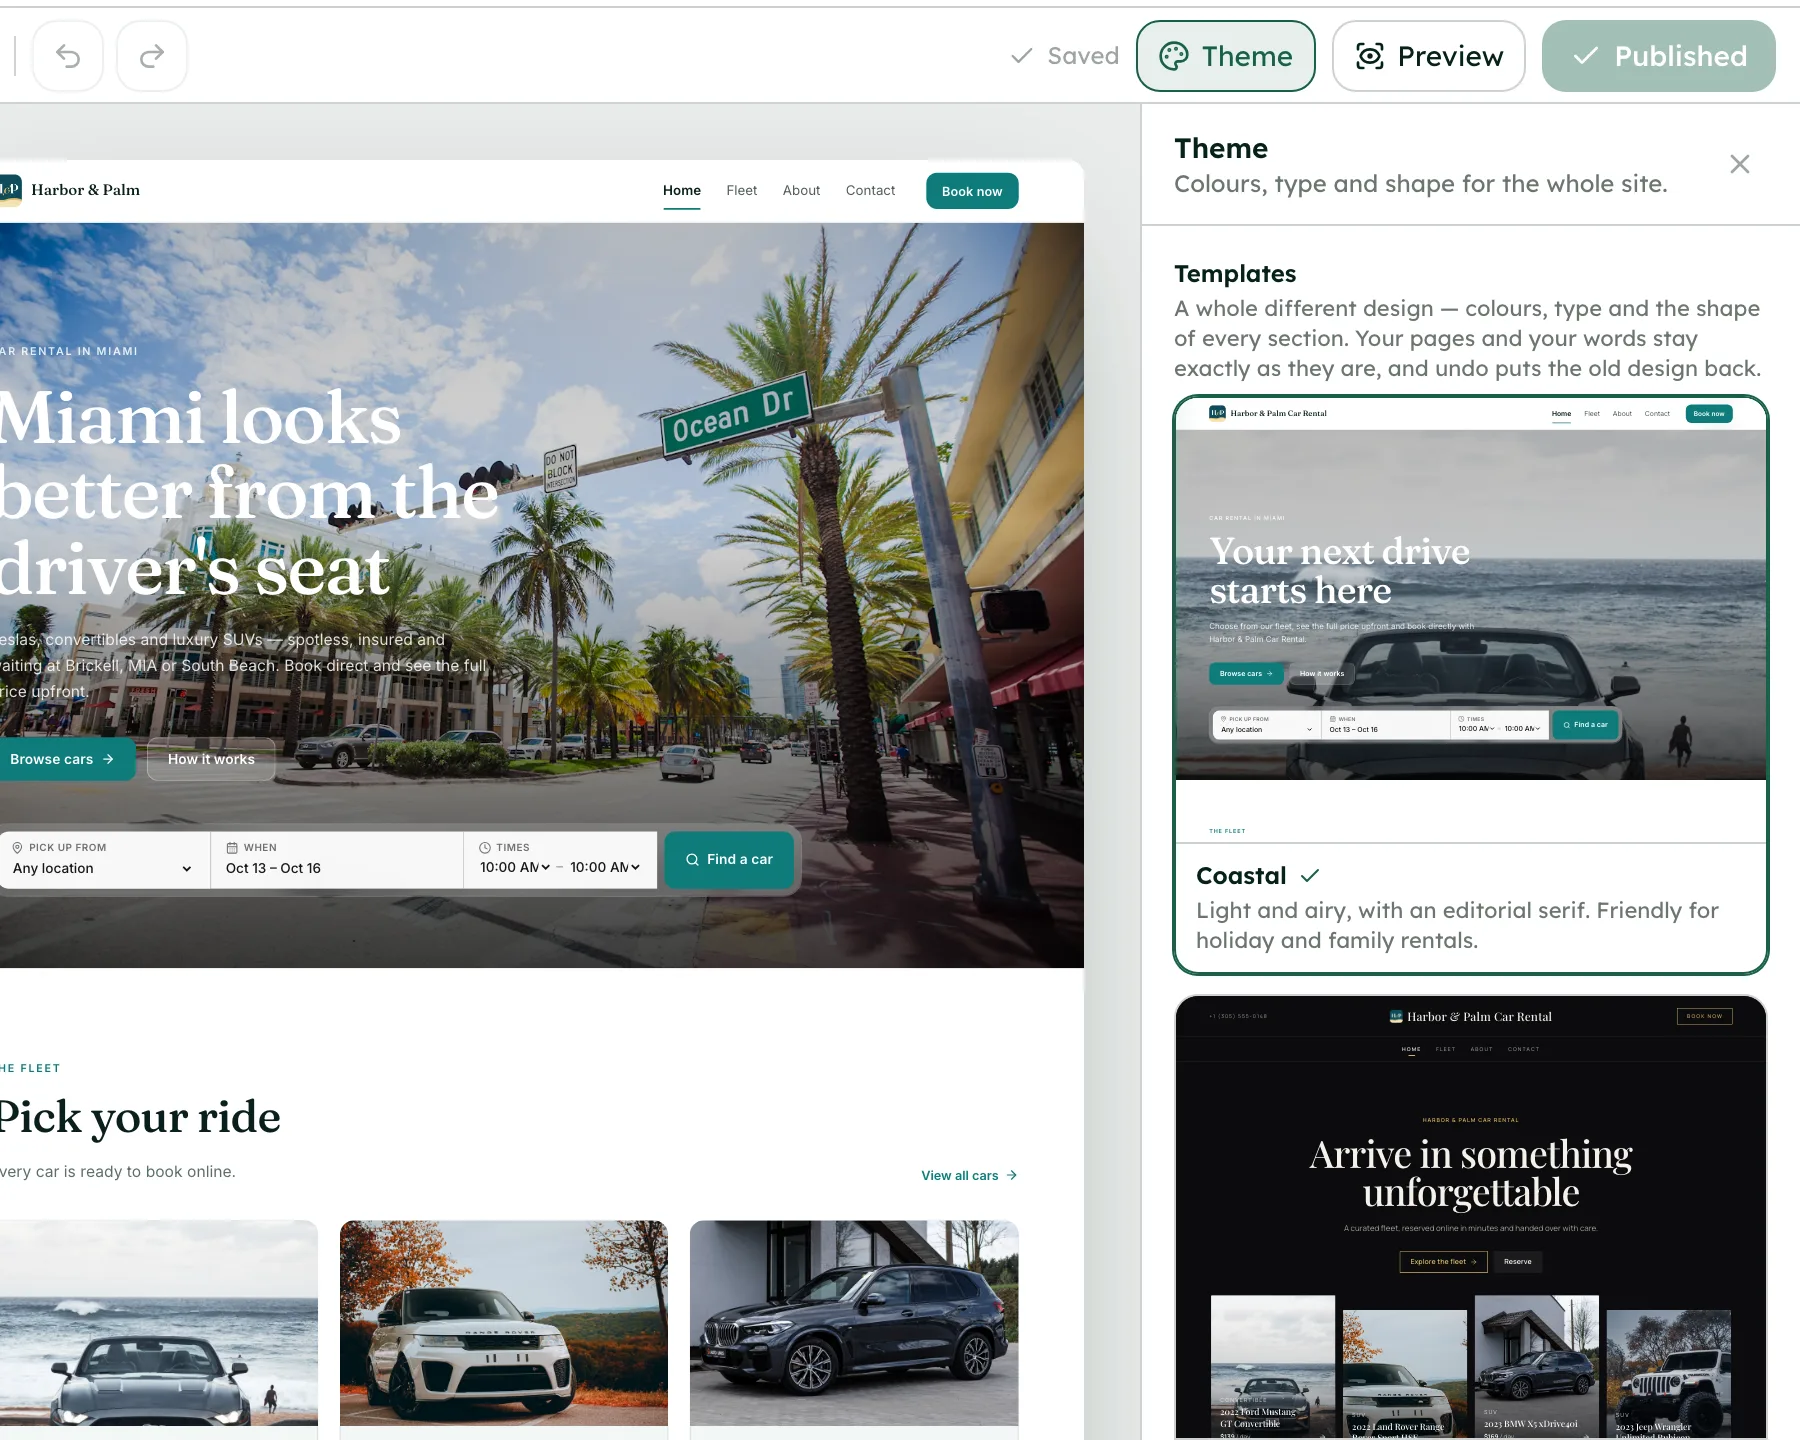
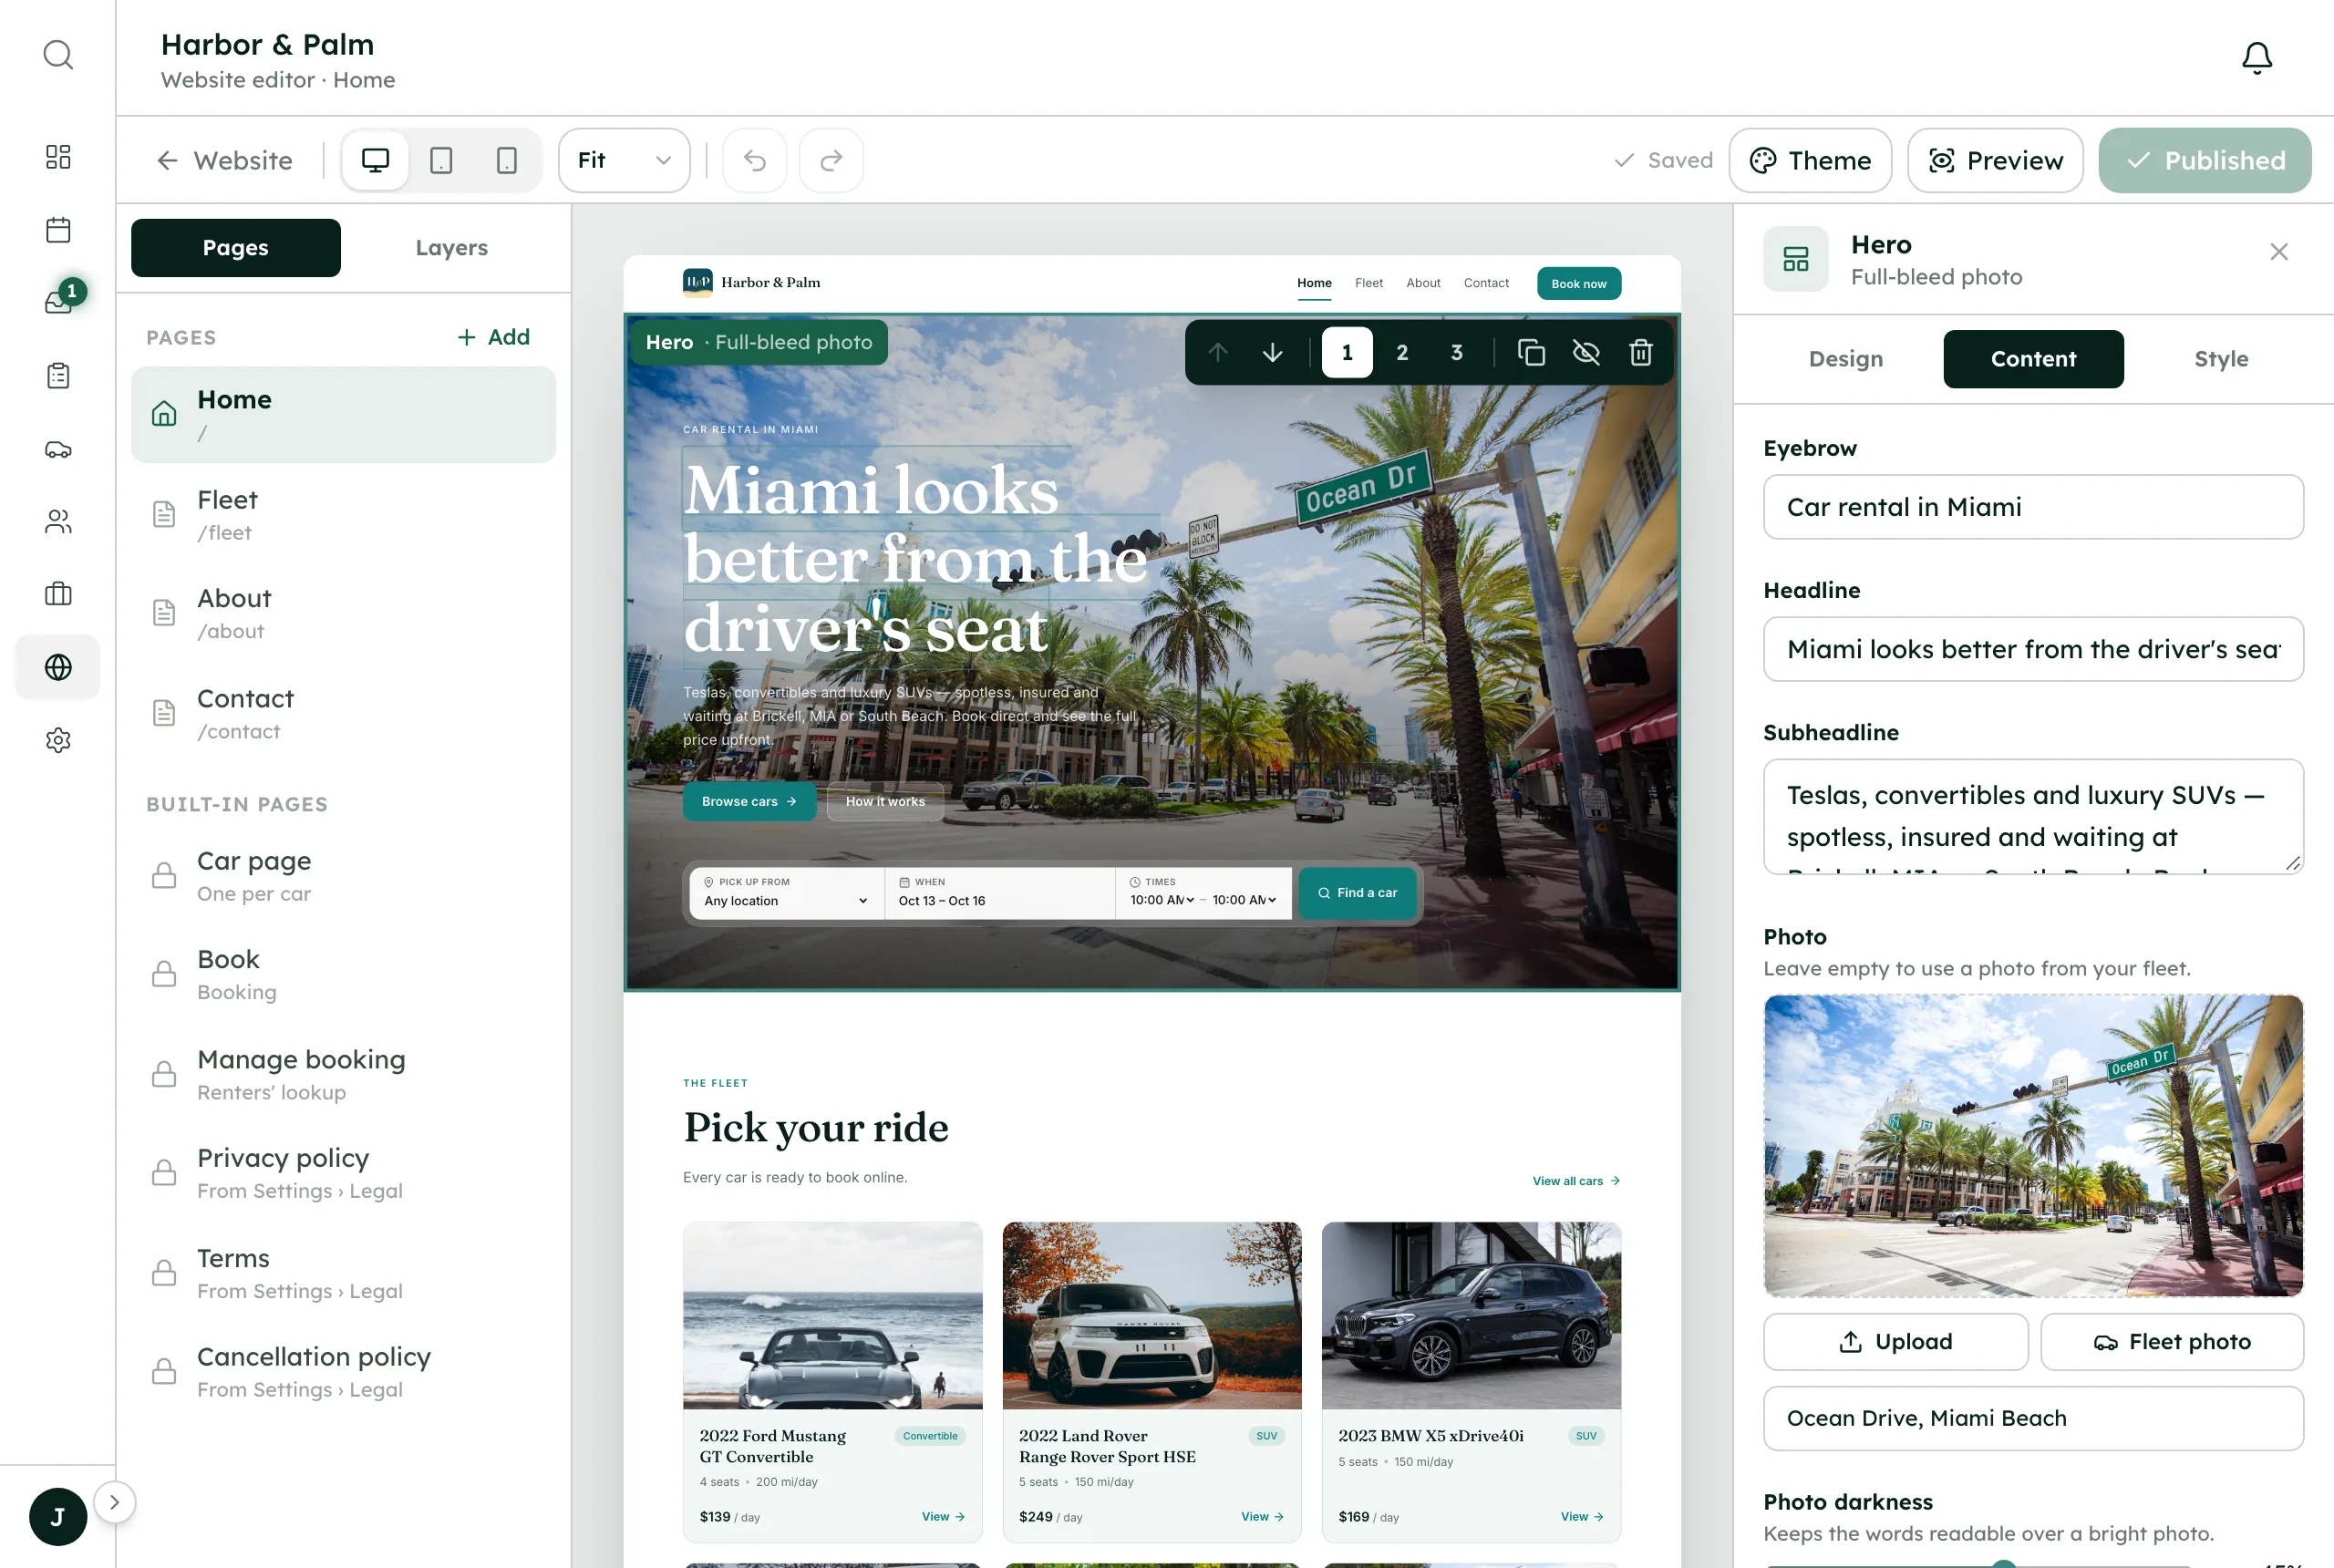
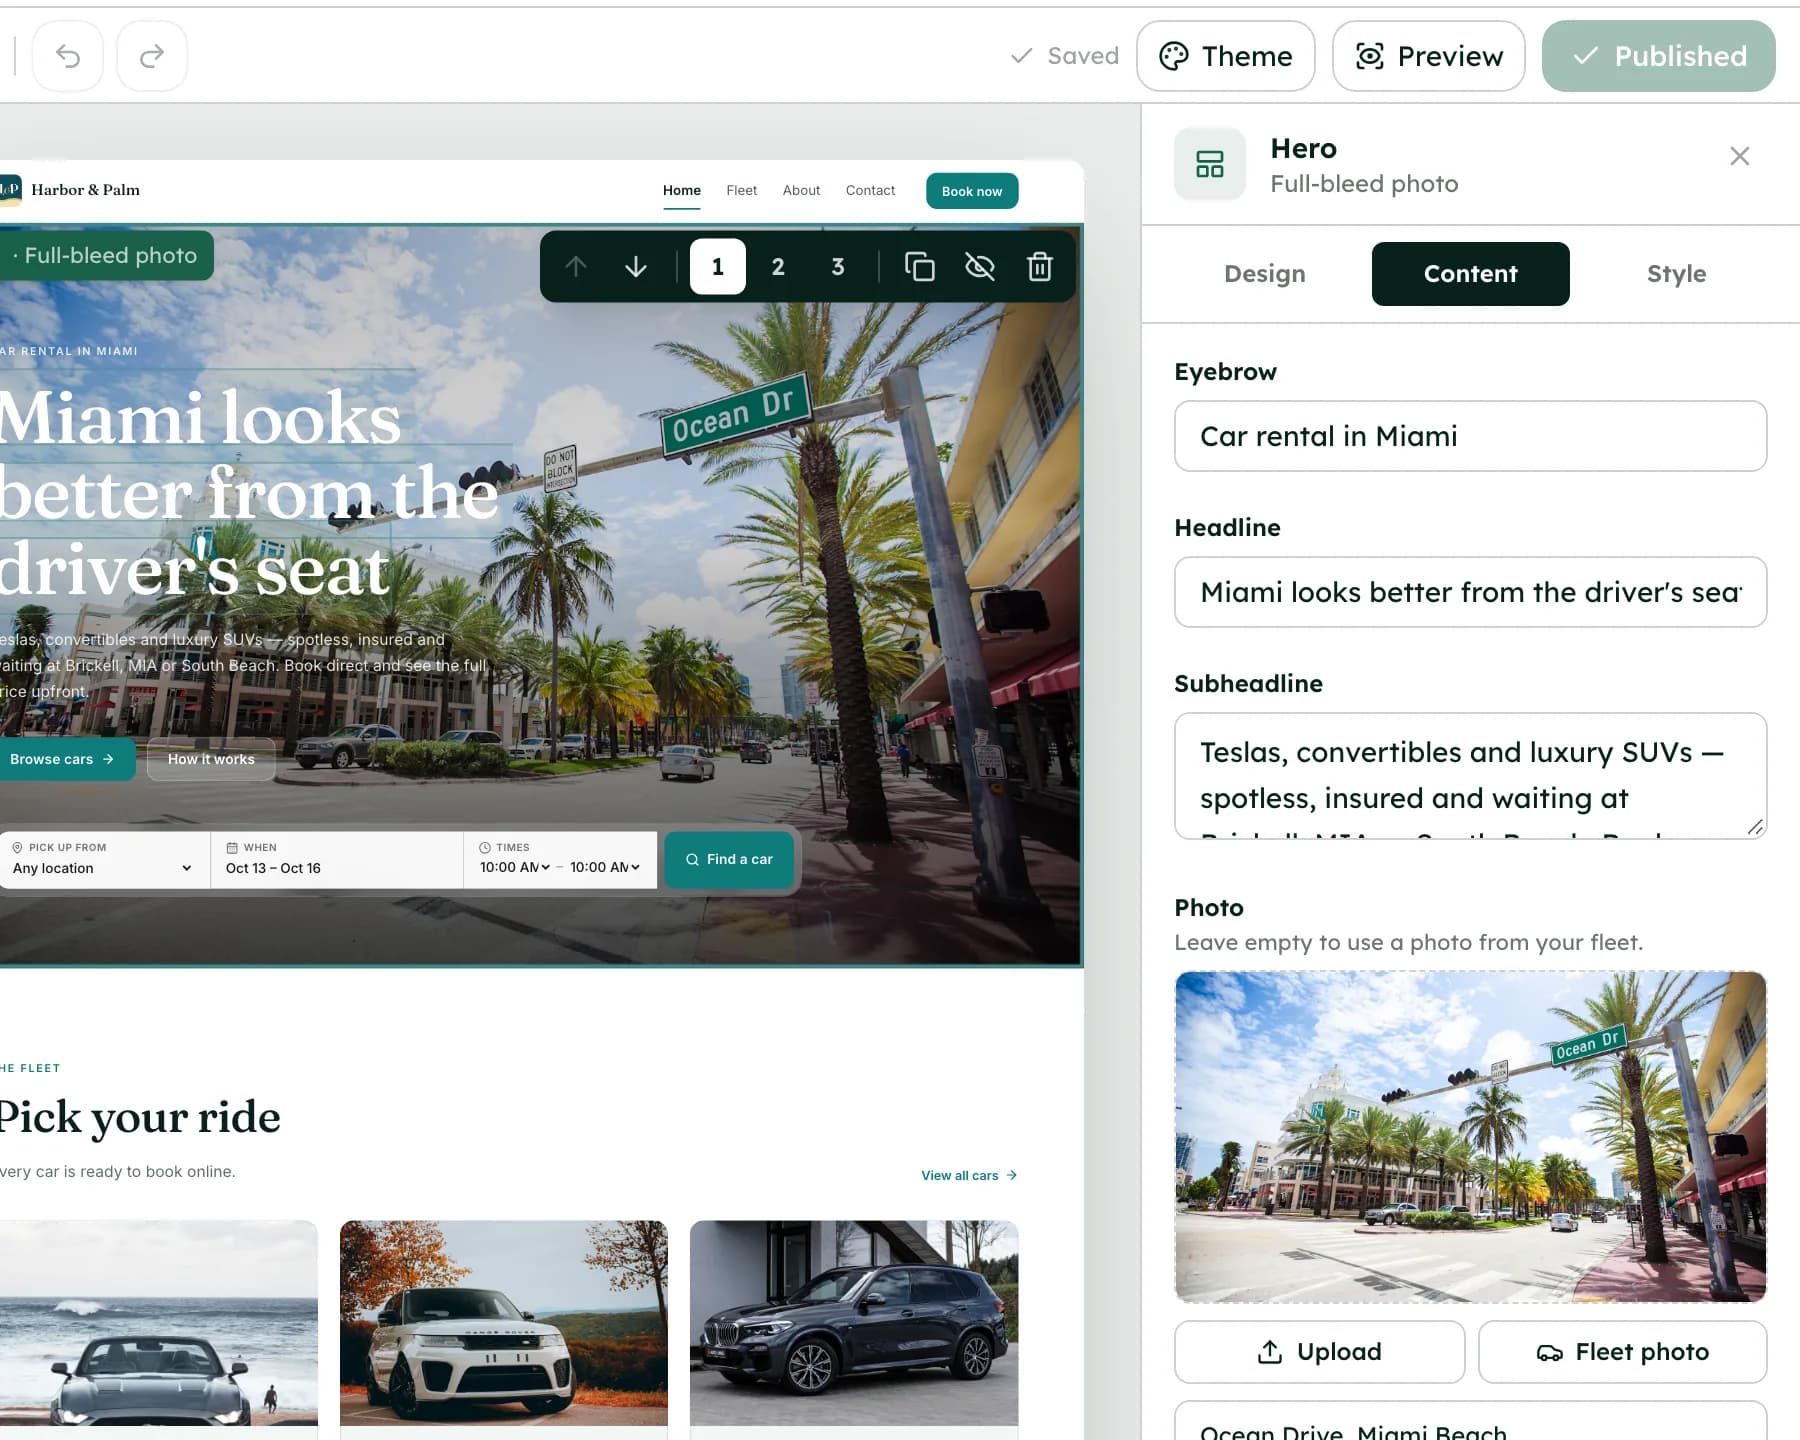
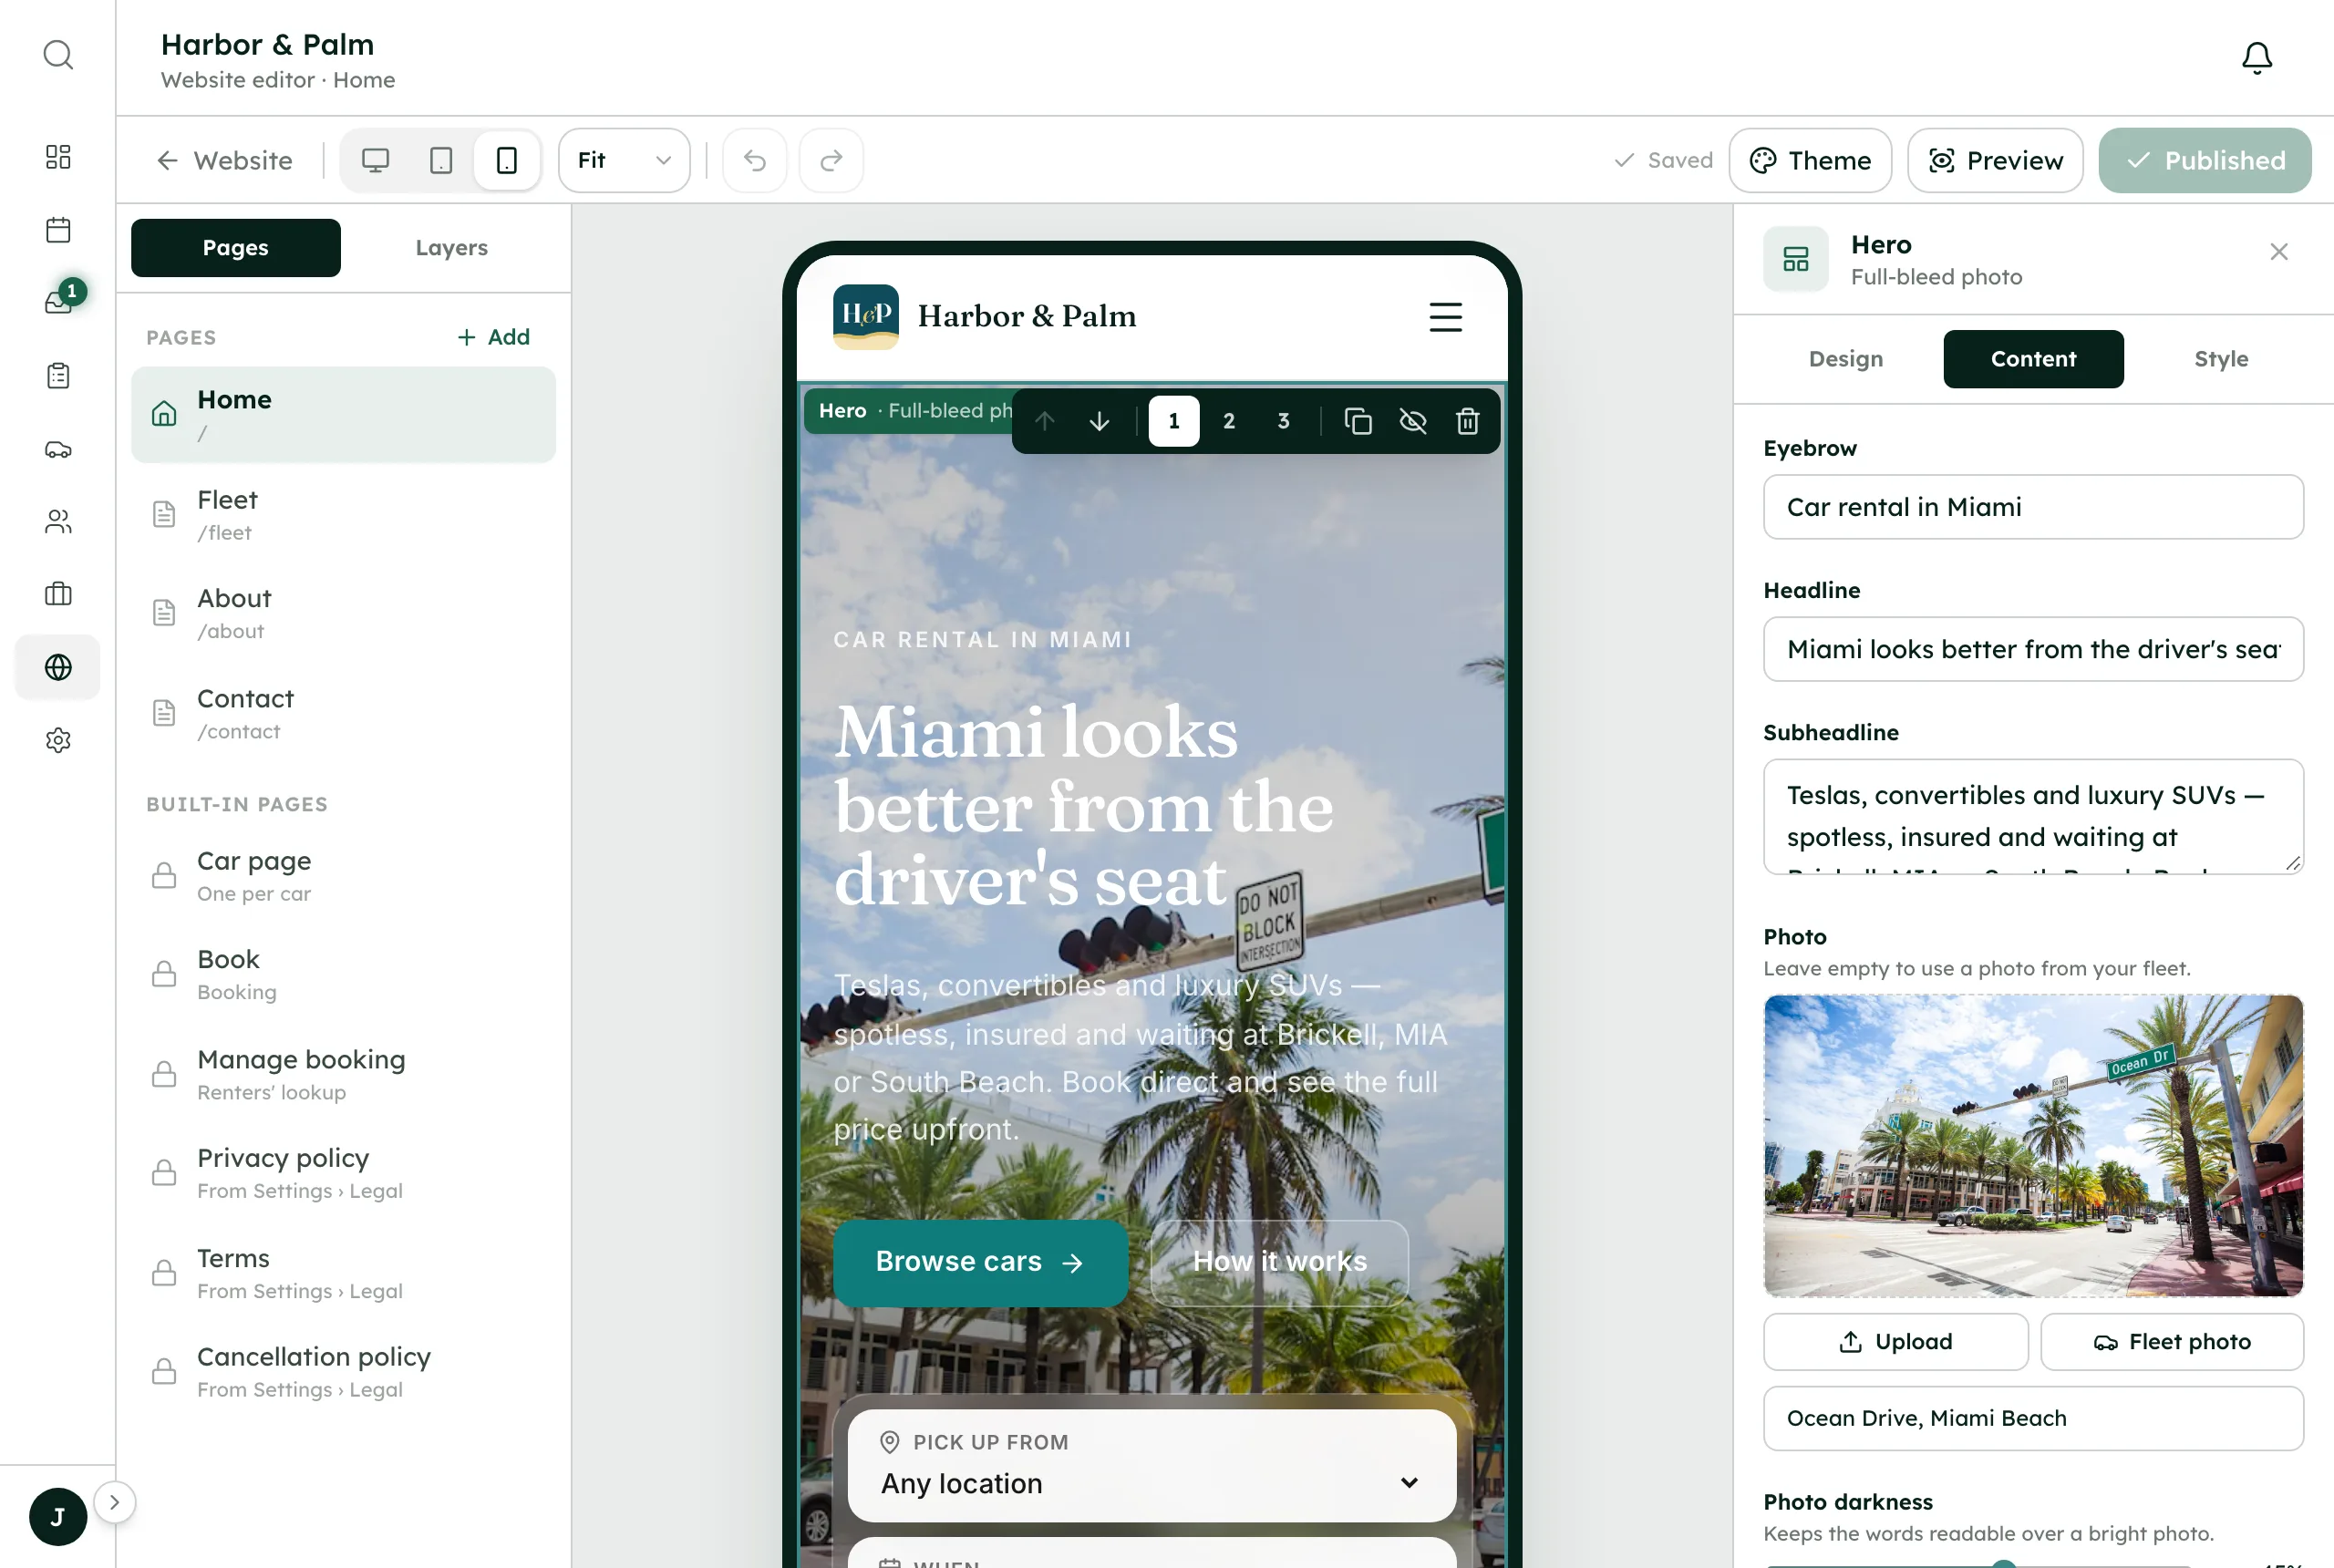
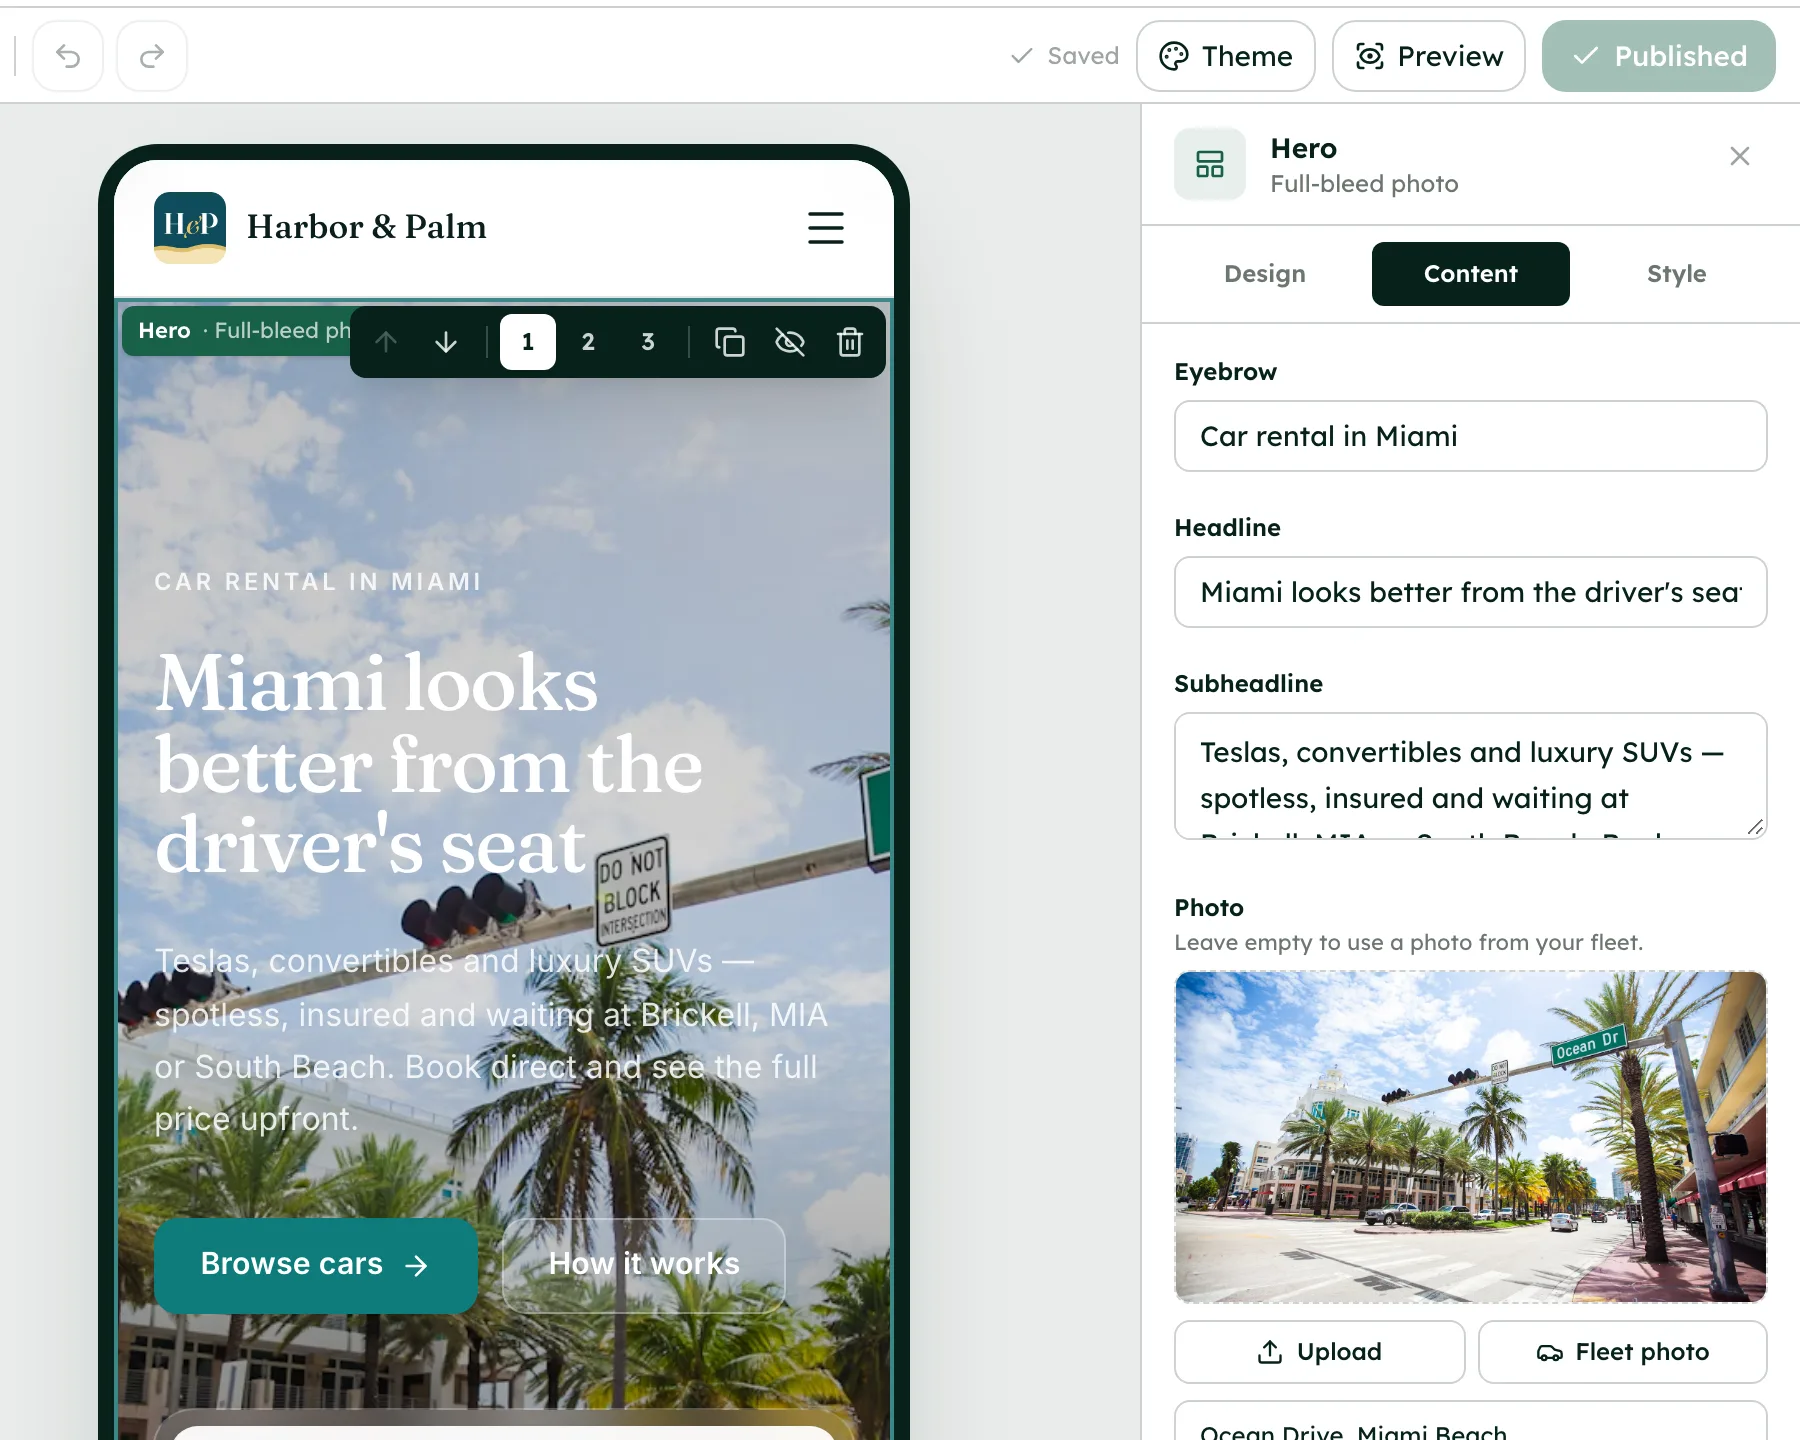
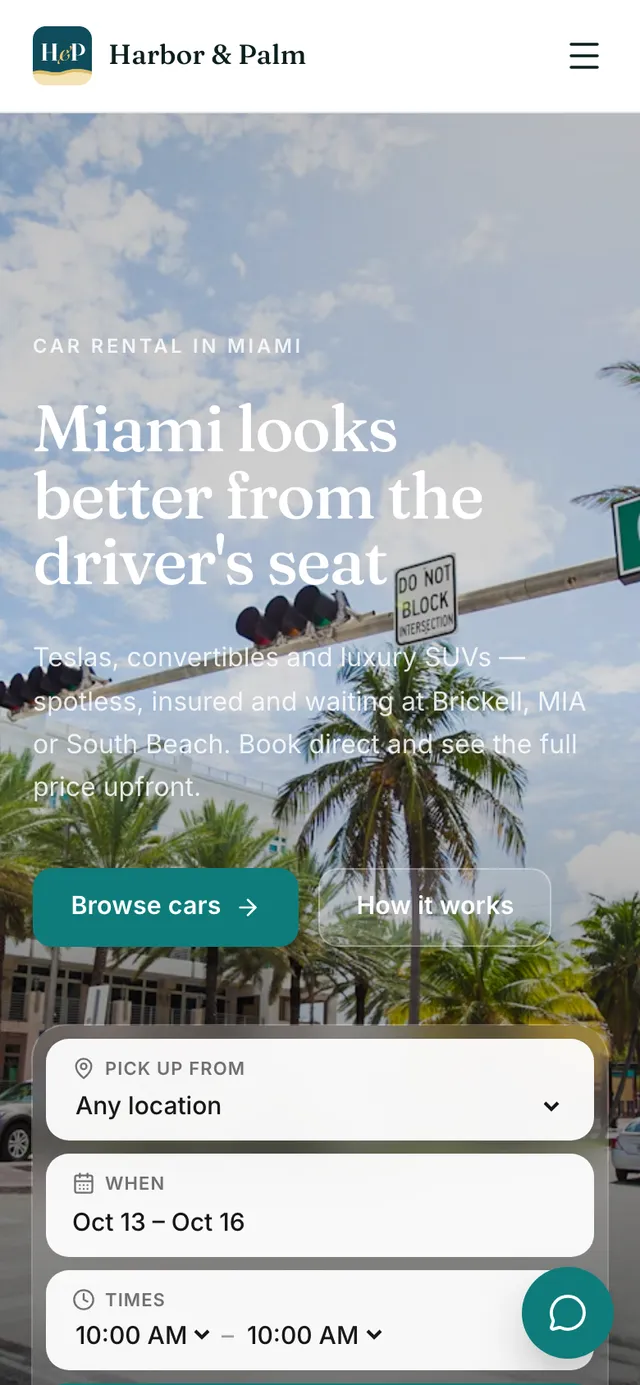
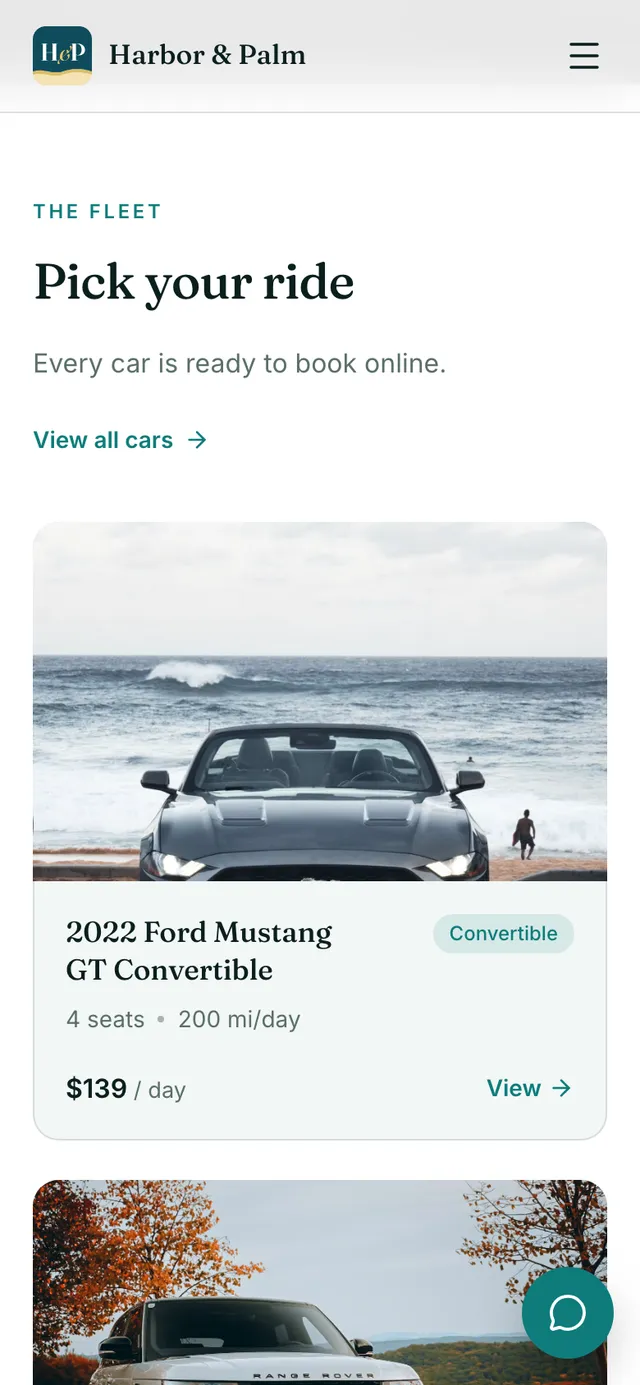
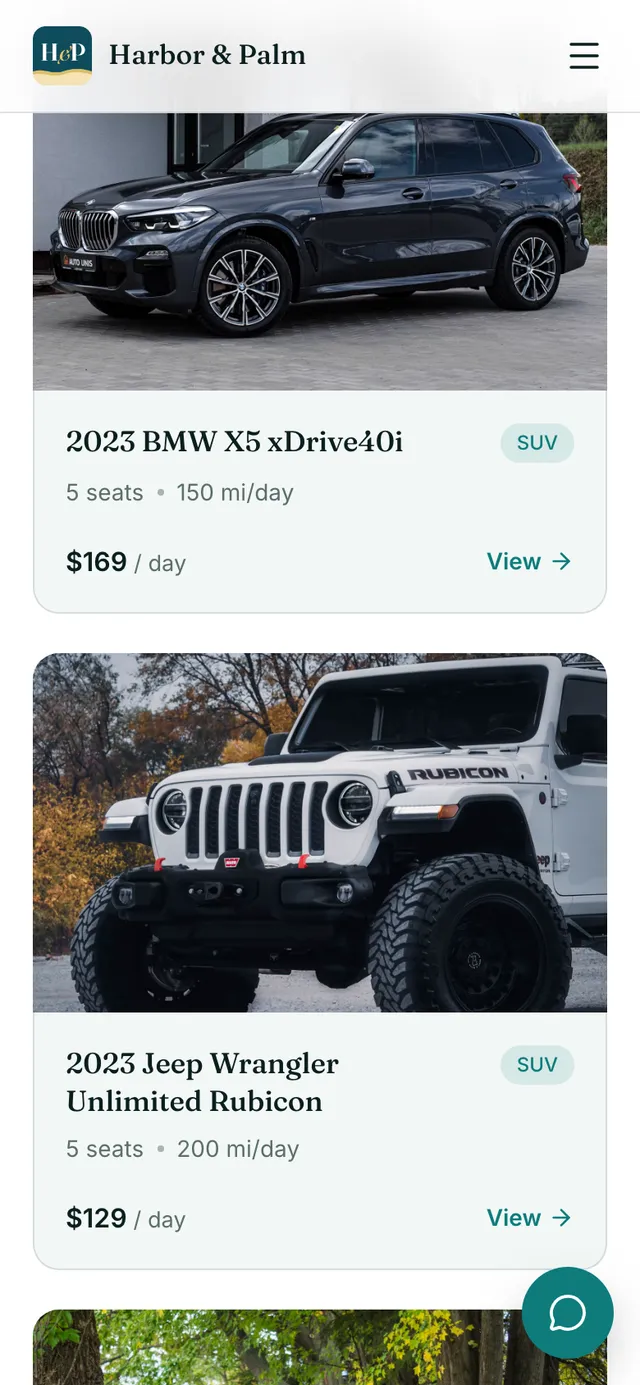
The Website page: pick a template, edit the sections and see your site live.
How it works
- 1
Pick a design
Click Website in the sidebar. Under Pick a design to start from, choose Coastal, Midnight or Urban. You can switch template later in the Theme panel without losing your pages or text.
- 2
Claim your free address
Under Free address, type a name using lowercase letters, numbers and dashes (3 to 63 characters). RentHive checks it as you type. Press Create and publish, and your site is live.
- 3
Fill in the site-wide details
On the General tab, the Website settings card holds the site name, the title and description Google shows, the favicon and the social image used when your link is shared. Press Save changes.
- 4
Edit the pages
Press Open editor. Hover between sections and press Add section, or search the Add a section panel. Sections include hero, booking search, featured cars, fleet, features, how it works, reviews, FAQ, locations, contact and call to action, each in three designs.
- 5
Set the theme and check every screen
Press Theme to set colors or pick a palette, plus fonts, corners and button style. Switch between Desktop, Tablet and Phone at the top of the editor. Use Undo and Redo to step back and forward.
- 6
Add pages and set their SEO
In the Pages panel, press + Add for a blank page or a ready-made About, Contact, FAQ, Fleet, Locations or Reviews page. Open a page's Page settings to set its address and, under Search and sharing, its title, description and social image. Turn on Hide from search engines to keep a page off Google.
- 7
Publish
Press Publish in the editor. Website → Versions lists every publish, with View and Restore for each one.
Best practices
- Write your policies in Settings → Legal first. The privacy, terms and cancellation policy pages only appear once those policies exist.
- Fill in the site title and description. They're what Google shows for your home page.
- Press Preview to open the draft in a new tab and click through it the way a renter would. Check the Phone view before you publish.
- To track visits, add your GA4 Measurement ID in Settings → Integrations → Google Analytics.
Things to keep in mind
- The booking and manage-booking pages are built by the checkout. You change what they ask for in Settings → General → Checkout, not in the editor.
- The Website settings card is the exception to publishing: its name, title, description, favicon and social image go live as soon as you save them.
- Changing your free address later (Website → Domains → Free address) breaks links to the old address.
- Unpublish takes the site offline for visitors. Deleting the website asks you to type its name to confirm.
What's automated
- The editor saves a draft as you work. If someone else on your team saves at the same time, you're asked whether to load their changes or keep yours.
- A sitemap, robots.txt, canonical links and social sharing tags are generated for you. Pages hidden from search engines are left out of the sitemap.
- Images, fonts and scripts are optimized for you, and the site is served from a global edge cache.
- Every publish saves a version.
Common questions
Do I need my own domain?
No. Your site runs on a free .sites.renthive.co address. You can connect a domain you own whenever you're ready.
Can I change template after I've built my pages?
Yes. Switching template in the Theme panel keeps your pages and text.
Do visitors see my edits straight away?
No. Editor changes stay in a draft until you press Publish. Only the Website settings card on the General tab goes live as soon as you save.